
Read the previous #photofit columns here
One of the biggest questions I've been getting is "how do you get images out quickly." So let's do a whole breakdown on the workflow I use to get an extremely fast turnaround from shot to delivery of images.
Above, my basic event workstation. At the center, Macbook Pro. For storage and live projects, a Lacie Thunderbolt drive. For ingest I'll use a lexar CF/SD split reader. At larger events, or if I have to manage multiple photographers, I'll switch and use the Lexar Pro Workflow hub where I can read from four different readers at the same time, and ingest to different locations. On the right.... coffee... there's always coffee.
You'll also notice to memory cards (I really put these in for show, but I always follow these rules). On the left I'll place cards to be ingested. I'll also always place a card that has info to be ingested face down. That way, if things get shuffled around, there's a hiccup, or some sort of mixup and I find a random memory card, if it's facedown, I know it needs to still go through the reader. On the right, I'll place cards that have been read. I'll always place these cards face up. If there's any possibility I'll have an assistant or helpers, I'll rip a piece of paper in half, place one on the left and one on the right with the words "in" and "out" on them. That way if I say to someone to grab something or drop it off, there's no confusion. This system seems simplistic but it is extremely useful, especially when you're tired.
Software: Photomechanic and Lightroom. If you don't know what Photomechnaic is, just download it now and get it over with. Best $75 you'll spend to speed up your process.
What is PM? Basically the fastest way to ingest images onto a computer, apply tags, keywords, and basic information, and then very rapidly select images for further editing or uploading. It is not an editing program.
Workflow procedure
(before the event)
Open PM and set IPTC stationary for the event. Here I set basic info like the keywords I want applied, where I am, the name of the event, copyright info, and the date. Every ingest will get this basic info.
1. After I take a whole bunch of photos, I'll get to the computer and put a card in. My first step will be to open Photo Mechanic. Once it recognizes the card (or if it doesn't I'll hit command+G) I'll go to the ingest prompt and select the card. Here I'll decide whether I'm dropping everything into one big folder, or if I'm ingesting per heat/wod or some other identifier.
2. Once the ingest begins, I can already start buzzing through the JPEG previews that PM generates. The beauty of this program, is even if you don't shoot JPEG (and I don't), the program will steal the preview file that your camera creates to show you on the back of the camera and very quickly render that on the computer. This allows you to buzz through hundreds of images, at full resolution and pick winners. Fun bonus, I can start another import in another reader slot from another card at the same time.
3. Sorting. Photo Mechanic is not an ediitng program, it's an ingest and sorting program. Because I can buzz through these full size files so quickly, I can ensure perfect focus and good exposure. As I spot images I like, I'll tag them a "1" on the keyboard, basically just a pick that there was something I liked. These 1-5 tags will carry over to stars in Lightroom, so I'm not just wasting my time.
4. Once I've run through the ingest and selected my basic picks -- let's say I go from 100 to 10 images -- I'll do one more quick sweep and perhaps cut down to 6 images only by tagging the really good shots with a "2."
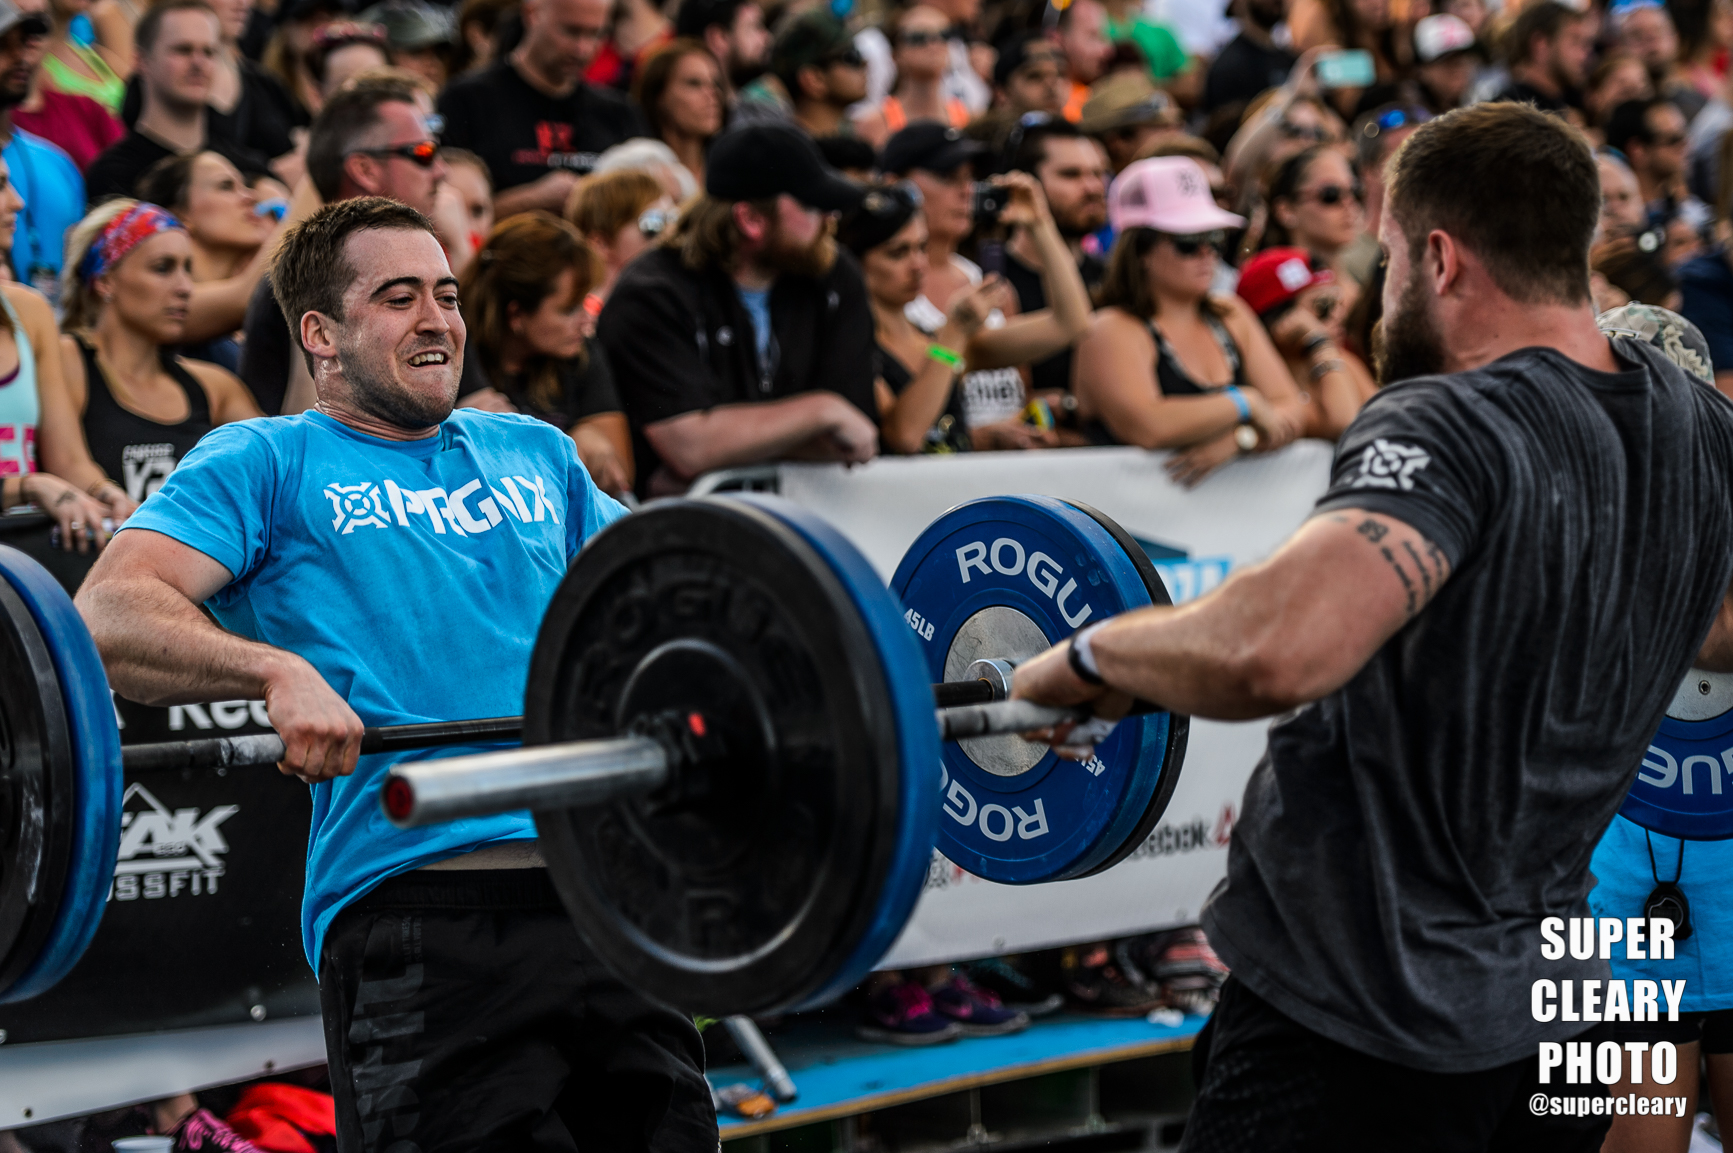
Ben Smith, Adam Klink - Nikon D4, Nikon 70-200, 1/1000th, F2.8, ISO 160
5. I'll then take those "2" images, highlight them all, and drag them into Lightroom (literally by clicking, holding and then dropping on the Lightroom logo). Once you do this, the Lightroom ingest prompt will come up. I'm doing this now to apply my preset edit to the images and open up the full suite of editing options I want to finalize and publish my shots. In that ingest prompt, I'll turn off metadata presets (I've already handled that with Photo Mechanic) and I'll just select the preset I want to apply. I'll then click import. Note, you're not ingesting another copy of the photo, you're just adding the photo to your Lightroom library. Ingesting (getting the photo from the memory card to your computer) is handled much faster by Photo Mechanic, and Lightroom can't begin new imports if other imports have already begun (another key advantage to PM).
5A. If your client (or yourself) just needs a quick edit burned off, you can hit command+s in PM and the save prompt will open. If I'm working for a client, I'll often set a dropbox folder as the save to location folders so while the image saves, it immediately is going to a shared folder that the client will receive. Conversely, I could also have this folder set to a dropbox folder that I use as a place holder for my instagram/facebook posts. While PM won't edit your photos, you will get the JPEG preview of the image, not the flat RAW file. If you've preset enough in your camera, that JPEG preview can be more than passable for a quick posts or upload.
6. If we've continued with a Lightroom ingest it will take a few moments for it to identify the specific files you've selected out of the 100. Once it grabs them, the ingest will go very quickly, and then LR will get to work applying the preset you've chosen.

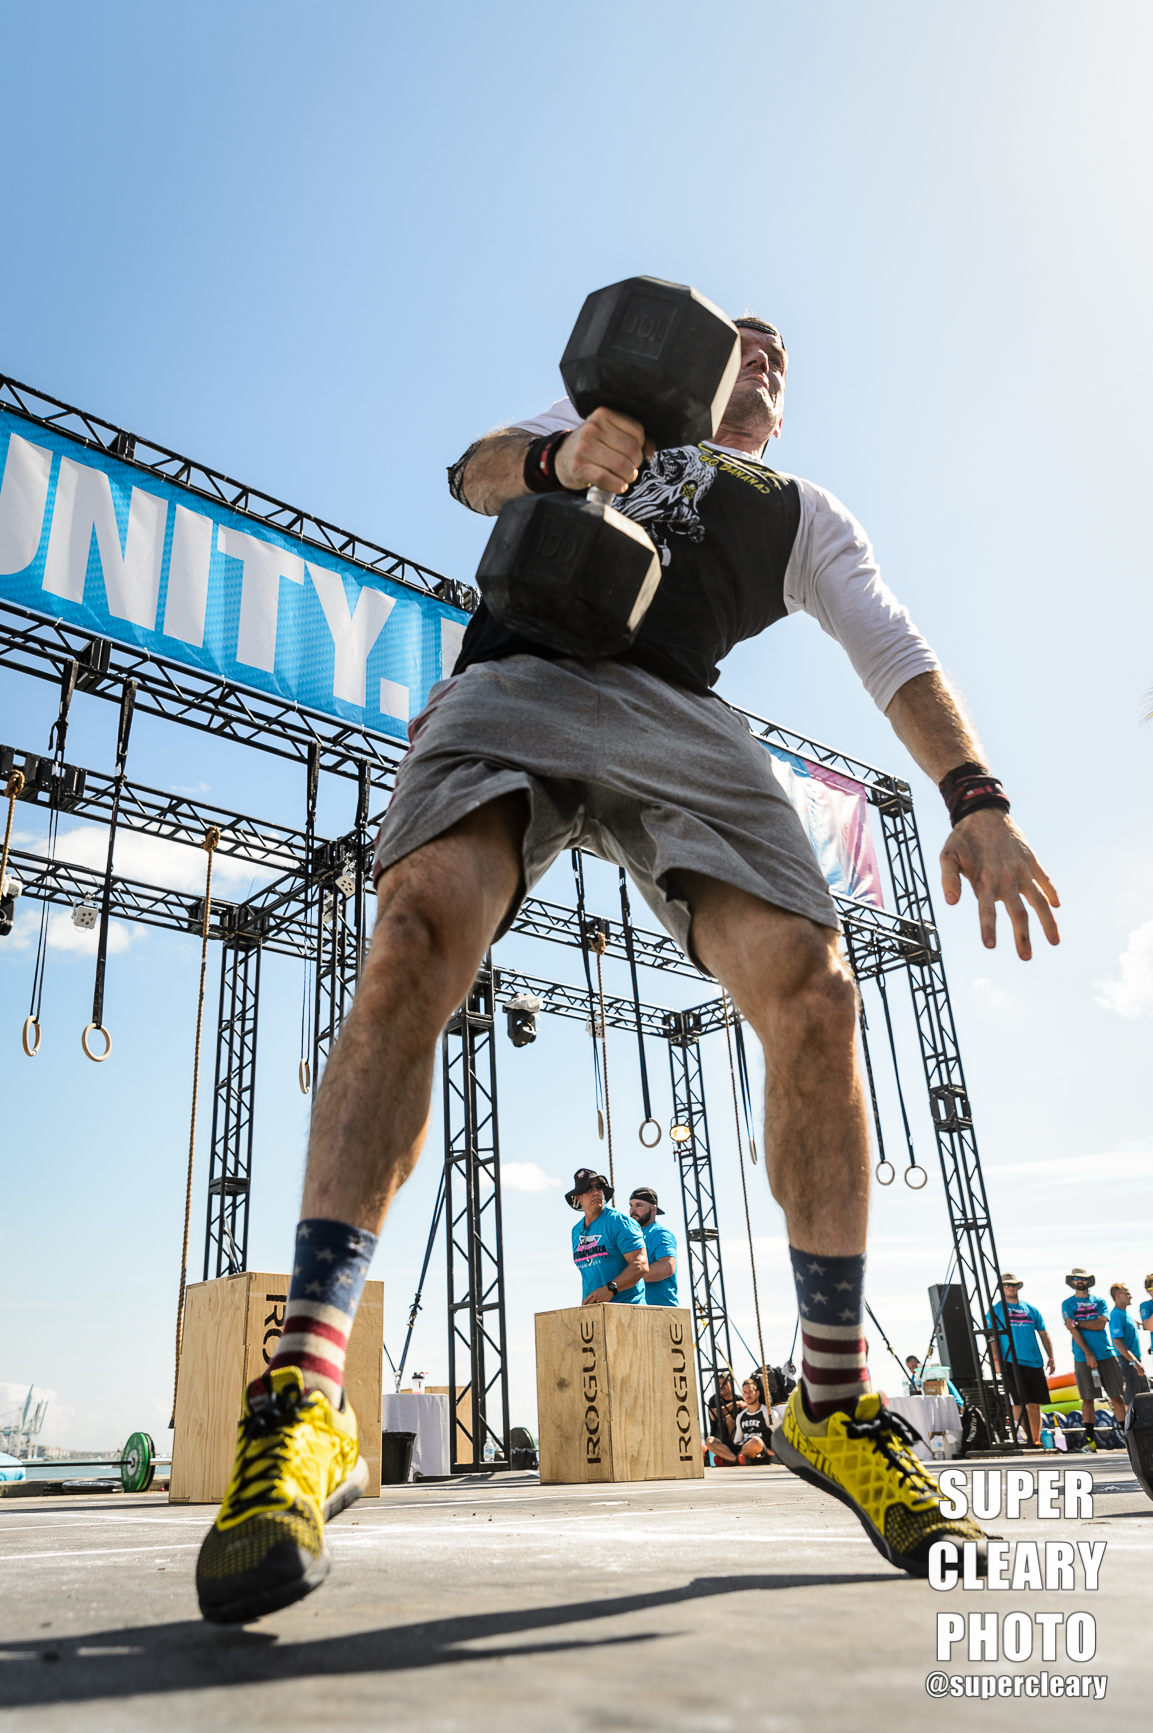
Scott Panchik - Nikon D4, Nikon 70-200, 1/500th, f2.8, ISO 8000
7. From there, you're now just doing a quick Lightroom edit. I'll go through crop first, then white balance, and then exposure and a few other tweaks. Once I'm happy, I'll go to the export dialog, drop whatever watermark I'm using and burn them off.
8. Drink coffee, get back to work.
While this might seem like a complicated process, in practice it goes extremely fast. You can finish shooting an event and within 5 minutes already have photos online or off to your client. The combo of PM and LR in this setup, to me, is unbeatable for speed and also delivering professionally edited content - not just snapshots. This process works for me and might certainly not be for everyone. Comment with what works for you and what doesn't.
Bonus points: Let's say you have time and now you wan't to see the rest of your full take in LR. Instead of having to tag everything, then drag it into LR there's a faster solution. In LR, as long as one image from the folder has been added to the library, you can right click the folder and hit synchronize. This will scan to see how many files were not ingested. Once that scan is complete you'll then bring up the same ingest dialog and apply your presets. This rendering will take awhile, but again, it's to be done once the pressure is off. You don't have to worry about the long complicated ingest process anymore, and can just let LR do its thing and render down your RAW files.
Other Tips
- Never format cards onsite until your images are backed up onto a second location. Always have more than enough memory cards. Every now and then, something you think is ingested isn't. You go back and realize you've already formatted that card because you were lazy and didn't want to grab another card. Voila, you just deleted your precious content and don't have a backup. Moral of the story, don't ever reformat cards onsite.
If you like what you've read, please share. Feel free to post some content suggestions below so I know what you're looking for in my next post. For bookings email shaun@superclearyphoto.com. And as always, follow @supercleary on instagram and SuperClearyPhoto on Facebook.

Emily Bridgers - Nikon D4, Nikon 70-200, 1/400, F2.8, ISO 800