
Last weekend I had the chance to head up to Canada and shoot the CrossFit Invitational, an international competition, showcasing the best athletes from this year's CrossFit Games, setup in a viewer friendly 2-hour format. The event itself is a whirlwind to shoot, with its own unique set of technical challenges. I'll try to highlight those to spell out some tips I can give one you when you find yourself shooting fast-moving events.
First and foremost, the invitational is a blast to shoot and I was able to be a part of a great team, shooting for CrossFit HQ. Our team include our head of photography, Dave Re, another shooter Tai Randall, and an editor Ian Webb. I've had the chance to work with all these Games veterans before, and looked forward to another great shoot with them.
The invitational is a different beast than the Games. It is just a 2 hour event, 1 heat of each workout, pitting 4 teams of 4 against each other. Blink and you'll miss it. At the Games, you're starting your day at 6AM and aren't wrapped until well into the night. Sounds great right? With those long Games days though, you're able to dial in your equipment, and the events. When you have 8 heats per event to shoot, you work out the kinks on the early heats, and make sure you have everything perfected and mapped out for the top heat with the big dogs. Yea, it can be grind to shoot for such long periods, but it really allows you to be comfortable with the WOD and know what you're doing when the pressure is on.

The gear getting packed up before the trip. Always an adventure getting everything to fit into just one case.
At the invitational, it is a totally different story. There were basically 4 WODs this year, spread out over 2 hours, with built in commercial breaks. There were no redos, and there was no earlier heats to dial in shooting positions, sight lines, and equipment. Well, that's not completely true, and what the first part of my advice would be: When there are rehearsals for an event/production/show, be there! Take notes, ask questions, and go through the motions. As much as I hate sitting around inside a venue all day waiting for an event to kickoff, I was able to watch two dress rehearsals of the entire event. These rehearsals are critical for the production team to deliver a perfect live feed and television package. As a photographer, I kept my eyes and ears open so I could see how the workouts flowed. Where do the athletes enter from? Which station do they go to first? Which direction do they face (always a critical bit of info)? How long do they have between WODs? In what order do they lift in? And this just begins to scratch the surface. During the second dress rehearsal I also made a point of walking through the media lane and following the fake action, occasionally snapping a behind-the-scenes photo or two to get a feel for how crowded the floor would be and what lens may work best during different events.

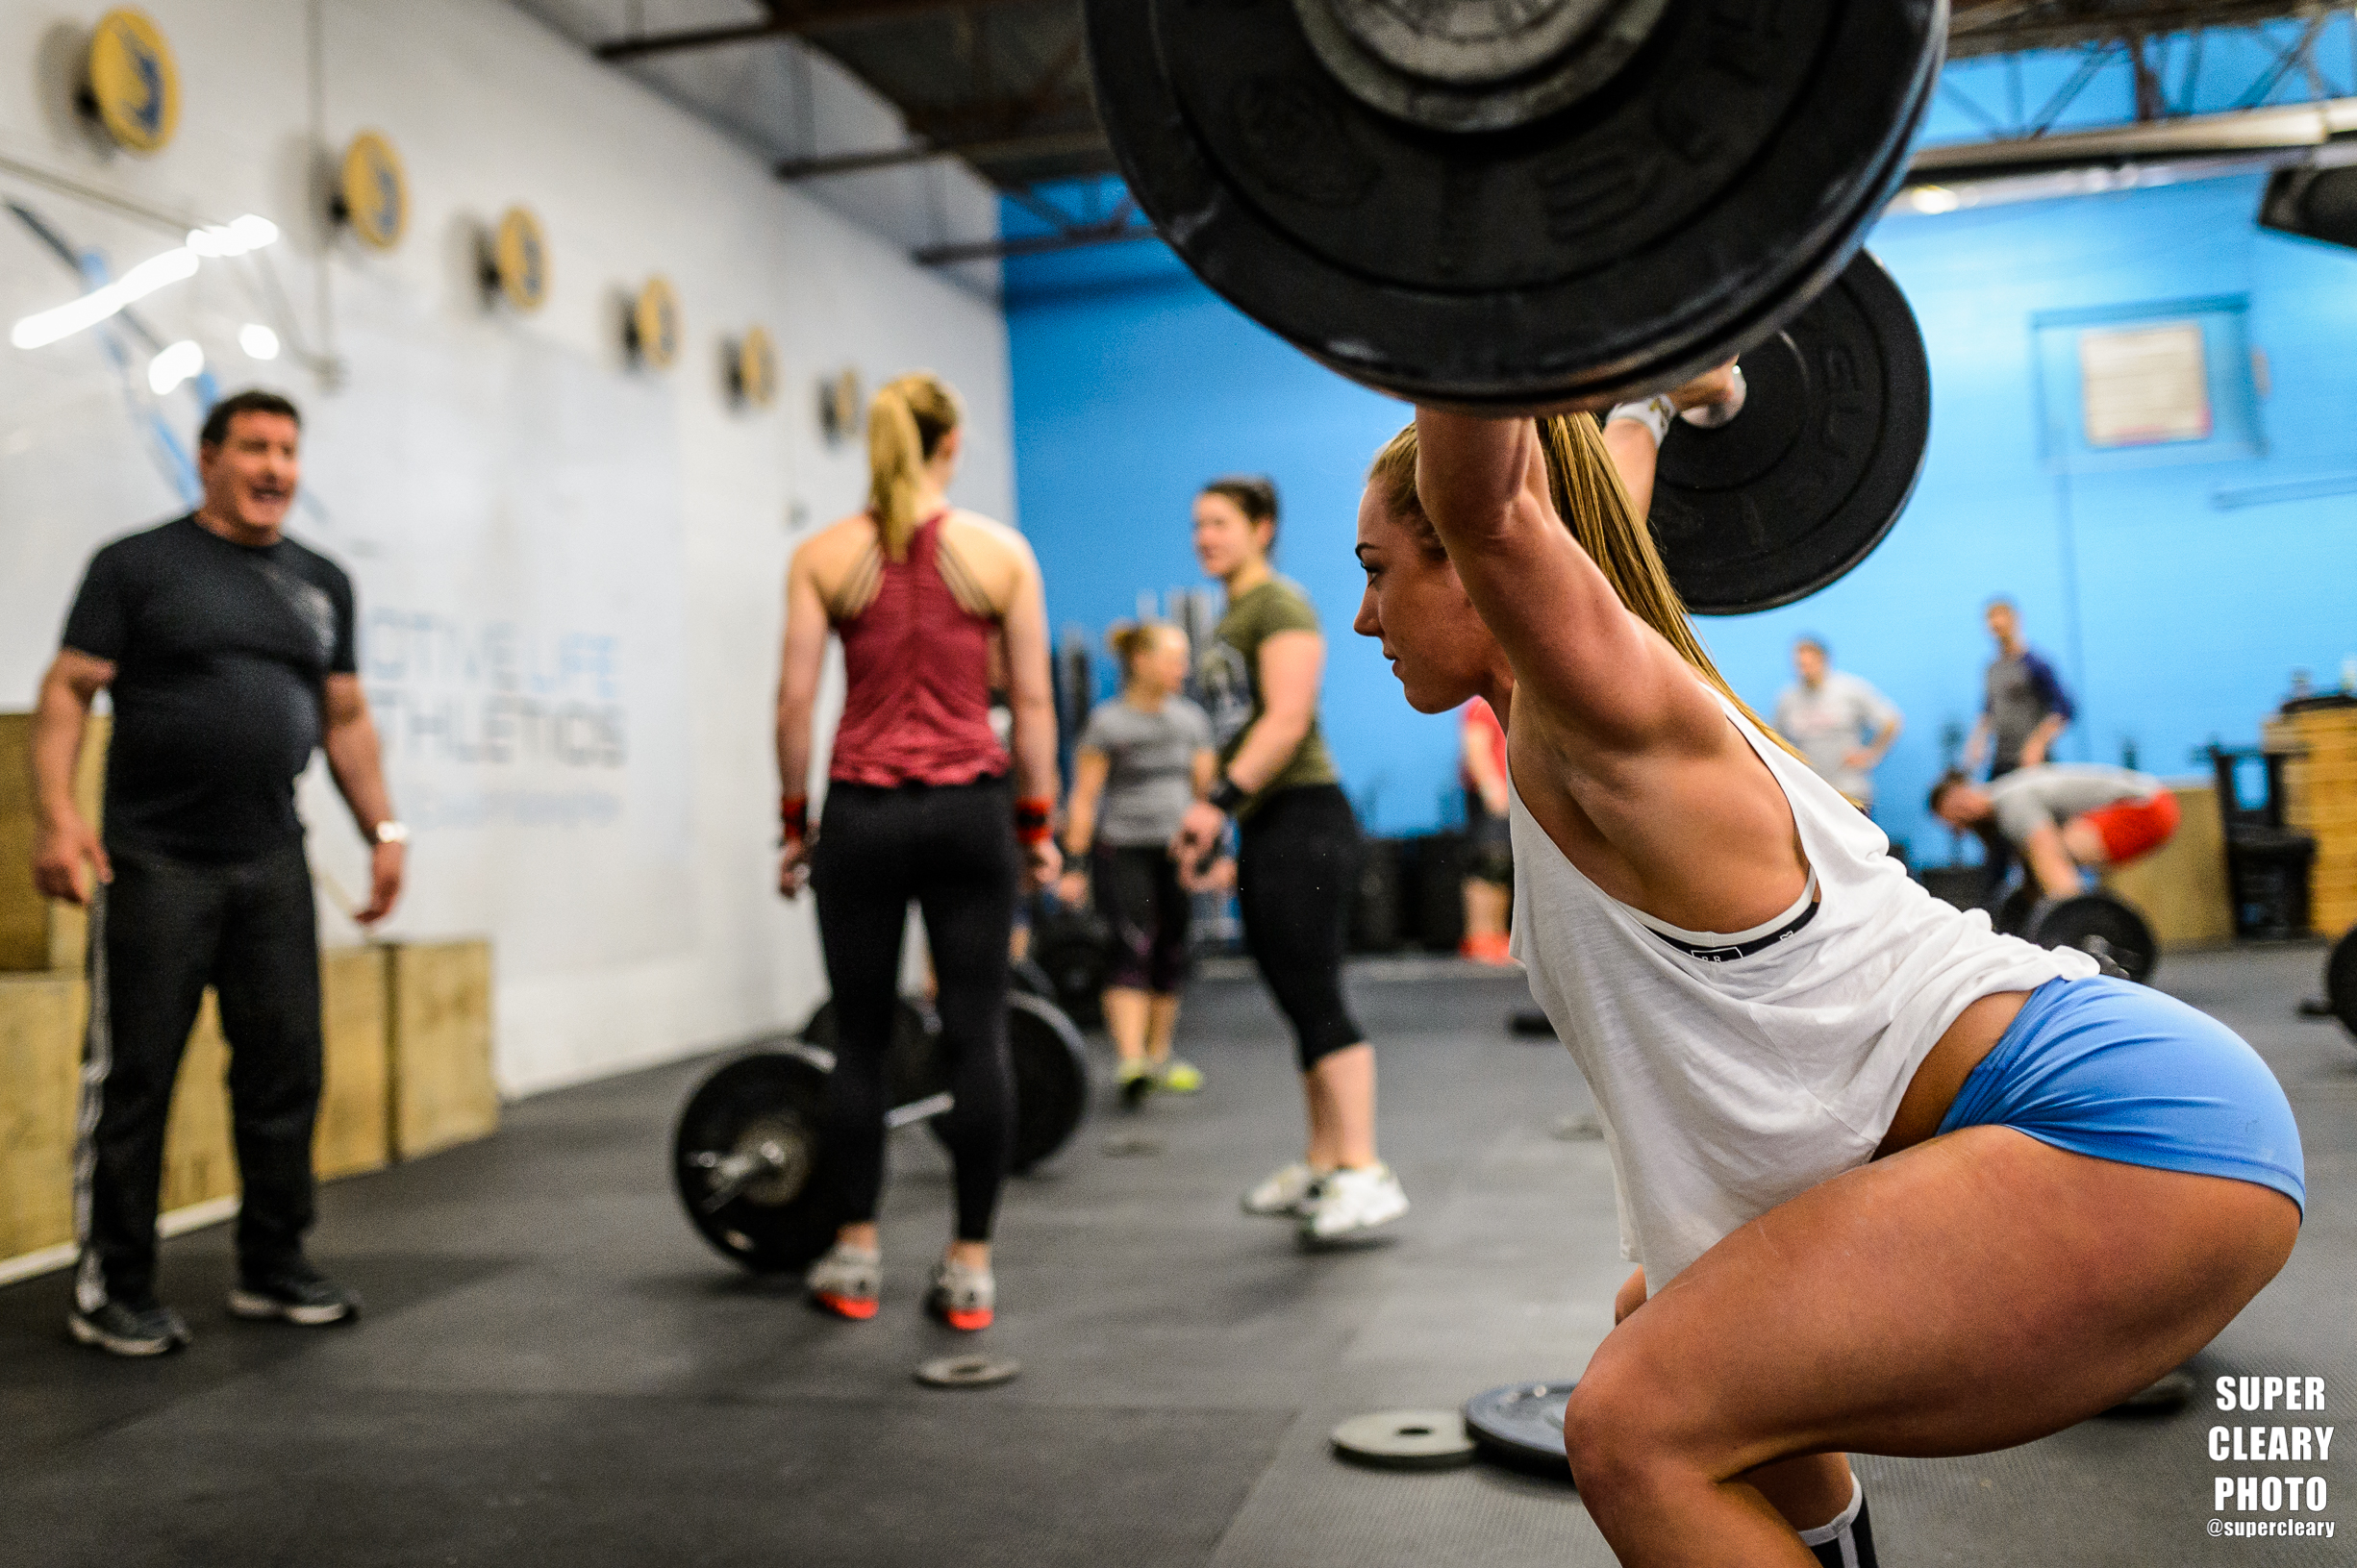
Kari Pearce during the handstand walk. Nikon D4s, Nikon 70-200, 1/640th, F2.8, ISO 6400, Copyright CrossFit, Inc 2016
All the while, I'm consulting my counterpart, Tai Randall who shares responsibility in covering the event itself, and our boss Dave Re, who is able to focus more on capturing really unique moments and angles during the event. Between the three of us, we were able to map out a basic plan for who would cover what, and how. Again, there are basically no breaks during the event, and little time to really confer with one another once the action starts. Having this plan in place was crucial to us making sure every inch of the floor was covered.

Rich Froning sticking his Clean and Jerk opened at 355lbs. Nikon D4s, Sigma 120-300, 1/640th, F2.8, ISO 6400, Copyright CrossFit, Inc 2016
All of this practice and prep was beyond helpful come the big show. While there may have only been one heat of the workouts once the action started, I felt as though I had already seen them twice before and knew what was coming next. This really helped me stay on top of things and know where to be and how to get myself in a position to take a good photo. I actually realized after the blur of shooting for two hours, how well everything actually went to plan. I, and the rest of the team, weren't scrambling around. We knew what was happening, and where to be to capture it best, and I think the final product really speaks to that.
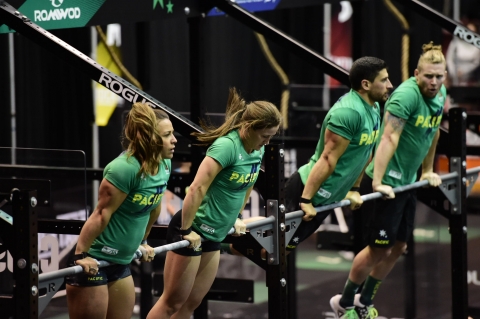
Team Pacific hitting synchro muscle-ups, Nikon D4s, Nikon 70-200, 1/640th, F2.8, ISO 6400,, Copyright CrossFit, Inc 2016
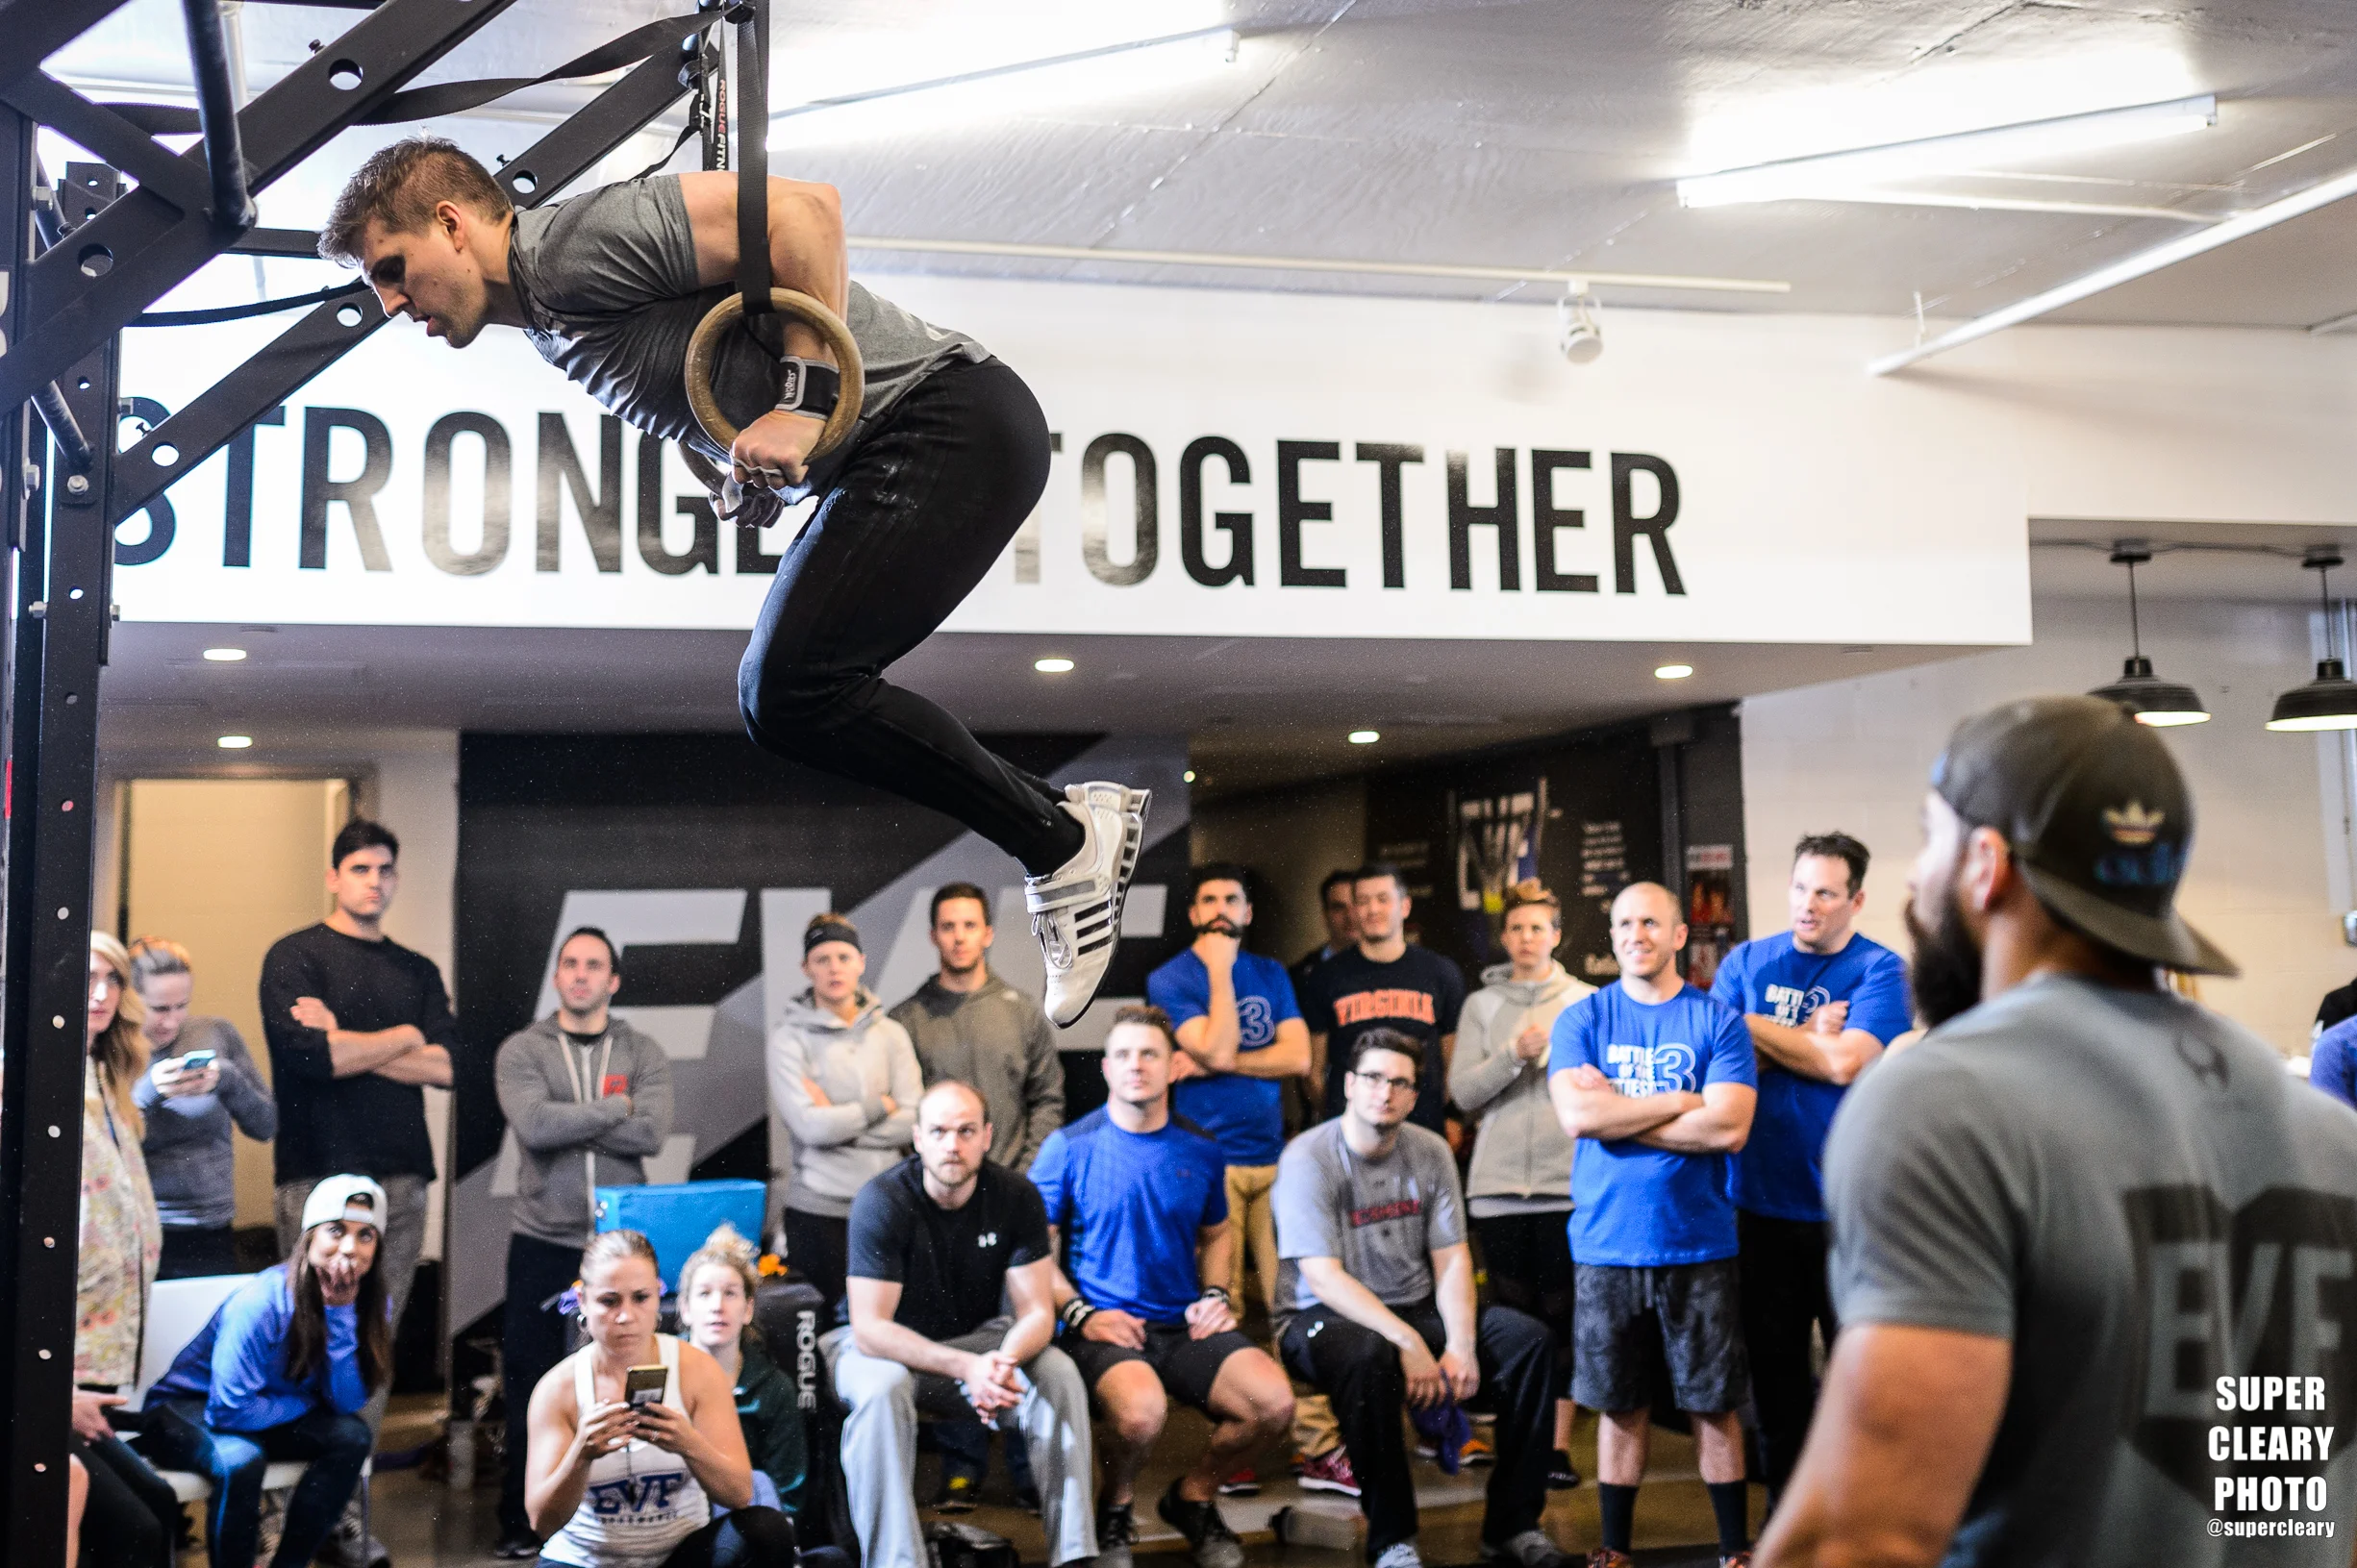
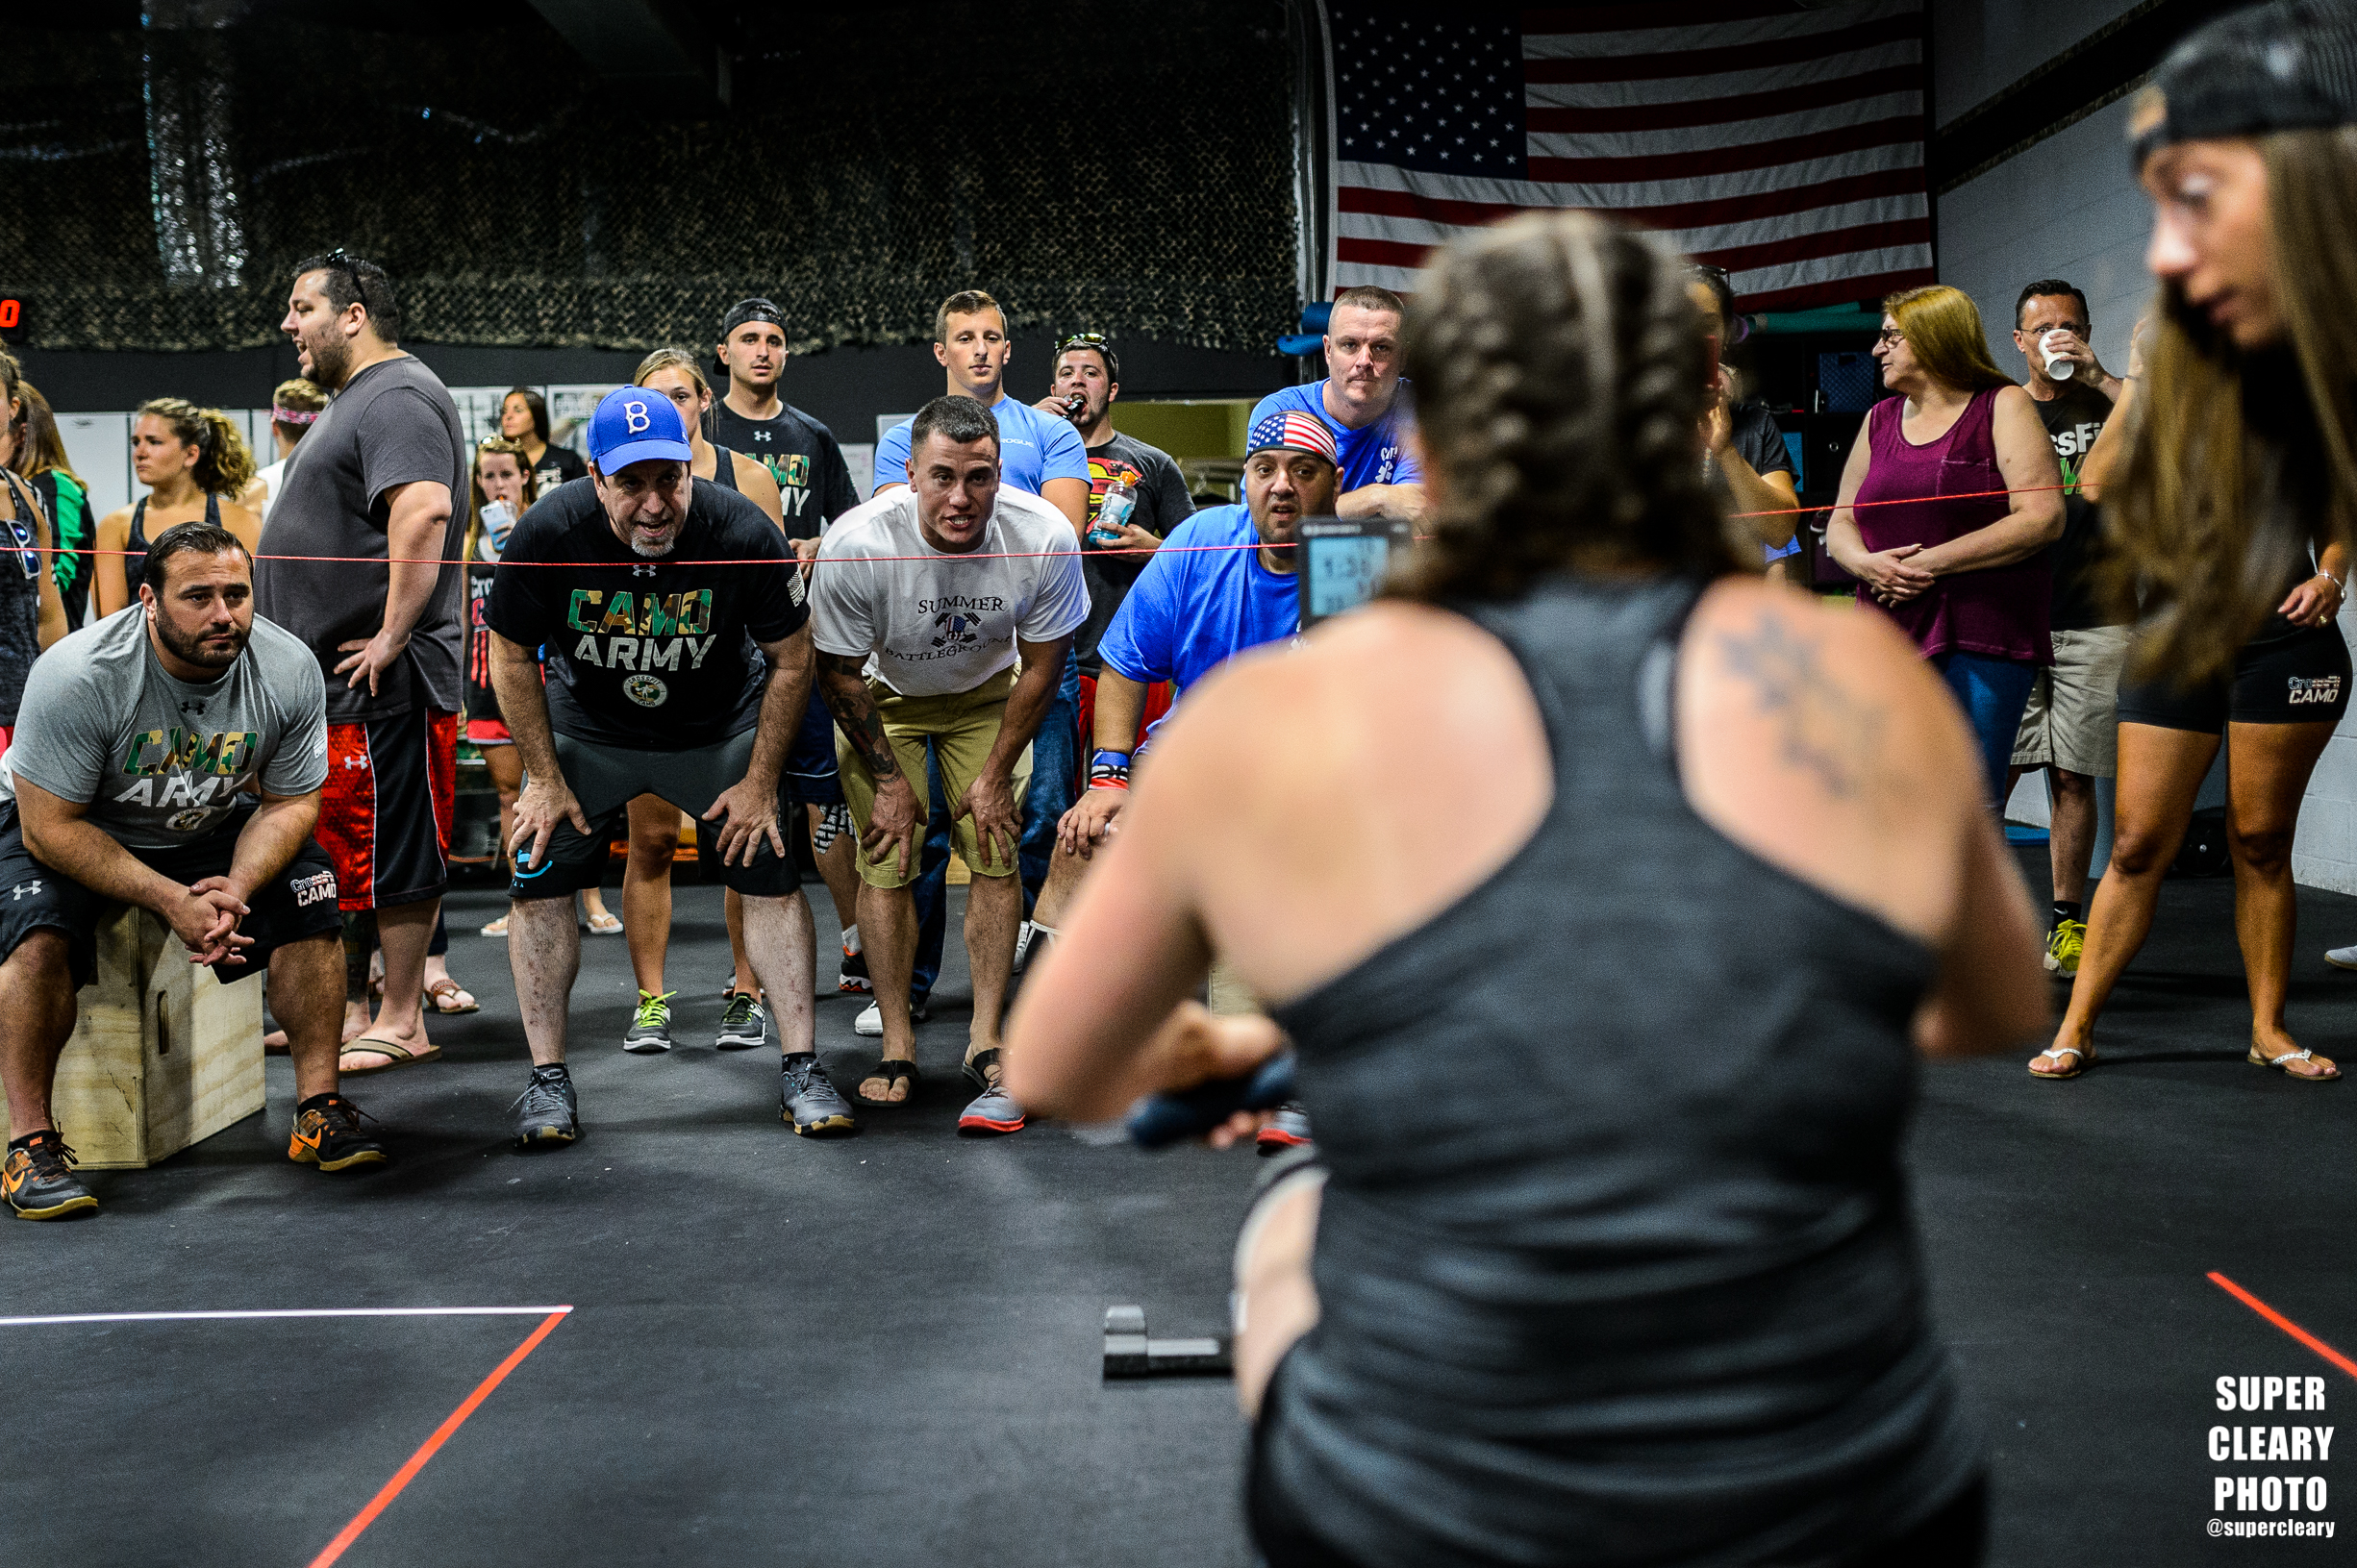
On the more technical shooting side, I think this was a great event to highlight how you have to shoot to tell the story, not just deliver the same photo over and over. I've talked about it before, but often for my images to stand out, I try to shoot very tight on athletes during competition. I think it delivers a unique result and is challenging to get right. At this event though, the story is not about individuals, it is about a team of CrossFit Games superstars coming together to compete against other teams. Because of that, my go-to "shoot super tight" doesn't really work in this case. Yes, Rich Froning is on the floor, but shooting him super tight, effectively isolating him from the rest of the team, doesn't tell in a photo how Team USA did. Yes, there is absolutely a place when delivering the entire stack of images for highlights of each athlete competing, but the images that are really going to be important are of the team working (or not working) together, and teams battling against each other. Ian pulled out a cool snap from the event where Team Pacific, with Games-rookie James Newbury up at the front of the worm, are battling together to get through the final workout of the Invitational. It is a great shot because it includes the entire team, working together, and working hard. To back up that shooting style, for the most part, I backed off using my Sigma 120-300 2.8, in favor of the smaller and more flexible Nikon 70-200 2.8. Even though the optics in the Sigma are fantastic, I just didn't need that much zoom for the positions I was shooting from, or with my goal of trying to catch the whole team in action.

Pre-event establishing shot, Nikon D4s, Sigma 15mm, 1/800th, F2.8, ISO 6400,, Copyright CrossFit, Inc 2016
A few other shots I always try and get at events, is some bigger picture images. These are shots trying to show the scale of the event, or are from angles not usually seen. Two quick examples of this are the lap I took around the arena with a fisheye. This shot, taken early in the morning before the event works as a great establishing shot to show the venue and the professional presentation. The fisheye's built in distortion, when used right can really make a room look that much bigger. Secondly, during the event, I ran up to the top of the arena a few times to try and shoot down and catch the action from above. I was able to grab a whole slew of images of some muscle-up synchronicity, that just help fill out the coverage better than just doing it all from the arena floor.

Working with a pretty light setup for the Invitational. Nikon D4, Nikon D4S, Tamron 24-70, Nikon 70-200, Sigma 120-300
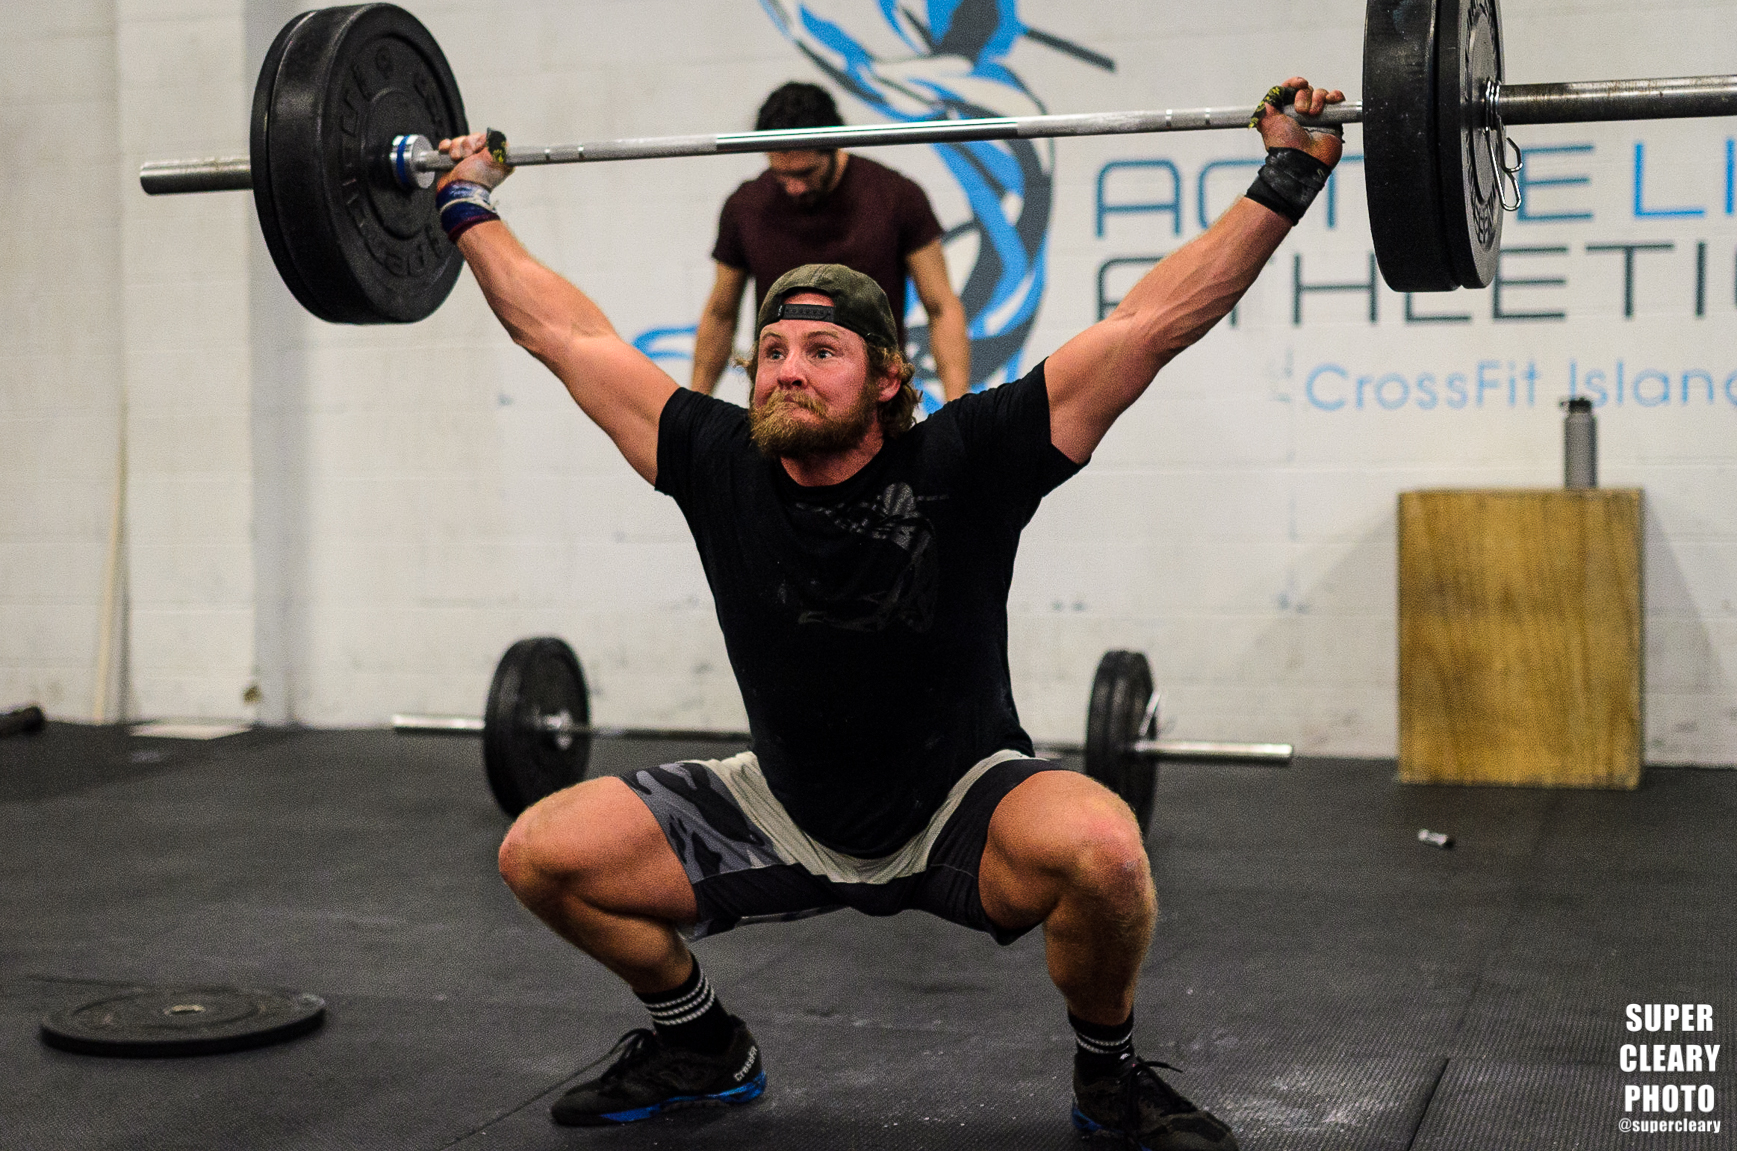
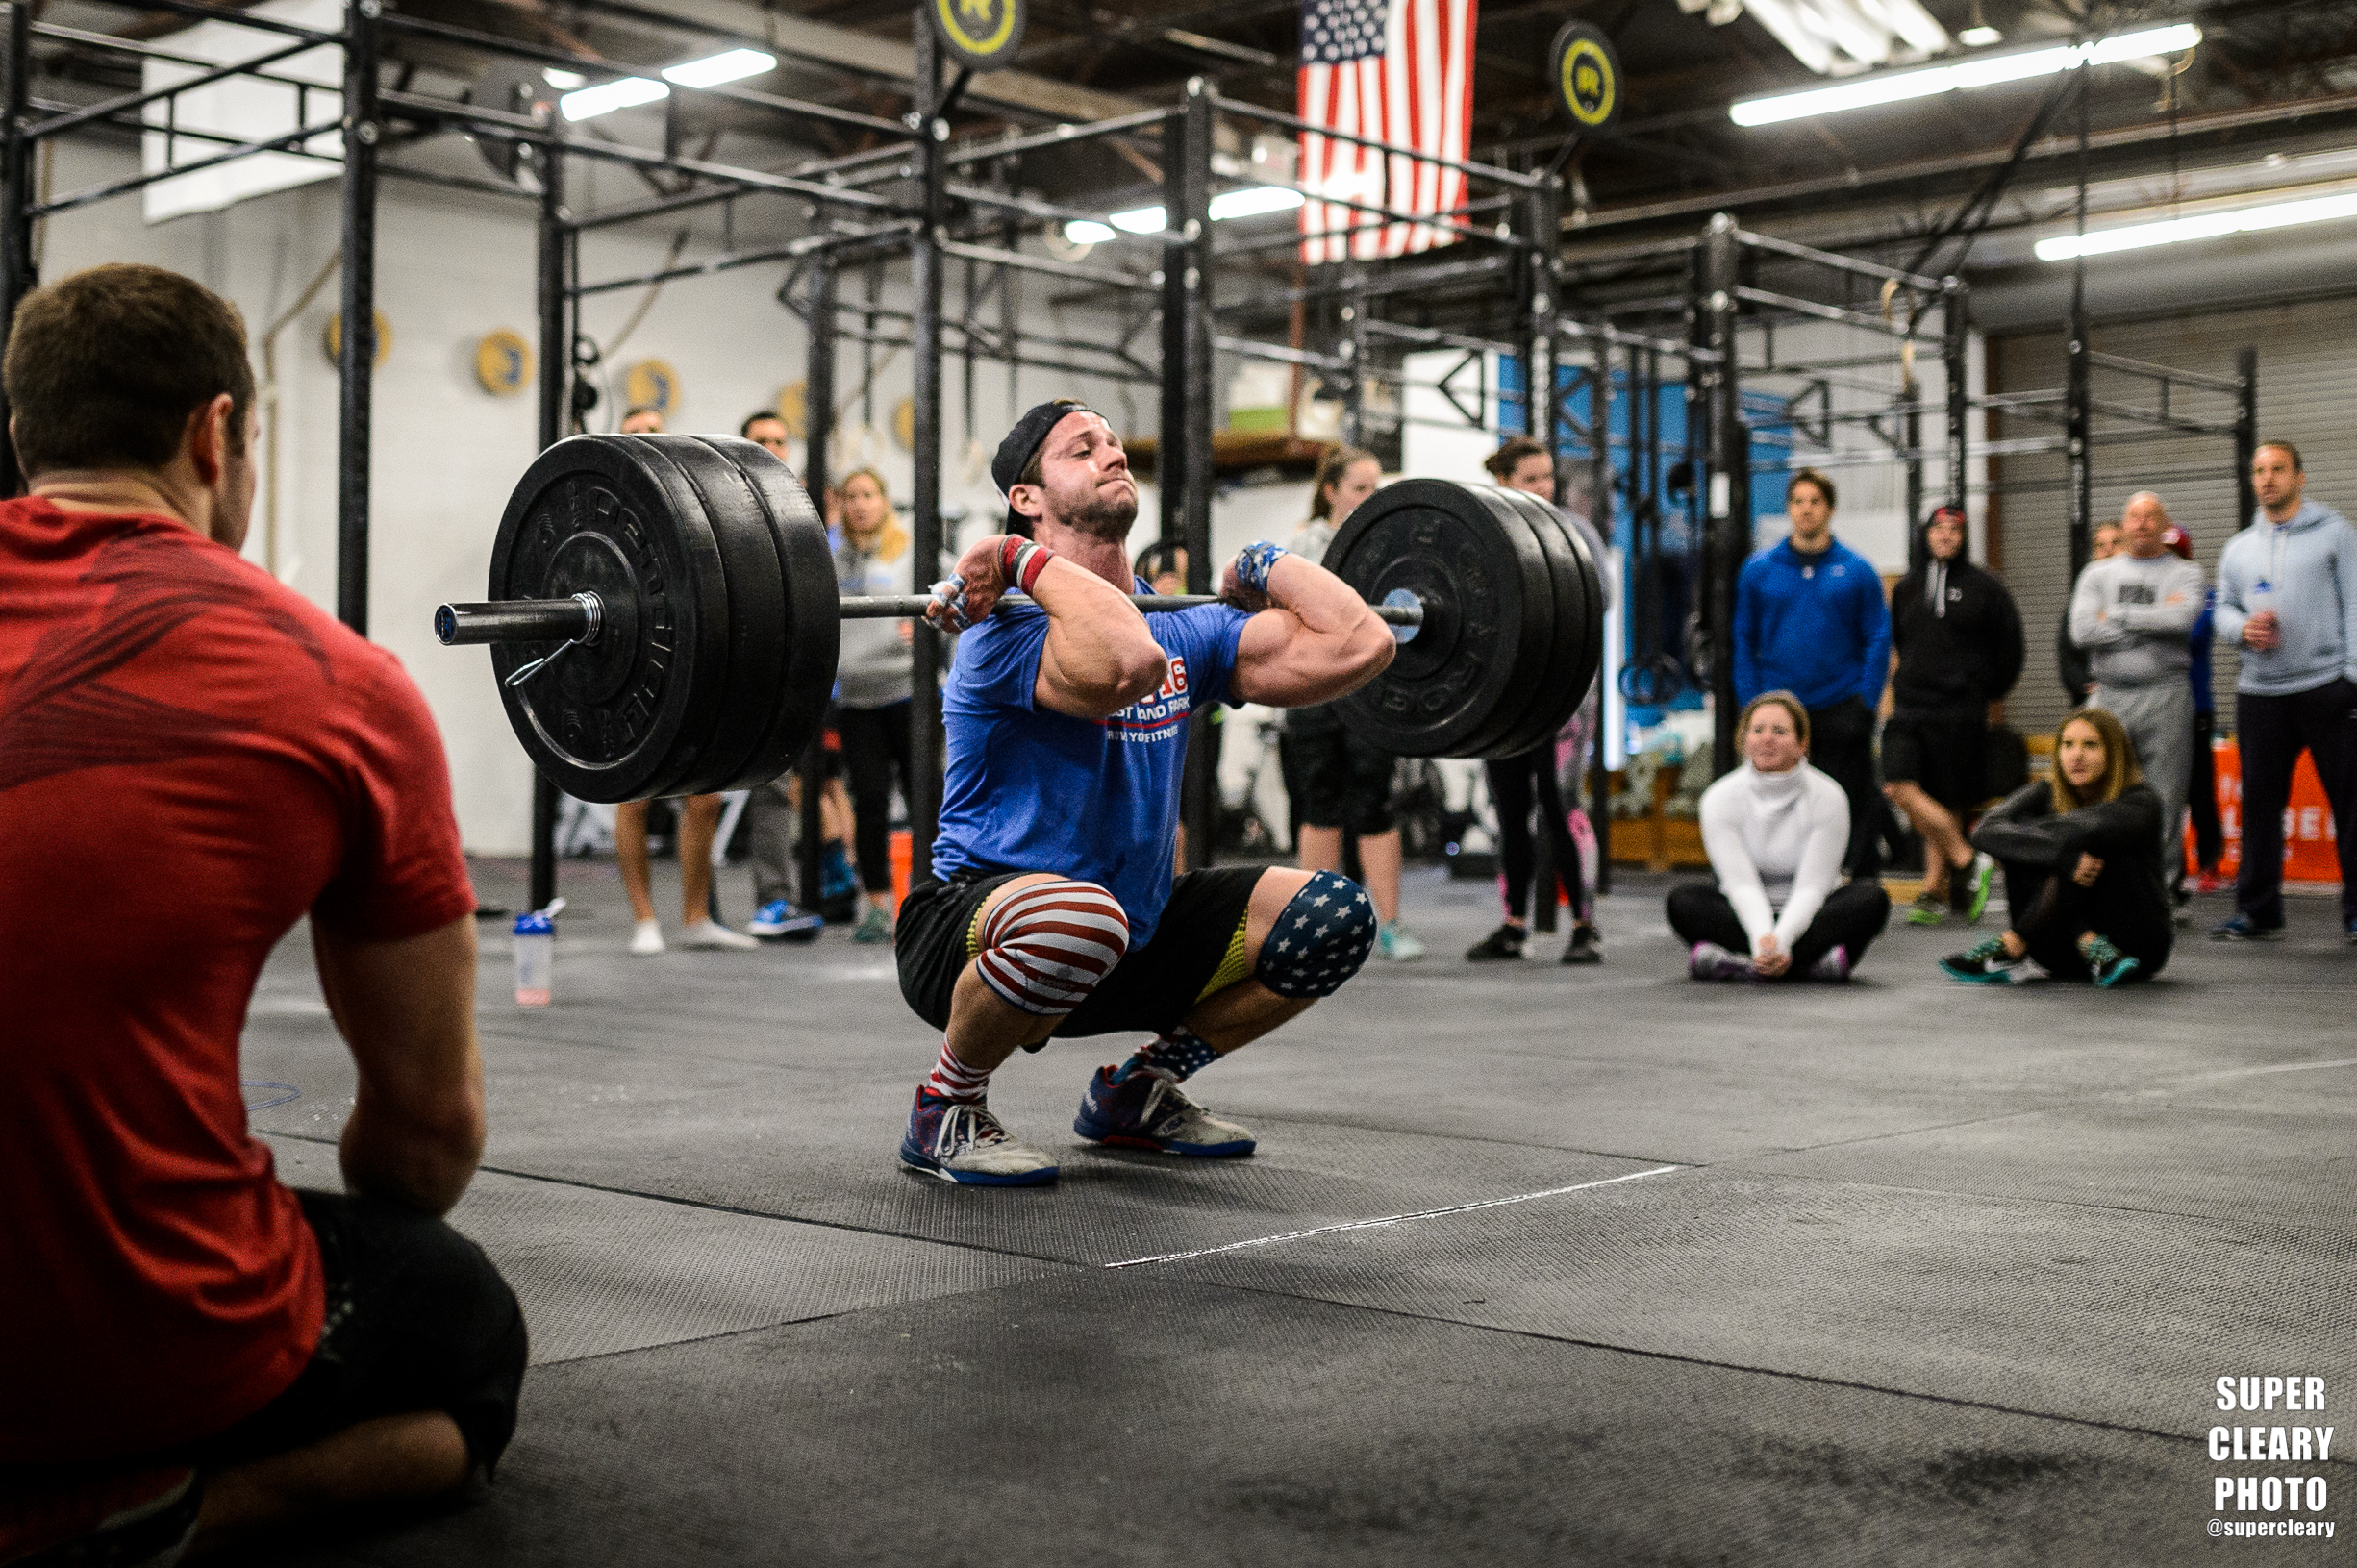
Lastly, some of the bread and butter images that are just too much fun to capture were doing the snatch/clean & jerk event. Here, it was all about highlighting the athlete lifting under the lights. For that, I switched to the Sigma 120-300 and worked to get some head-to-toe classic lifting shots as well as some very tight expression/reaction images whether the lift was made or missed. I was pleasantly surprised by just how fired up and animated the athletes were before and after their lifts. Those post-lift reactions were particularly exciting this year as a number of athletes PR'd there lifts even under such a high pressure setup.

Brent Fikowski after putting on a snatch clinic, Nikon D4s, Sigma 120-300, F 2.8, 1/640th, ISO 6400 Copyright CrossFit, Inc 2016
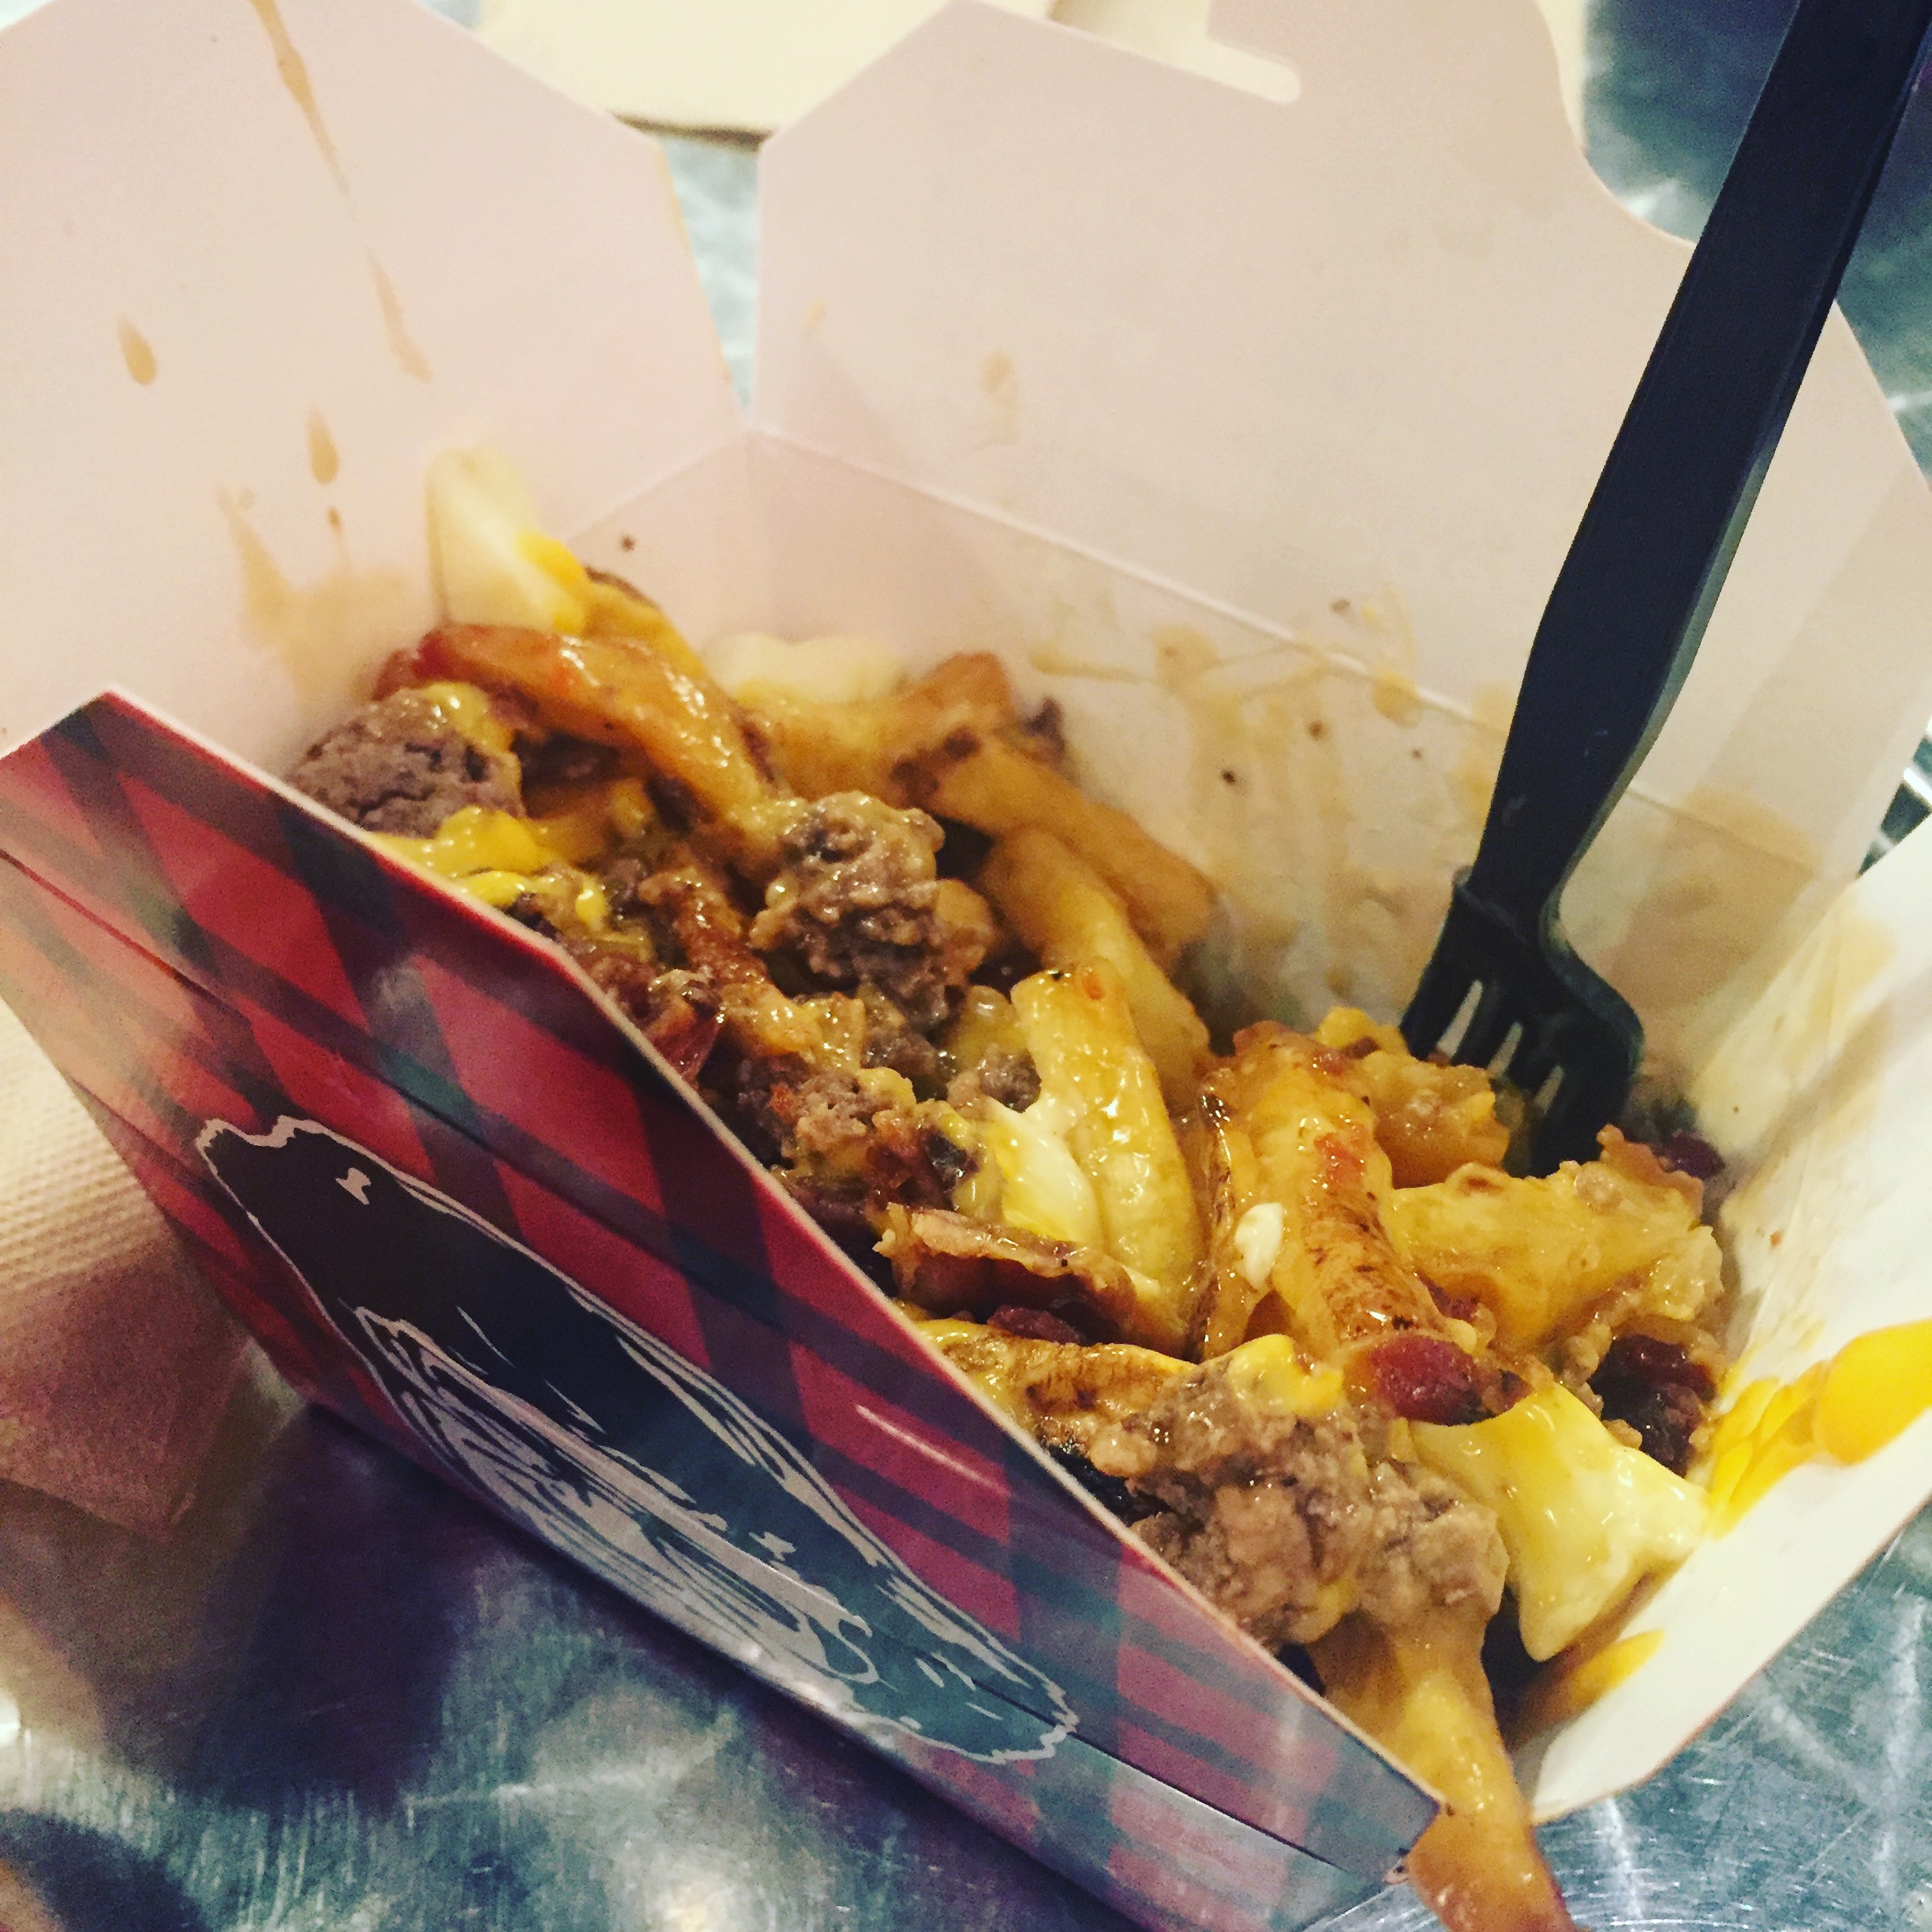
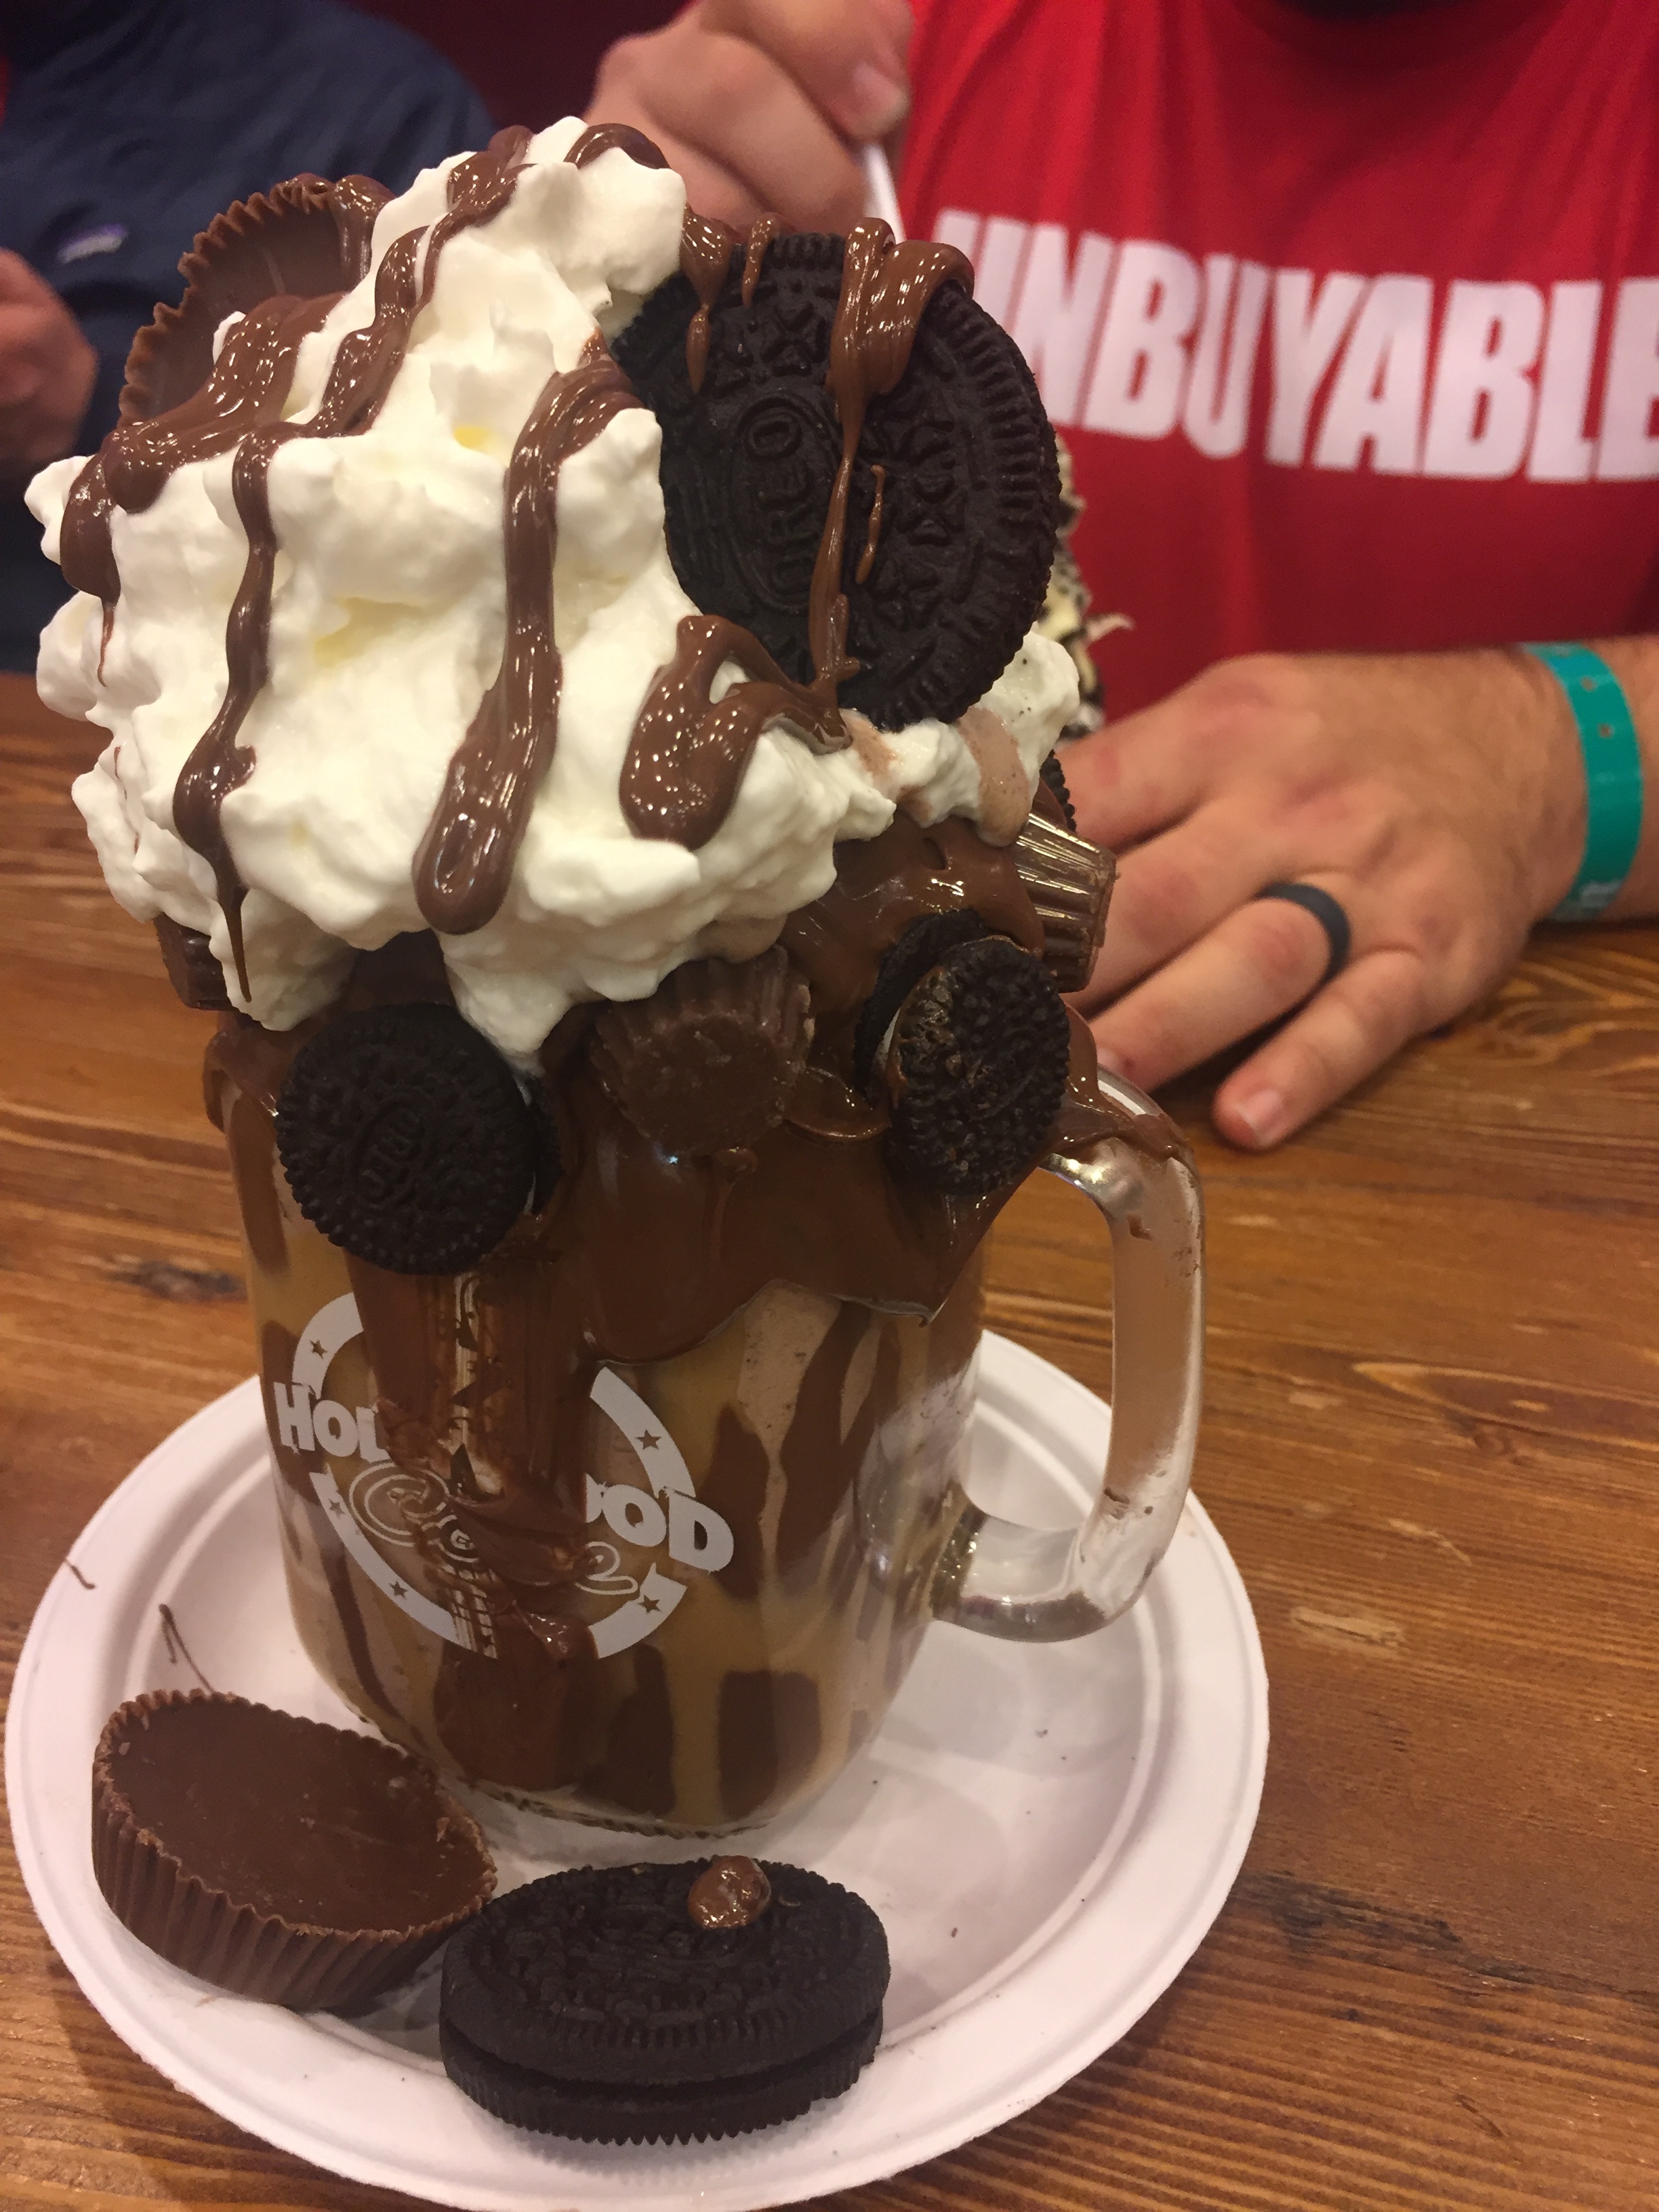
I have a whole bunch of BTS and from-the-floor video from the event I'll have up in a video over the next few weeks, but wanted to get some quick impressions from the Invitational online first. Beyond the shoot, make sure to check out Hollywood Ice Cream and Oshawa for an absolutely absurd Monster Shake, as well as some Poutine from Smoke's. Also, Canadian customs is no joke so make sure you're on the up-and-up when you go through your "friendly" interrogation.
If you like what you've read, please share. Feel free to post some content suggestions below so I know what you're looking for in my next post. For bookings email shaun@superclearyphoto.com. And as always, follow @supercleary on instagram and SuperClearyPhoto on Facebook.