
The most common question I get in my email from aspiring photographers is "how do I get paid to shoot." This usually has the same follow-ons, 1) I've shot for free but now want to get paid, 2) I don't know what to charge, 3) I don't know what to give clients, and so on. By no means do I have all the secrets, but I want to spell out a few of the key points in my mind to turn you from just aspiring to actually making money taking photos.
First, if you want to get paid taking photos, you need to already be a professional. I'll go over what that means to me.

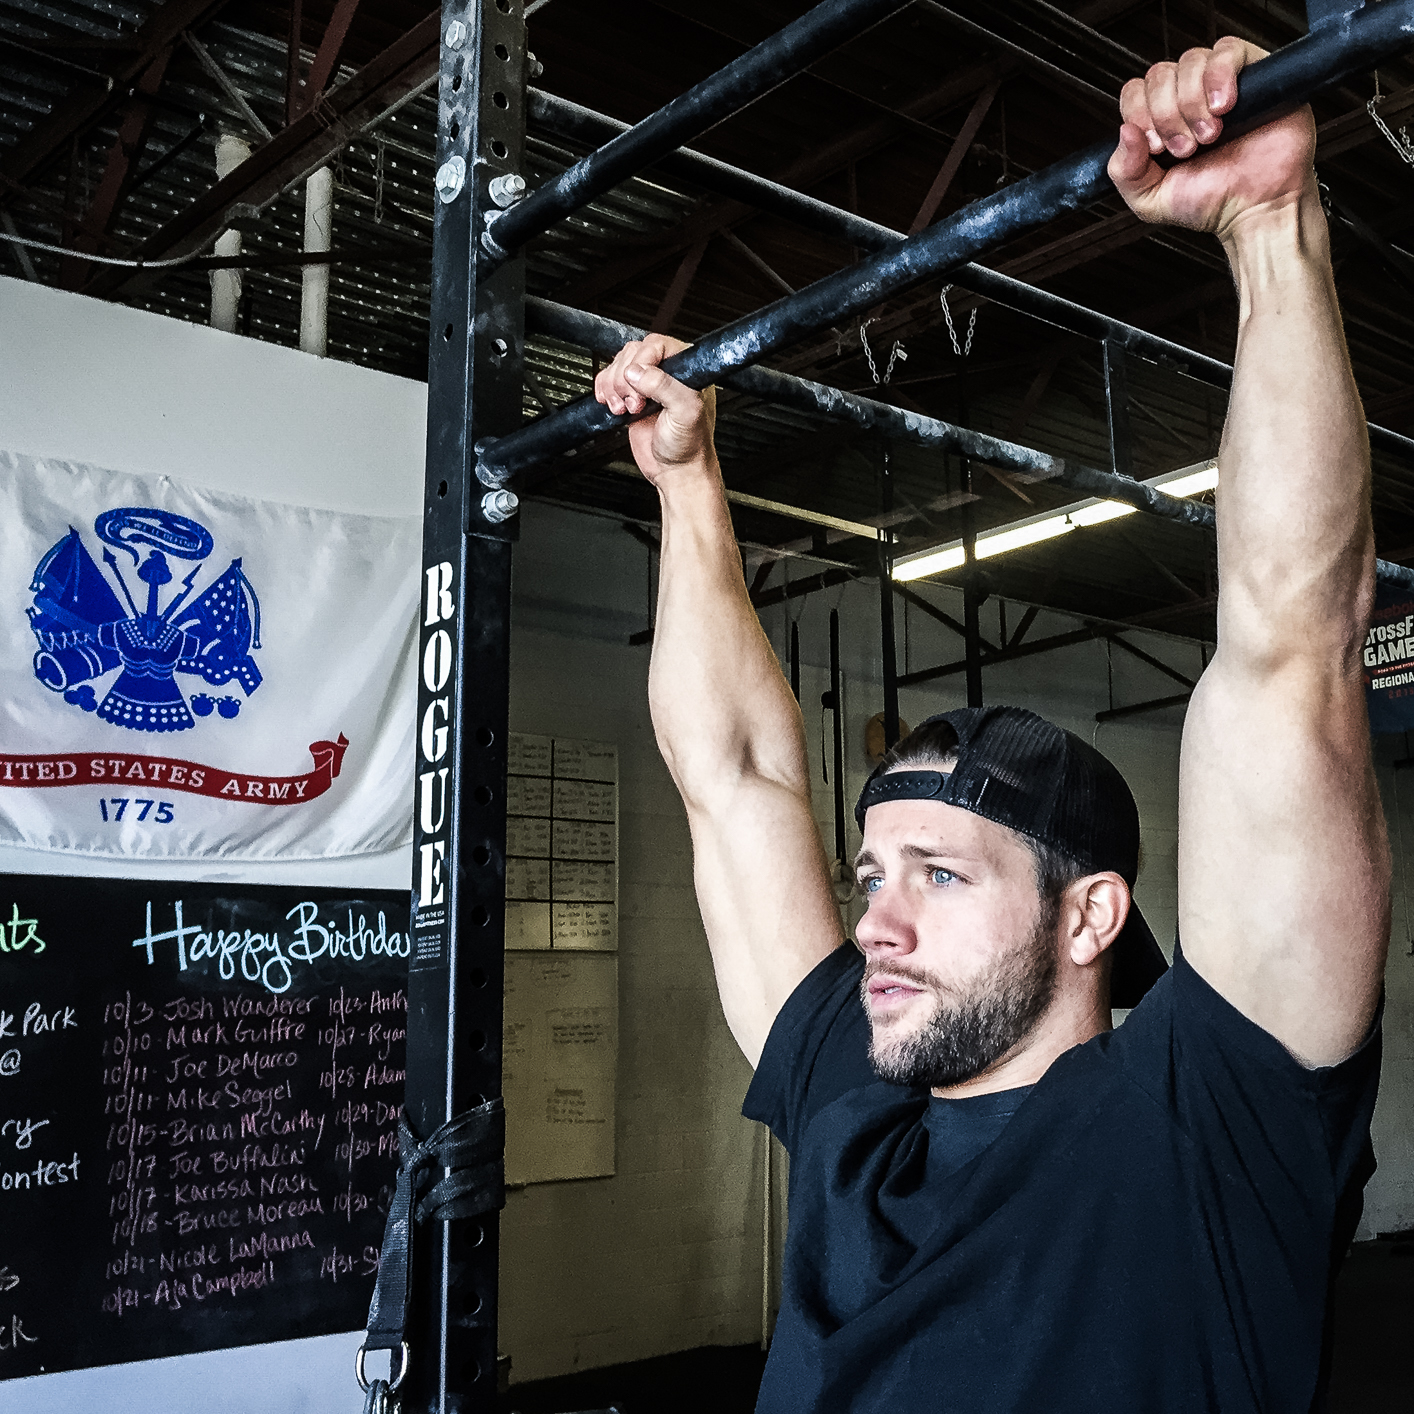
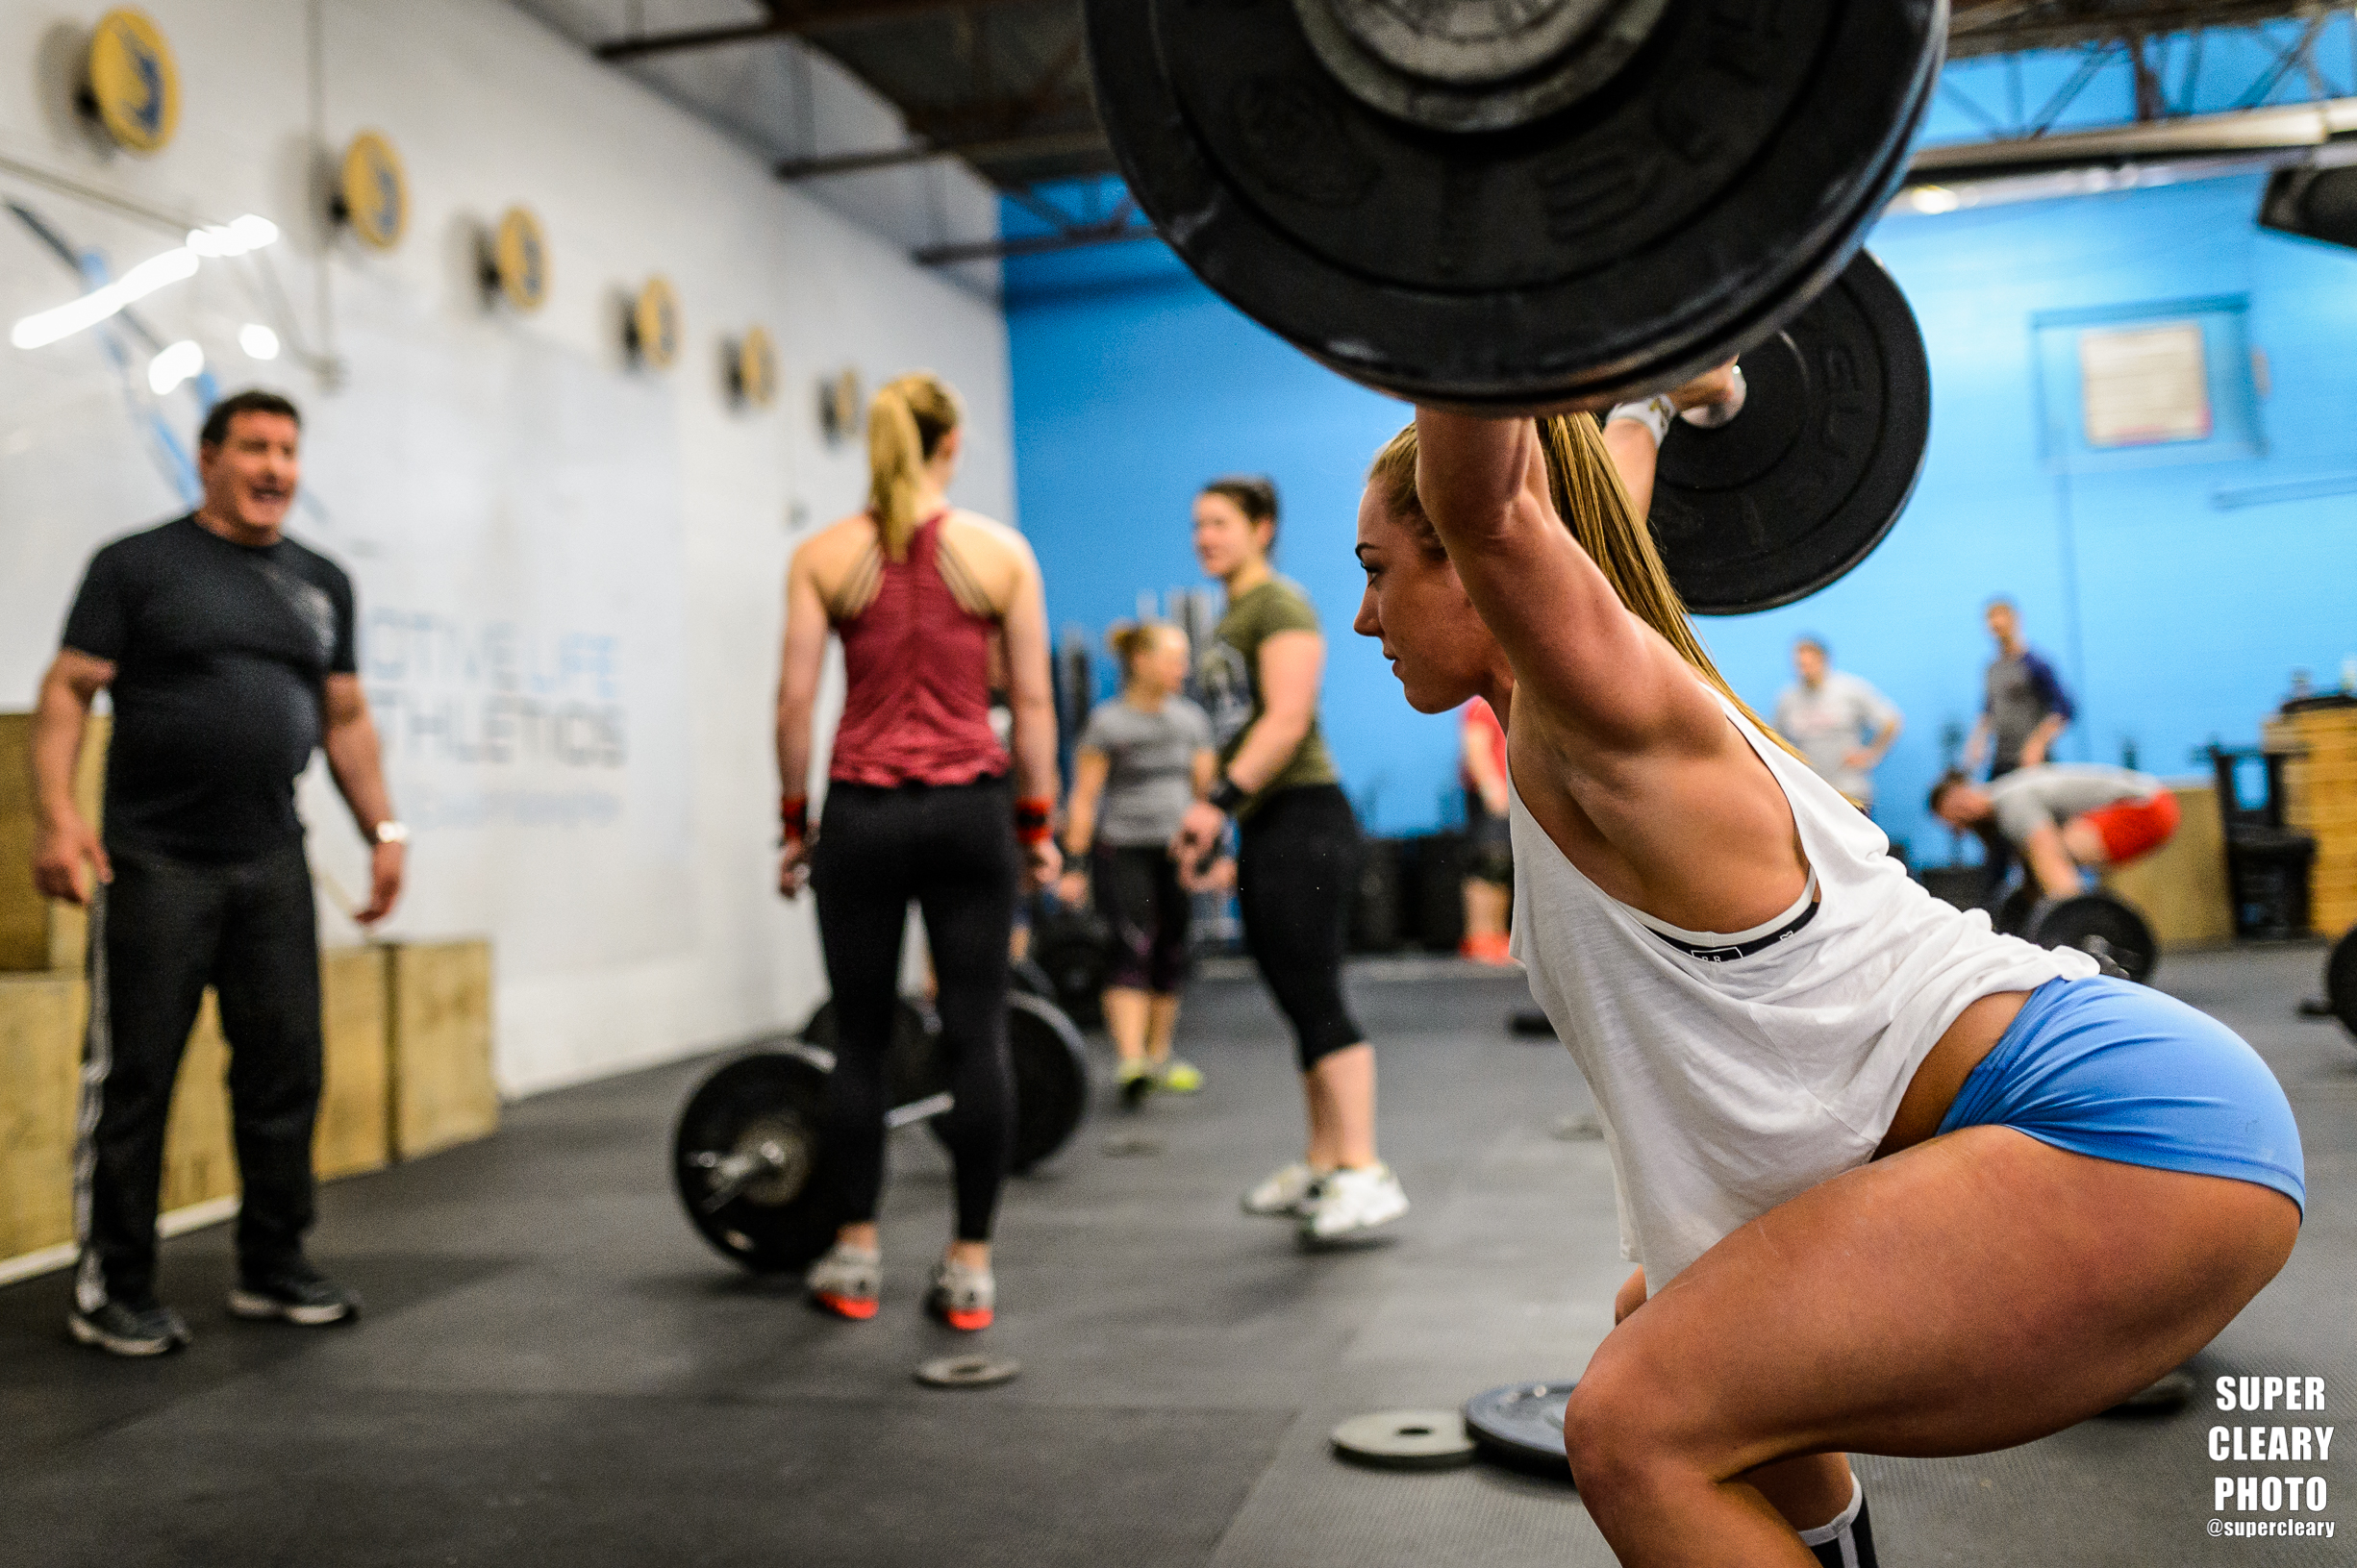
CrossFit Garden City Partner Competition - shot for CFGC
You need to have professional equipment. No, don't run out and buy a Nikon D5 and a plethora of lens, but a basic dslr, with a basic lens will do the trick. DSLRs are incredible now. Even entry level DSLRs have incredible low light capabilities and can create fantastic images in the right hands, better you can get them very cheap used. A basic crop body camera - like a used Nikon 7100 or the Canon equivalent will run you less than $600 and a 35mm 1.8 (great for the low light in a gym) is less than $200. With a setup like that you can shoot RAW, have plenty of low light range, and can nail tact sharp photos. With those tools you can deliver a professional product to your client that they will be happy with.

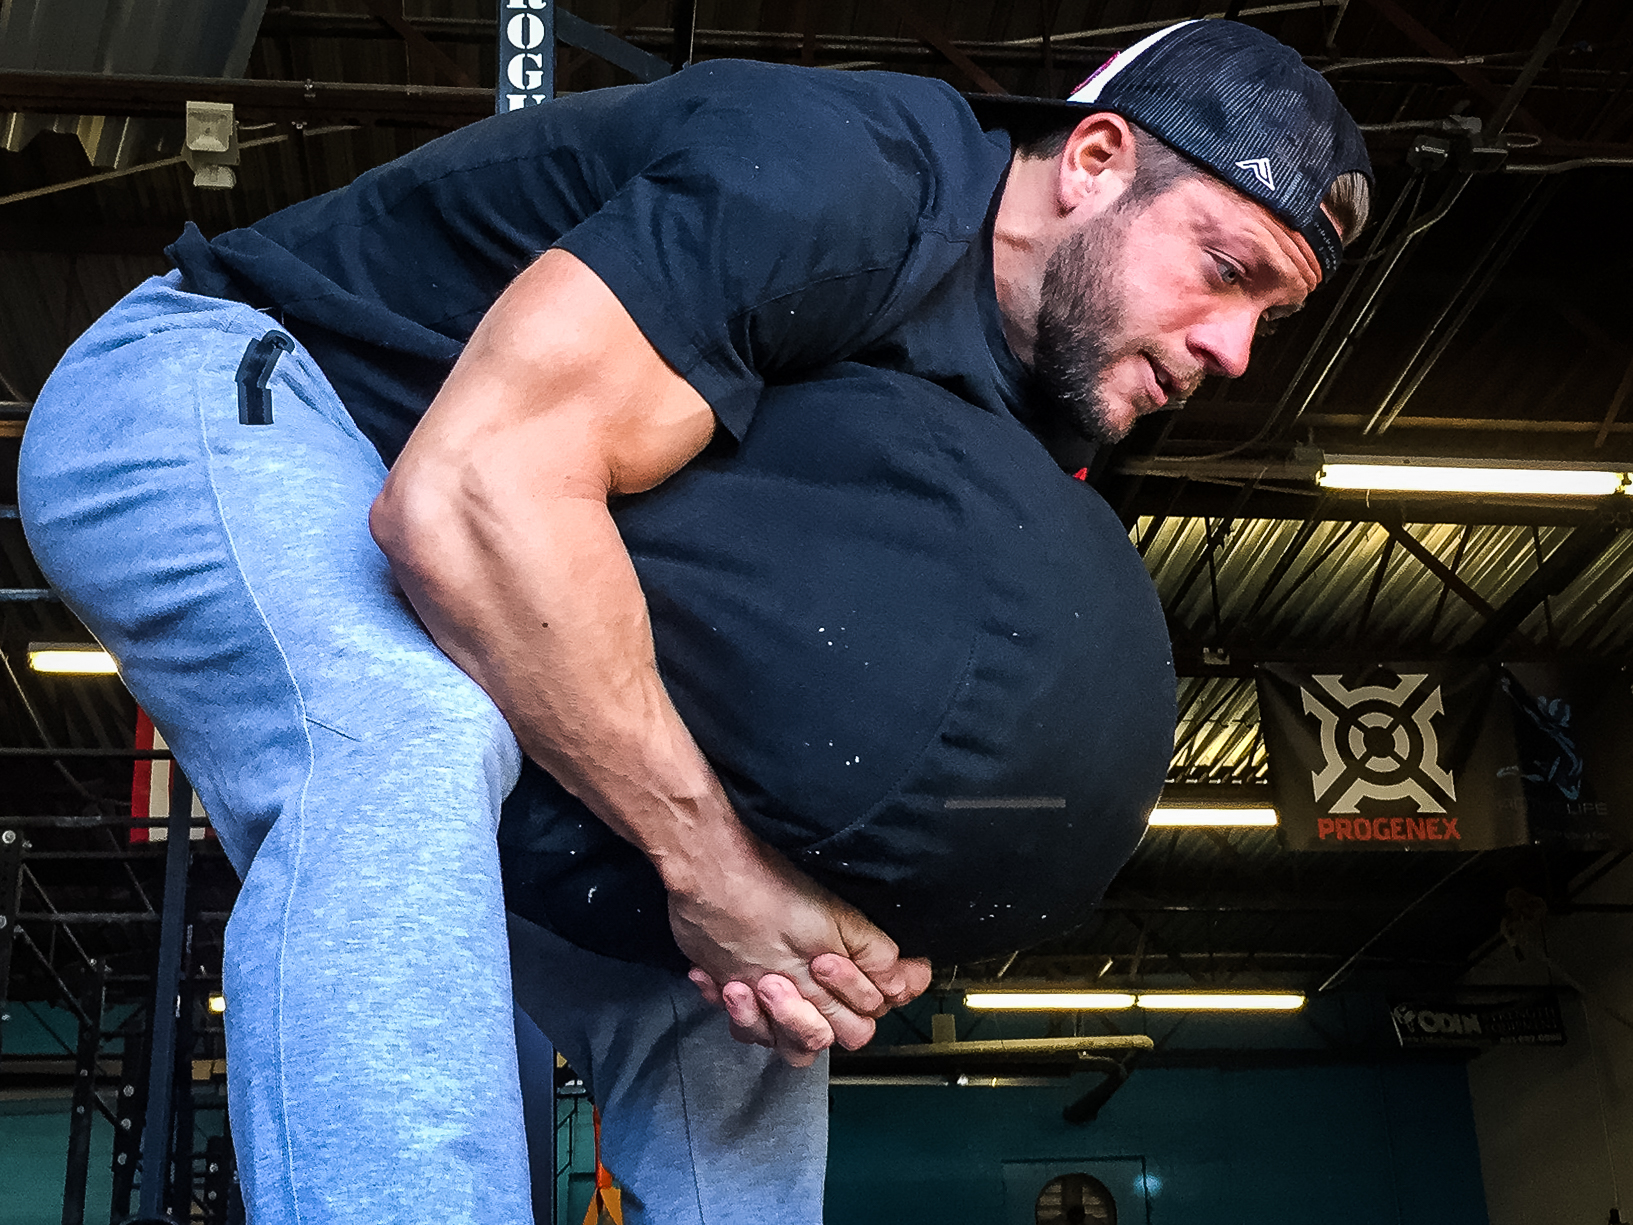
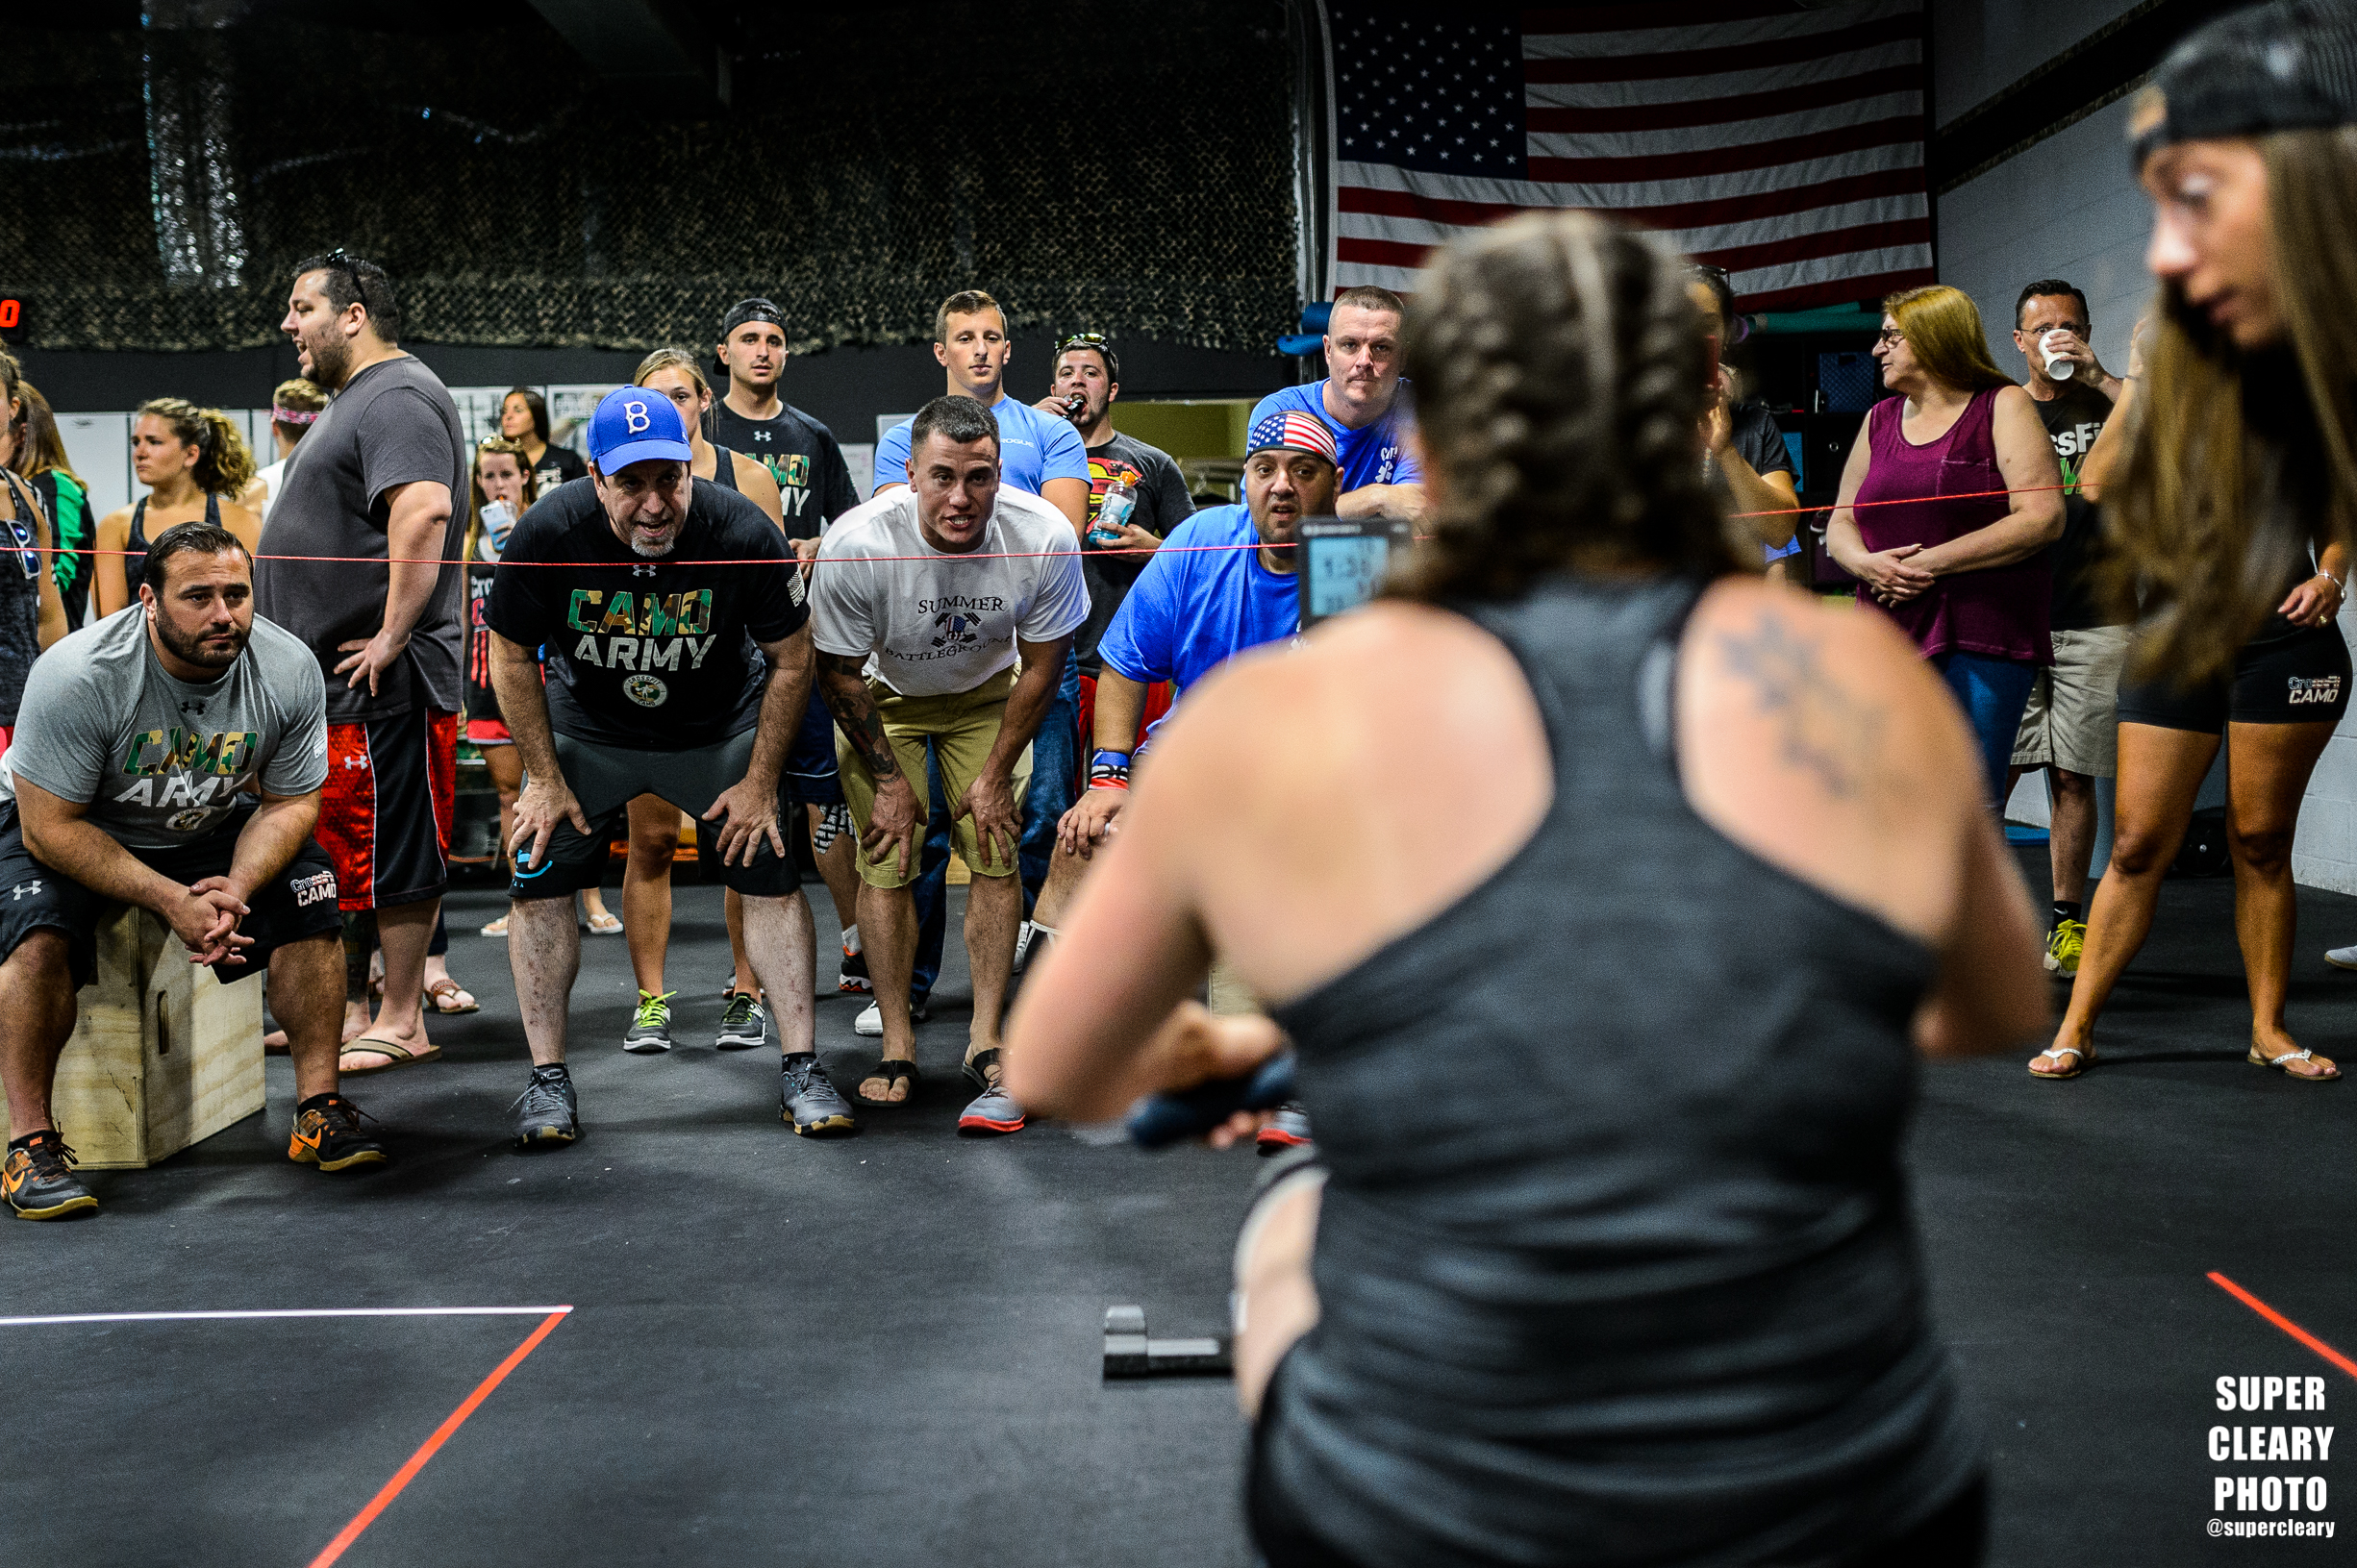
Rob Moloney - Shot for Goat Tape
Next you need to have a portfolio and a social media presence, you could even get extra points and have a website. The social media presence is easy, and everyone now has an instagram accpimt and posts photos there. That is not a portfolio. A portfolio is a link you can send to a client that is representative of your work. It should be direct and short. A portfolio should be 8-12 photos specifically of the type of work you're looking to do. Don't send a portfolio to a gym client that includes wedding photos, or food photos. They are trying to hire the best fitness shooter, not some person that can do a little of everything. Your portfolio should also be perfect. Each shot should be great, without any technical mistakes, and stand on its own. If you're not confident in a shot, dump it. You have every photo you've ever taken to choose from, make sure they are all winners. More is not better here. A client or editor isn't going to scroll through 30 images, they are going to skim a few and make a judgement. Don't include crap.
Lastly, you could have a website. A website might really just be your portfolio - sort of like my landing page at www.scp-fit.com. I consider that page sort of an expanded portfolio. It has an about me section, and a few portfolio pages that are sorely in need of an overhaul. And a way to get in contact with me. A website isn't a deal-breaker, but it is definitely nice to have. I have this one hosted on Squarespace and it was very easy to put together.

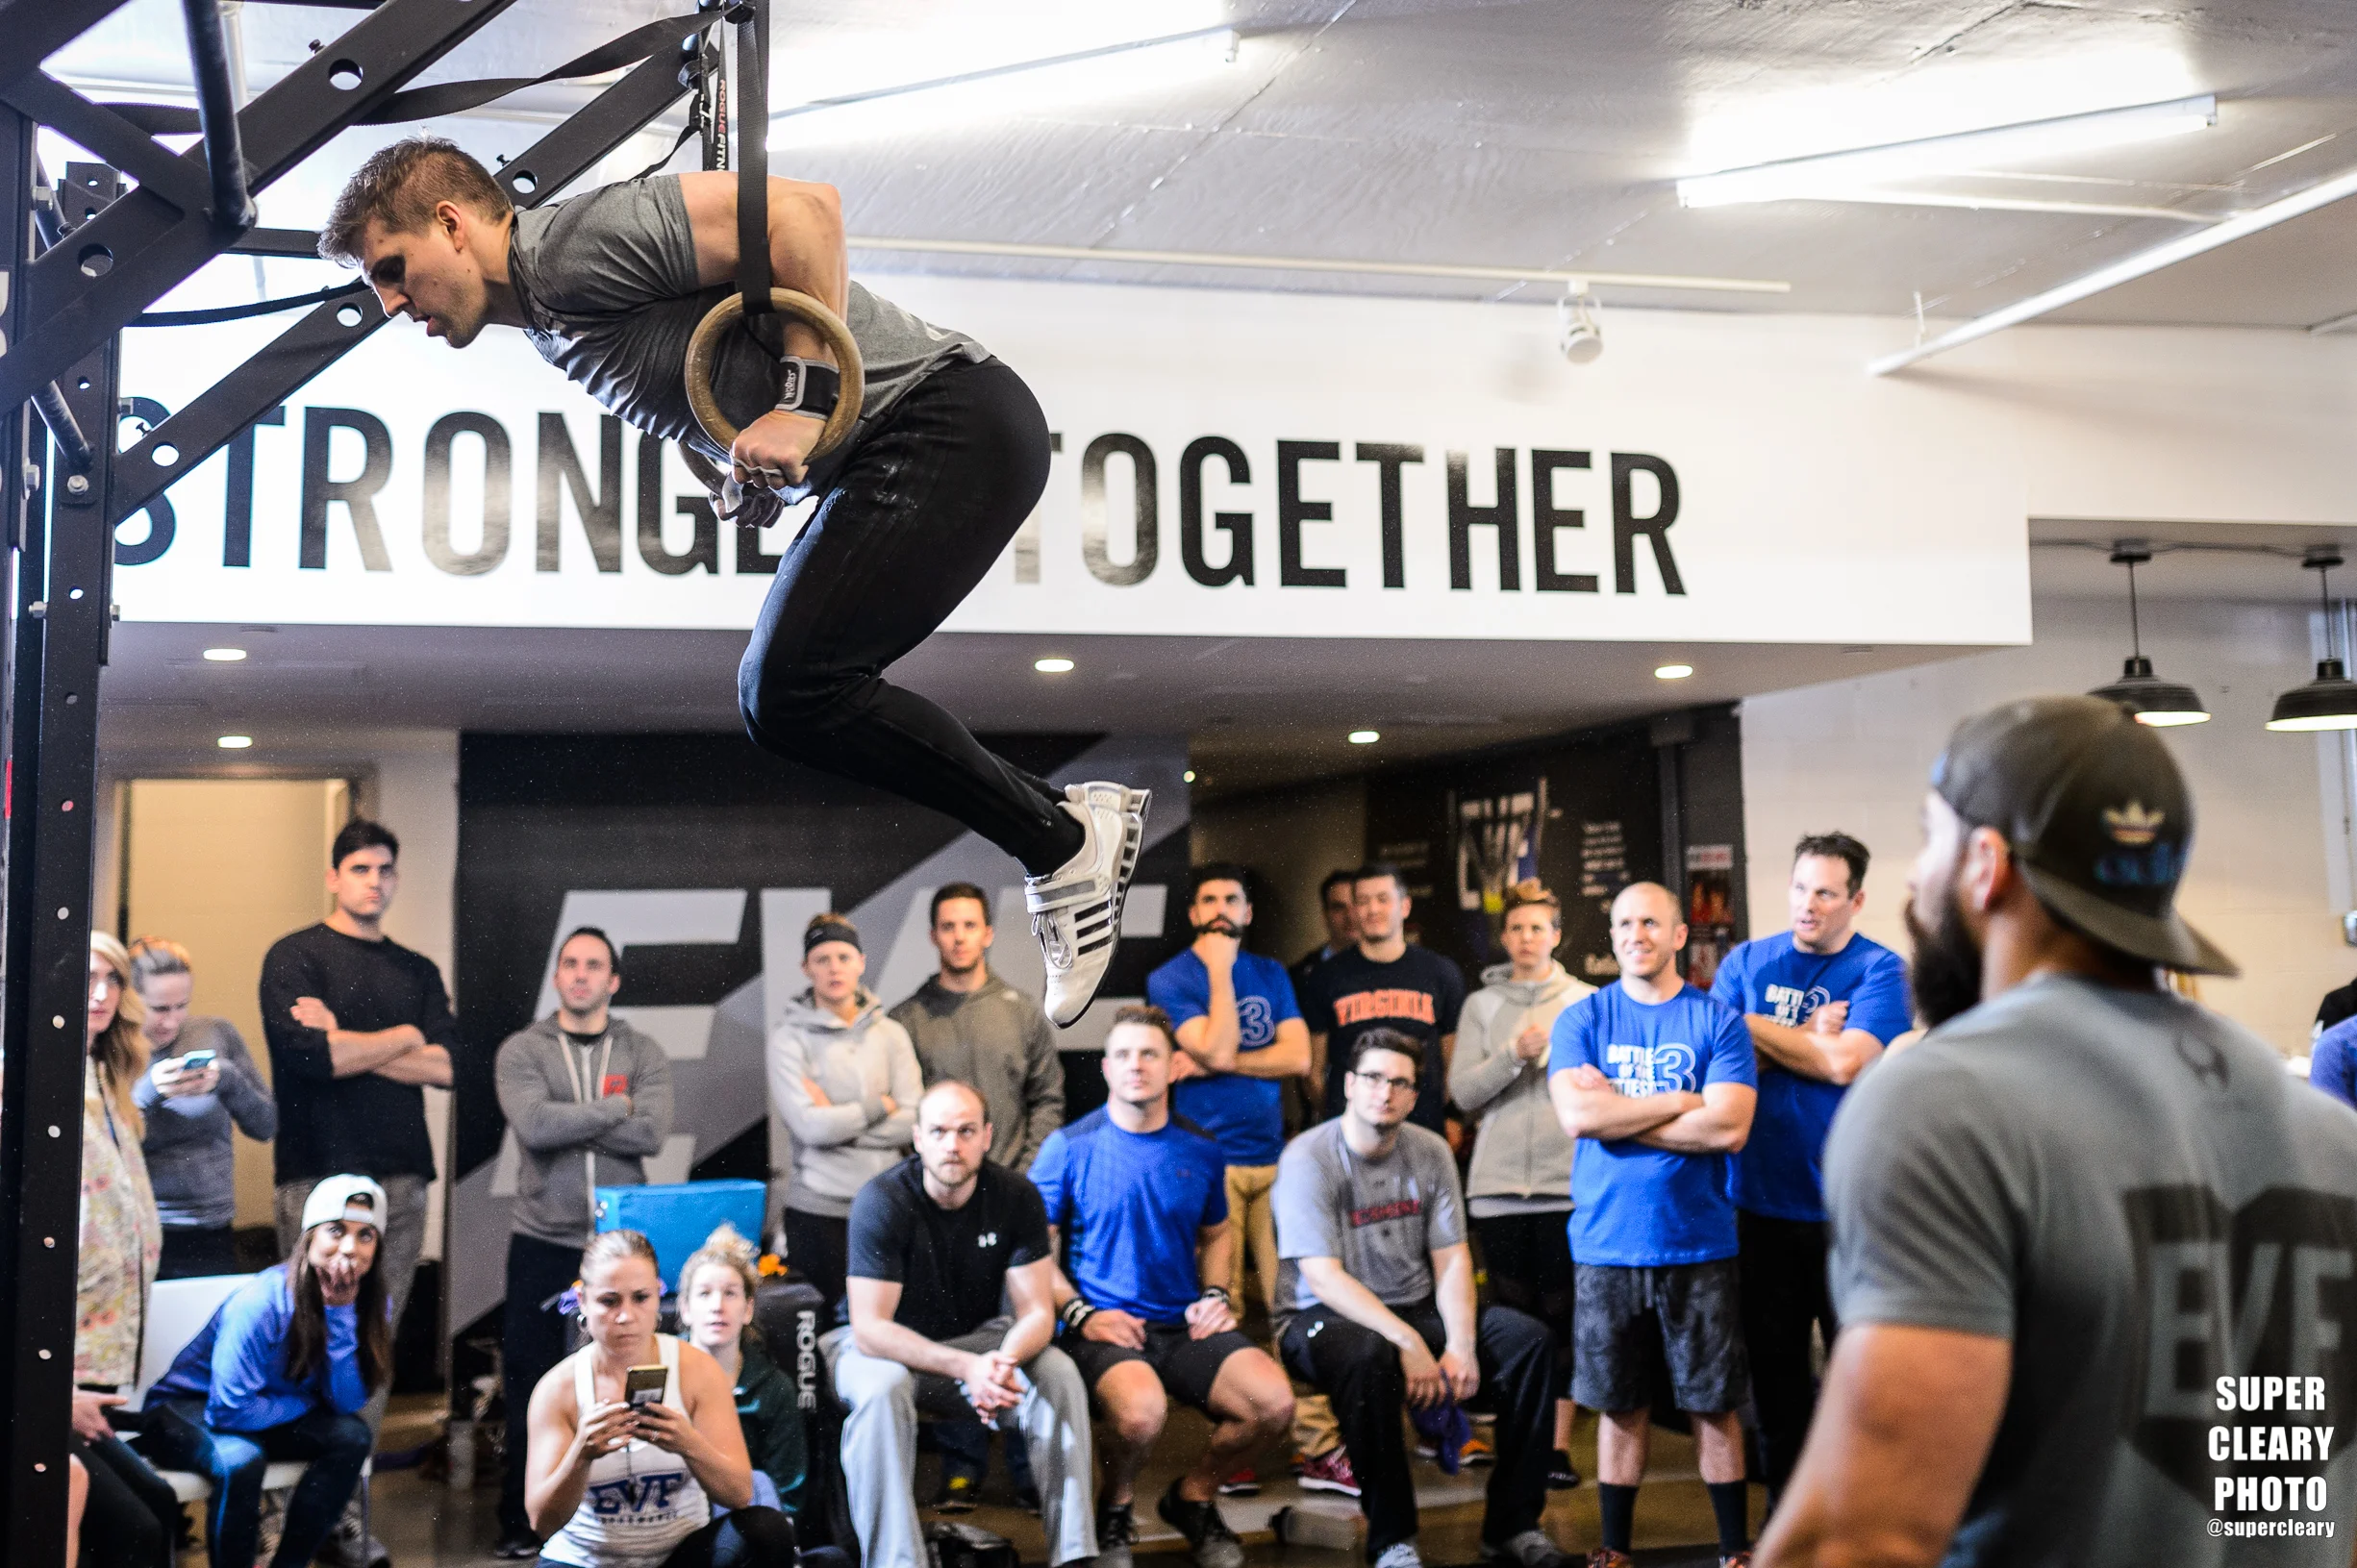
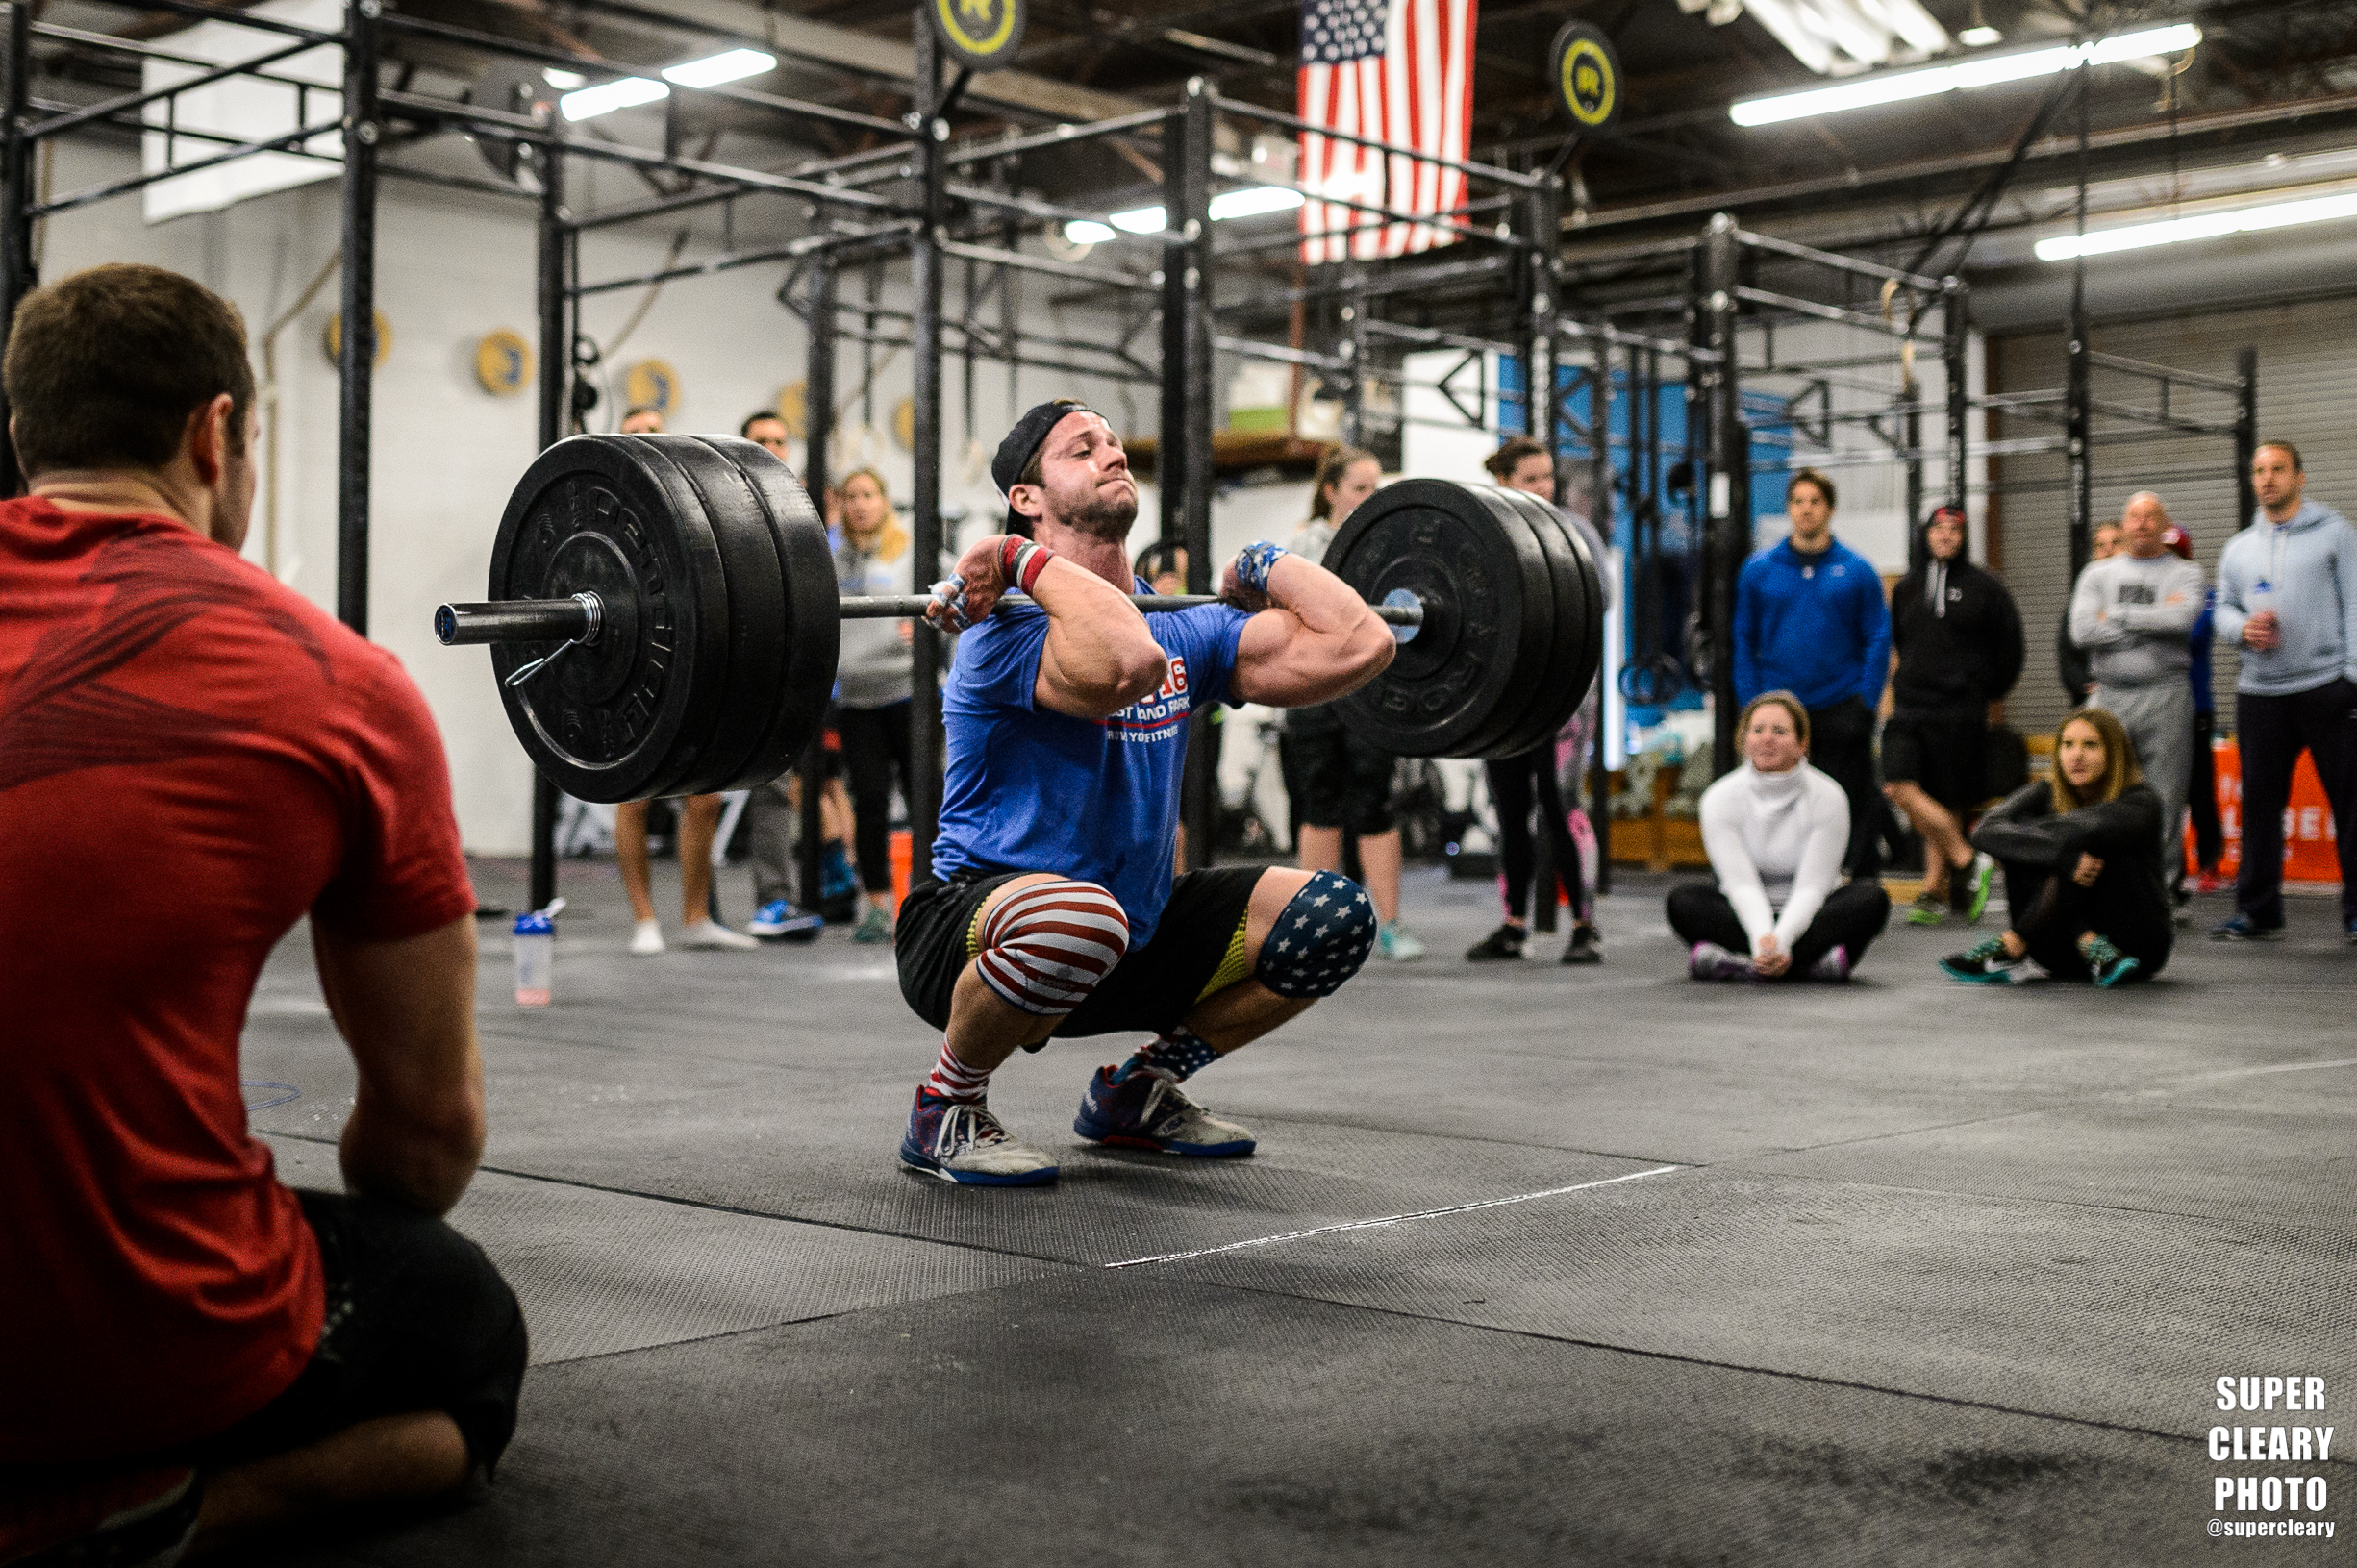
Mat Fraser - Shot for East Coast Championship
So let's say having some gear, a portfolio, and a web presence is the starting point to being a professional. Next up, getting a job.
You need to walk into your first job already knowing how your gear works and how to deliver. Don't make a client learn the hard way that this is your first time. The easiest way to get those bugs out of the way is to head to your gym and take photos. Class is every hour and most people in the CrossFit space love having their photo taken. Just clear it with the gym owner/coach/ and members and you're good to go. Experiment, practice, and figure out how your camera works and how to get good results.
Now it just comes down to marketing. If you want to shoot at gyms, contact local gyms! If there are clients - whether athletes or sponsors - that you want to work for, reach out to them. Email and social media are always easy, but phone calls work better. Provide a link to your portfolio. Go into this already knowing what you're going to provide.

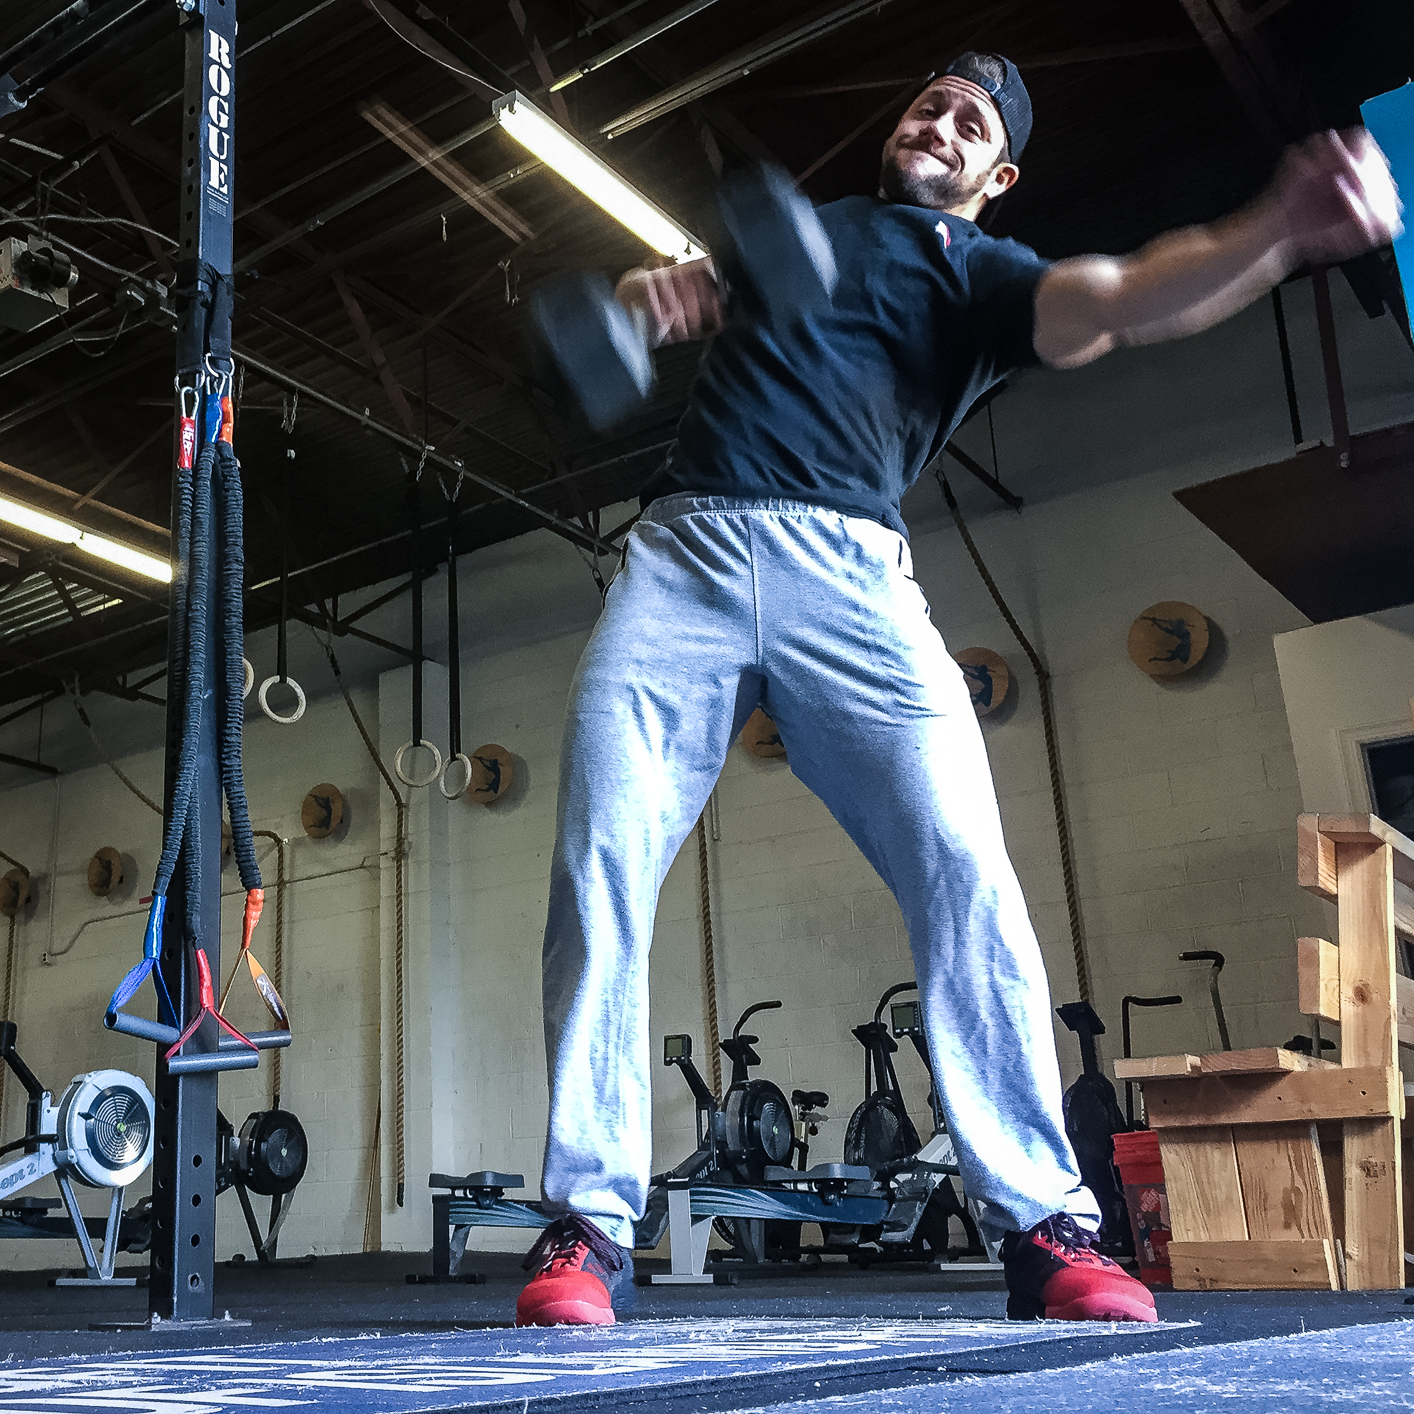
Beach stock shots - shot for Flex Events
Set up some basic packages. Here are some examples of what you could do. 2 group classes, plus coaches photos for $xxx, or 4 group classes plus coaches photos for $xxx. Explain what your deliverables will be (100 edited photos? 200 edited photos? Watermarks or no watermarks?, what sort of usage will the client receive? Finally, explain what sort of turn around time you can provide. Will they have their photos in a week or a day?
I can't emphasis this enough. A lot of people will just say no, or worse, not even answer you at all. That is just how it is. You need to cast a wide net and reach out to a lot of clients before someone will get interested in you. From there, the haggle usually starts. You need to know what your market is like and what your time is worth. In your area do gyms pay $1000 for photo services? Are they used to getting everything for free? You need to go in with a number that will not simply insult the gym but take into account what they could actually afford. To determine your own worth, look at the investment, first in time. A 2 hour shoot usually include 30 mins of setup and breakdown on each end, then there is an hour of driving as well. Let's say you're not a very speedy editor so every hour of photography you do, takes two hours of editing to process and edit your images. Pre-shoot calls and emails are another 30mins-hour. Delivery and follow-up are the same. So a 2 hour shoot is actually 11 hours of work. What do you think that time is worth per hour? You're also walking into the shoot with a few hundred to a few thousand dollars of camera gear, as well as the computer at home, and the software you're going to use to edit. While each client shouldn't have to pay for all of that, you could certainly assign a percentage to it to help determine your rate.
This is often the falling off point for people who haven't landed their first client yet. Telling someone you're worth money -- and I don't mean charging $50 for a 4 hour shoot -- but real money -- hundreds if not thousands of dollars is scary. Sticking to your guns when a client says "can you do it for less" is tough. That's where you just need to get some comfort in knowing what you're worth and what the lowest rate you'll shoot at is.
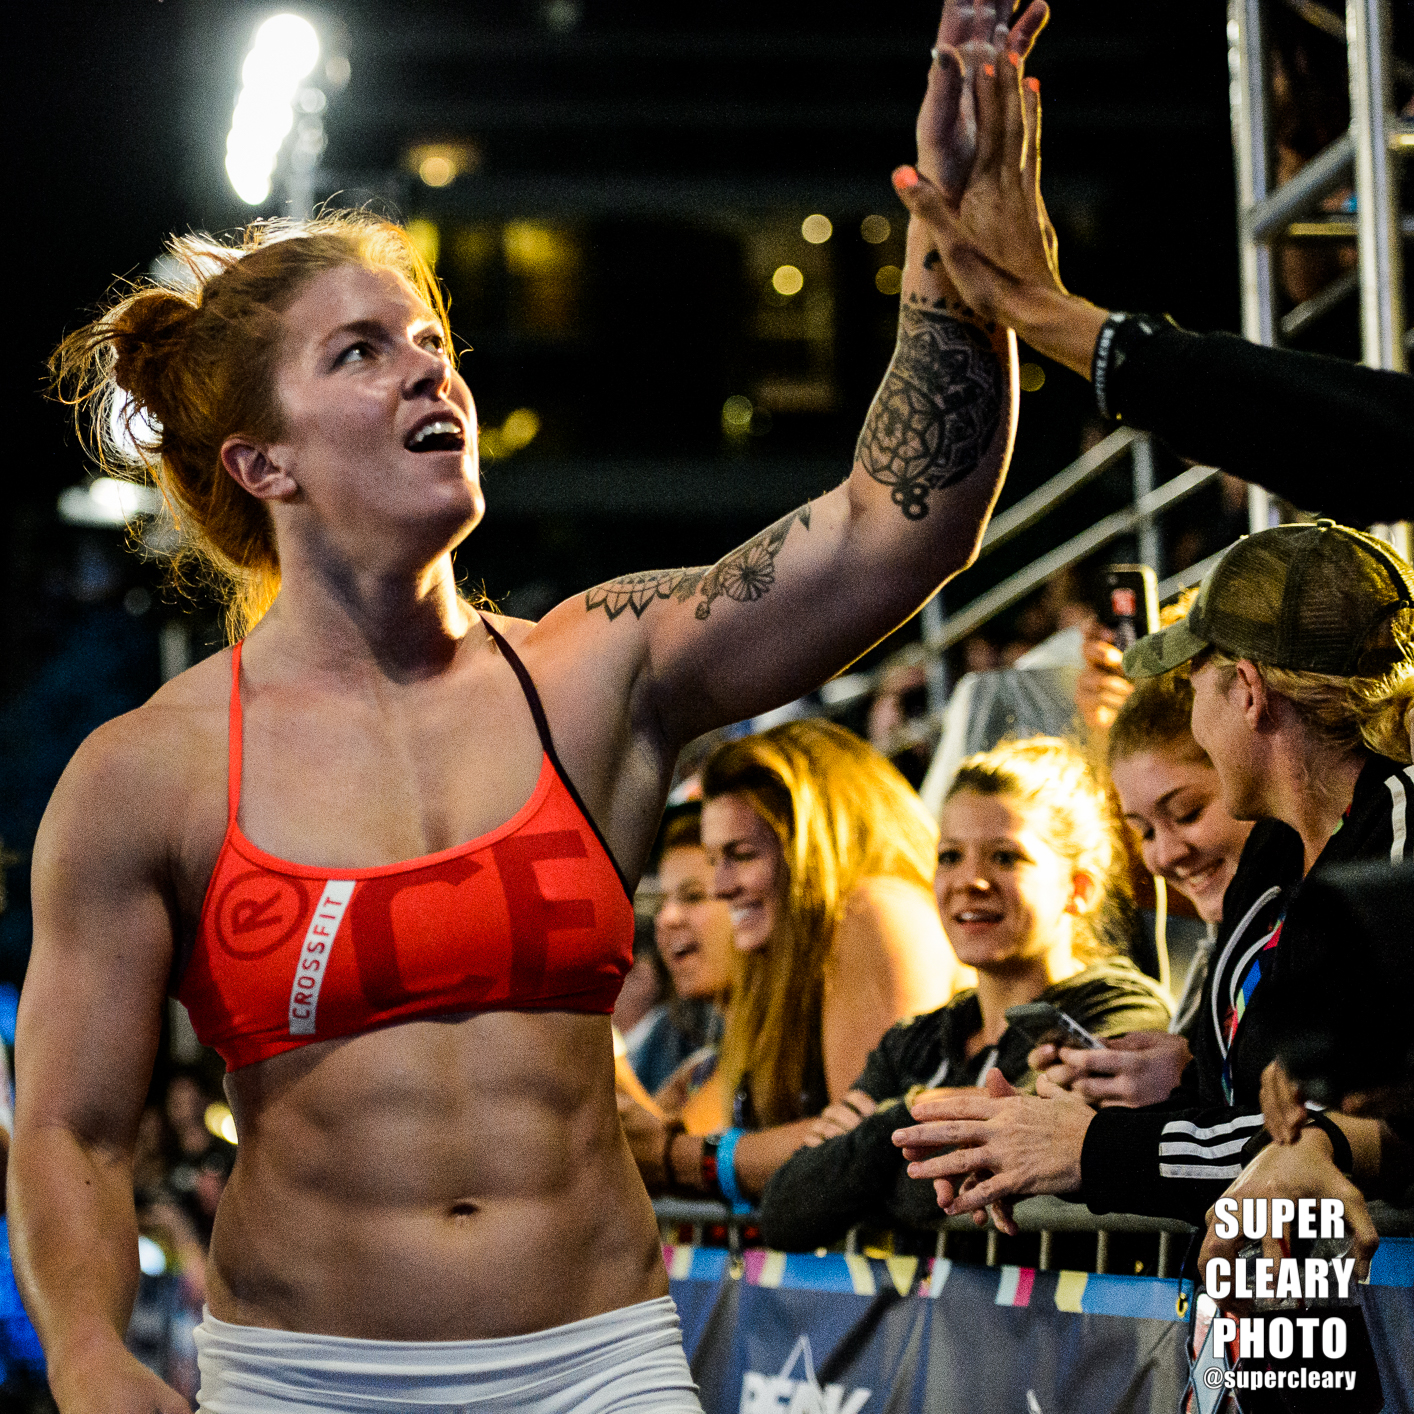
Emily Abbot - Shot for Wodapalooza
I think this is the perfect time to talk about working for free or for "exposure." Just don't do it. Free clients don't become pay clients. You will forever forward be the "free guy." Working for free also damages the local market for other photographers. All that said, there are certainly times to work with financial compensation. Barter is a real thing. Plenty of working photographers have started out by getting their gym memberships in exchange for a monthly photoshoot. That is not "working for free" you and the client are both getting something you want. Further, there may be a particular athlete you want to work with, they might need some portfolio images, and you might want to practice with a more high profile athlete. You're getting practice, they are getting some portfolio images. That could be a resonable barter depending where both of you are at. Again, it is all about valuation.
Whenever you're working a job, make sure you have some kind of written agreement in place spelling out exactly what you are going to do and deliver, as well as what the client is required to do (pay you, when and how). You also should have model releases for everyone that will be involved in the shoot as well as from the location owner (there are some handy apps that make this easier). I also don't want to burst your bubble, but if you're working, you really should have a separate business insurance policy. If someone trips on your camera bag at a gym, they can sue you, and if you don't have the proper insurance in place you can be liable for a hefty payout.

Katrin Davidsdottir - Shot for East Coast Championship
I think this lays out the basics of "how do I get people to pay me." To summarize, know the gear you're working with and have a portfolio. Know what kind of clients you want to work with and what you can provide for them at what rate. Lastly, deliver! Do a killer job and make sure they are happy with the product you put together.
If you like what you've read, please share. Feel free to post some content suggestions below so I know what you're looking for in my next post. For bookings email shaun@superclearyphoto.com. And as always, follow @supercleary on instagram and SuperClearyPhoto on Facebook.