
We all have those projects that are sitting on a hard drive that we keep "meaning to get to." During the 2014 CrossFit Games, my first season shooting at the Games, I hooked up a gopro to the top of my camera and just let it roll as I tried to get the shot. Fast forward to now, I finally got around to going through the content and splicing together some kind of coherent edit. Other than the silliness of seeing sort of what I see at the Games, I quickly realized there were two main takeaways watching these videos First, just how complicated it is to shoot at big events. Trying to get the shot is a lot more than just pushing a button. Nailing that perfect composition means lining up the athlete during their decisive moment, with the right light, without a judge or other athlete getting in the way, and putting yourself in the perfect position to do all of that. Secondly, how I shoot in terms of shutter mode, which I'll go into more detail below the fold.

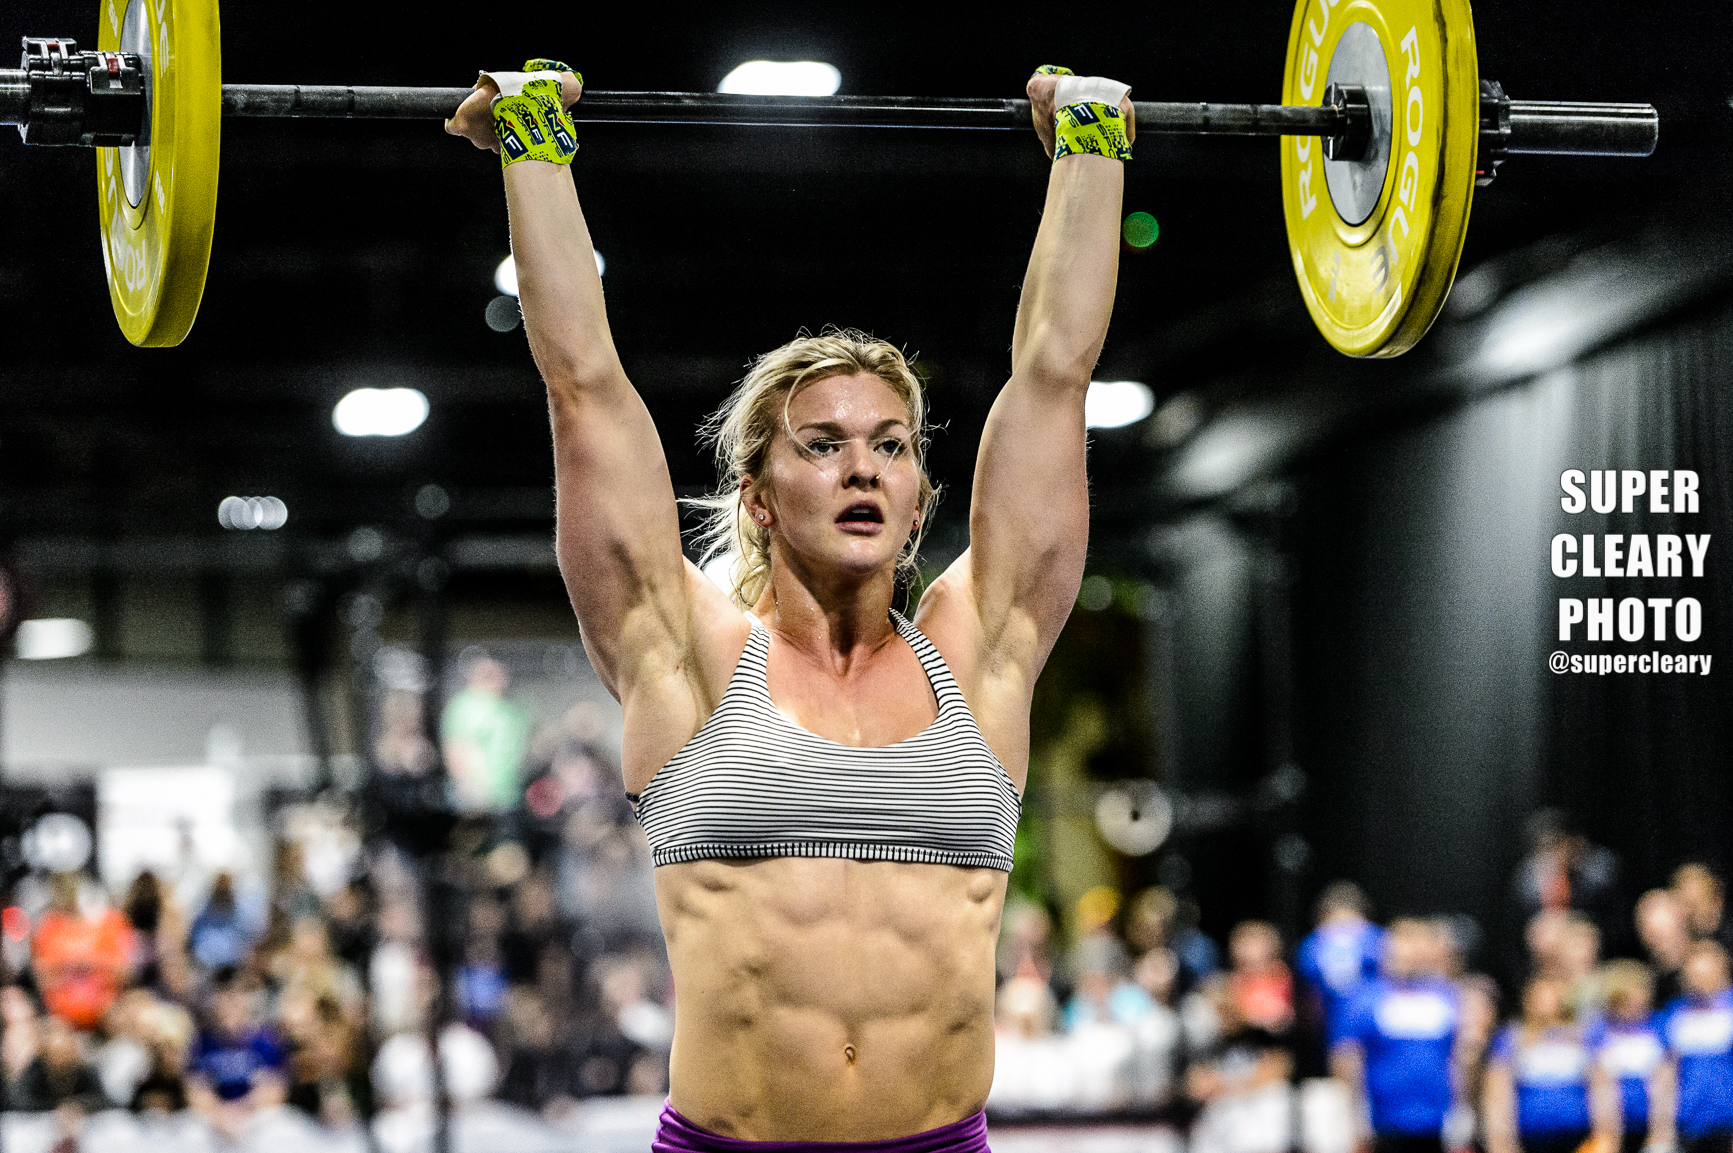
Lauren Fisher, Nikon D4, Tamron 24-70 - Copyright CrossFit, Inc 2016
To briefly summarize the arc of the video above. This all takes place at the 2014 CrossFit Games. I kicked off the week off Hermosa Beach at 5am to capture the start of the Games as the competitors swam out and around the pier. I started on the dingy, but quickly got switched over to a jetski (which I couldn't gopro from). From there, the footage picks up on Friday morning with the team kickoff and the individuals taking on the triple 3. Next up, big man, Sam Dancer crushing the 1RM deadlift workout (a workout he would again win when he competed as an individual athlete in 2016). From there, I've got some clips of me shooting from on top of and at the base of the soccer stadium during the Muscle Up Biatholon. What the gopro doesn't capture is the insane heat and lack of shade. I was extra soggy during that bit. From there, one of my favorite all time events, the 21-15-9 complex. I'm shooting from the media pit, my favorite spot to shoot from in the Tennis Stadium, during golden hour. The sun is setting behind the athletes and this is when the money shots happen.
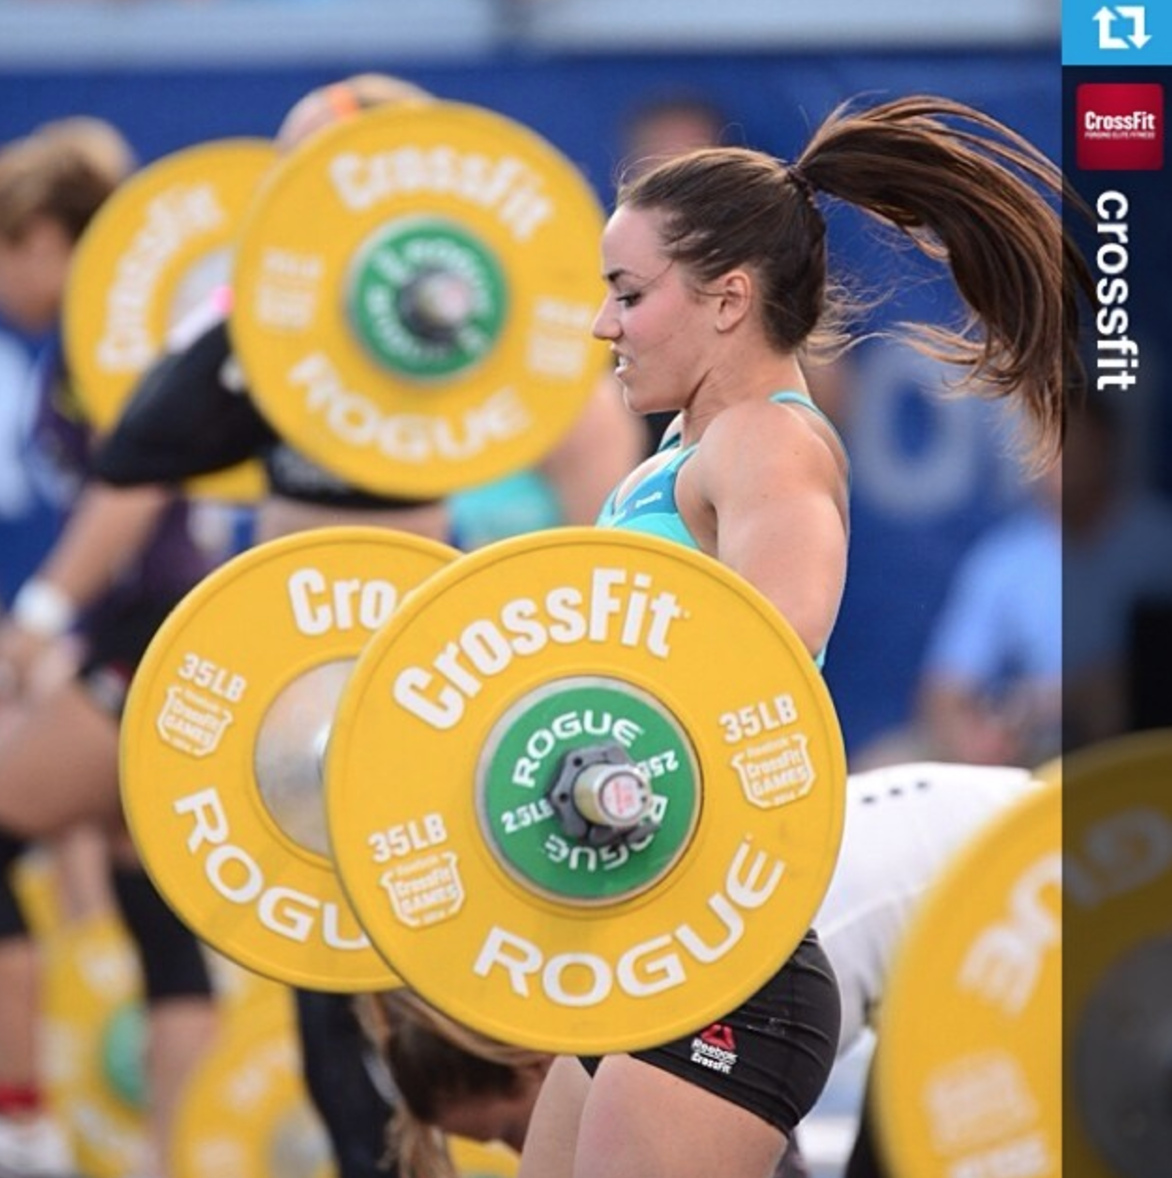
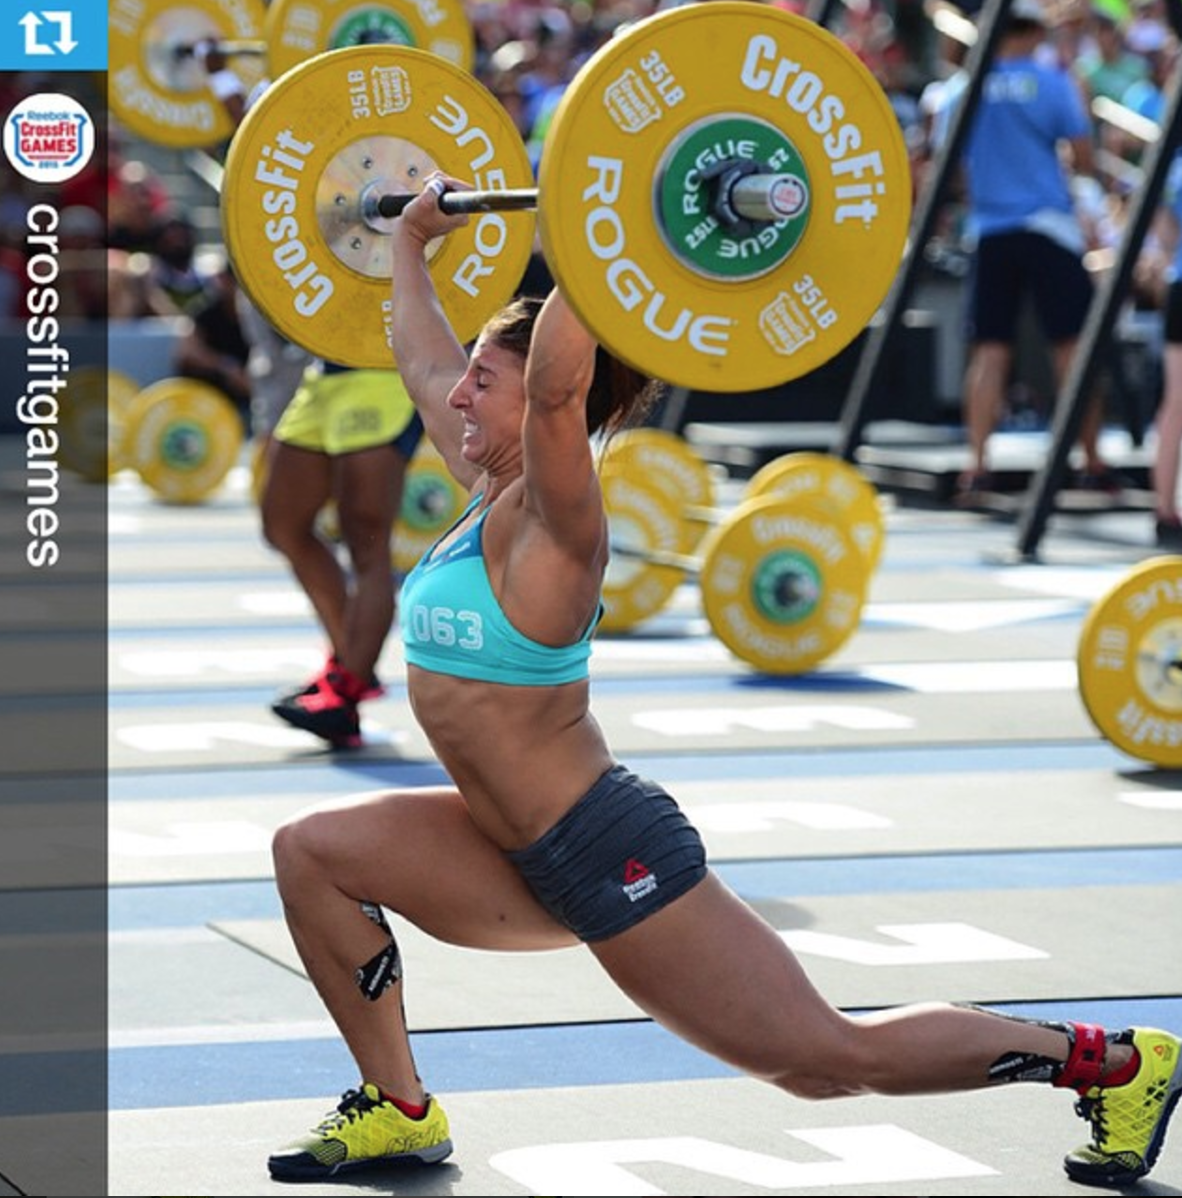
Camille Leblanc-Bazinet - Nikon D4 Sigma 120-300, Copyright CrossFit, Inc 2016
It is at this point that I think it really starts coming across just how tough it is to get a clean image during a crowded event. In the Tennis Stadium, it is simply chaos. From the huge rig, to the equipment, judges, staff, athletes, and volunteers, there are just countless ways for your perfectly framed shot to get ruined. I'm constantly on the move trying to get everything to line up right, and find lanes between obstructions to zero in on athletes during that critical second. Again, to connect with last week's post, this is why I love shooting tight. The more I zoom in the more I'm able to isolate my subject from the chaos around them.

Rich Froning, Nikon D4 Nikon 70-200, Copyright CrossFit, Inc 2016
From there, the speed clean ladder was the most insane event I've ever shot. Having eight lanes of athletes charging through five barbells in a race against the clock and each other was nuts. I was positioned dead center, with other photographers from the team to my left and right to cover those lanes. You can see just how quick the athletes are moving and how fast you have to make decisions about which lane to shoot and which lifts to focus on. I also think its important to realize that sometimes the best shot isn't the one straight in front of you. The angles I had on Froning for example, to my left, I thought were actually more interesting in some cases than shooting athletes in the lane right in front of me. You can also see me dump my camera towards the end of some of those takes, that's because I'm switching over to a 24-70 to grab those finishing shots. With the speed of the event and the athletes basically jumping right on me, I stuck with the safety lens to make sure I didn't really miss anything. To me, that wide angle zoom affords me the largest margin of error.

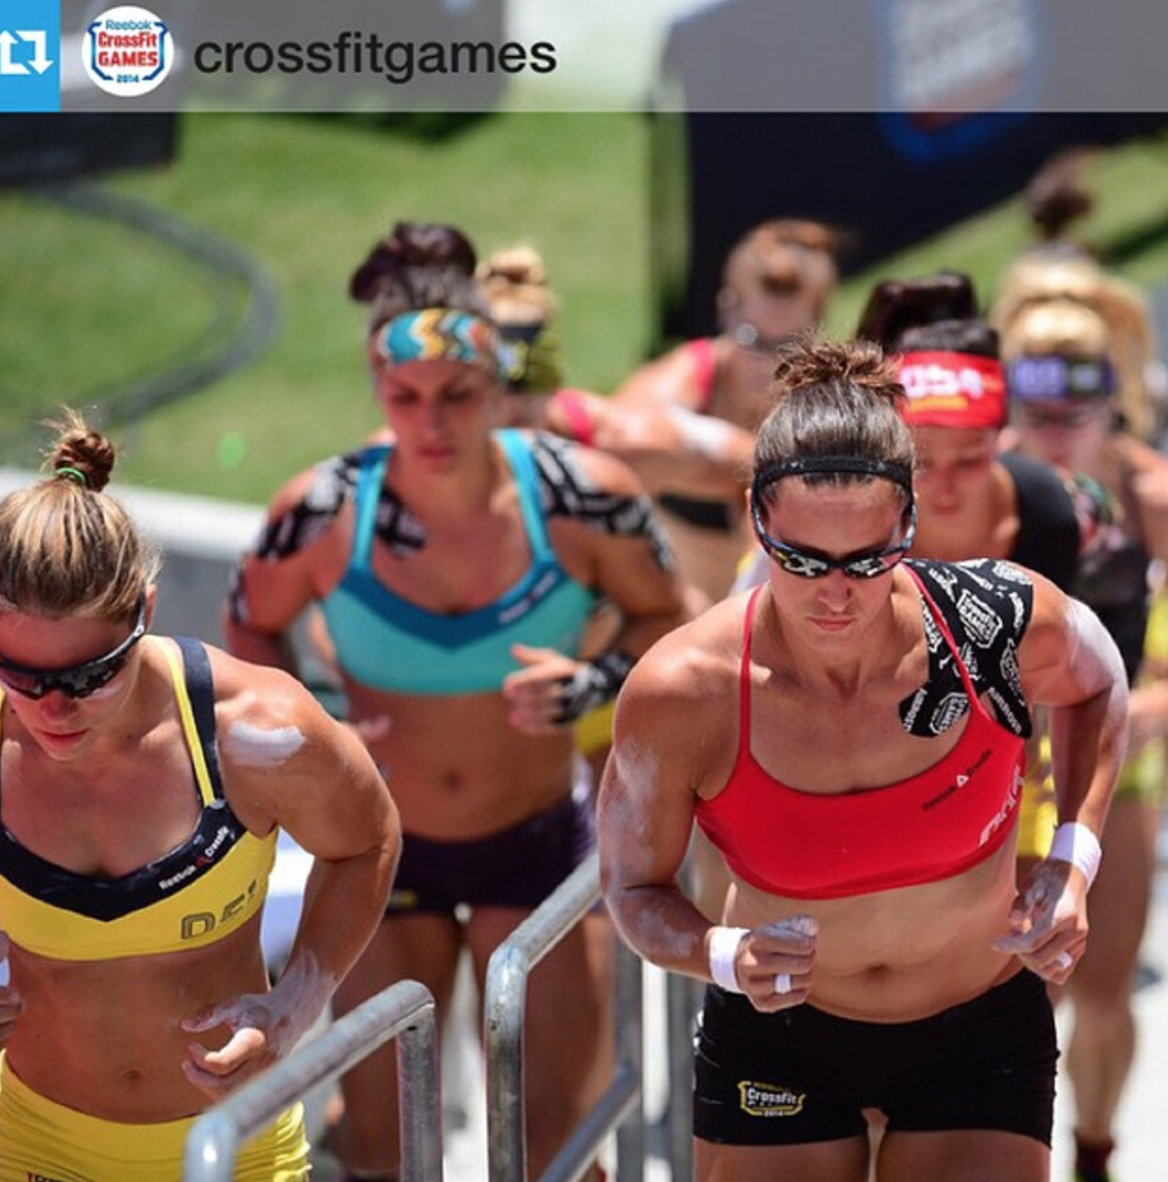
Lauren Fisher, Nikon D4 Nikon 70-200, Copyright CrossFit, Inc 2016
For the final event, I was assigned to float, so I basically had to run around the stands to try and help fill out the team's coverage in case I could find something neat the shooters in the prime positions couldn't get. This really though felt like I was able to experience the final of the CrossFit Games among the fans - with myself being one of them - and able to do my dream job at the same time.

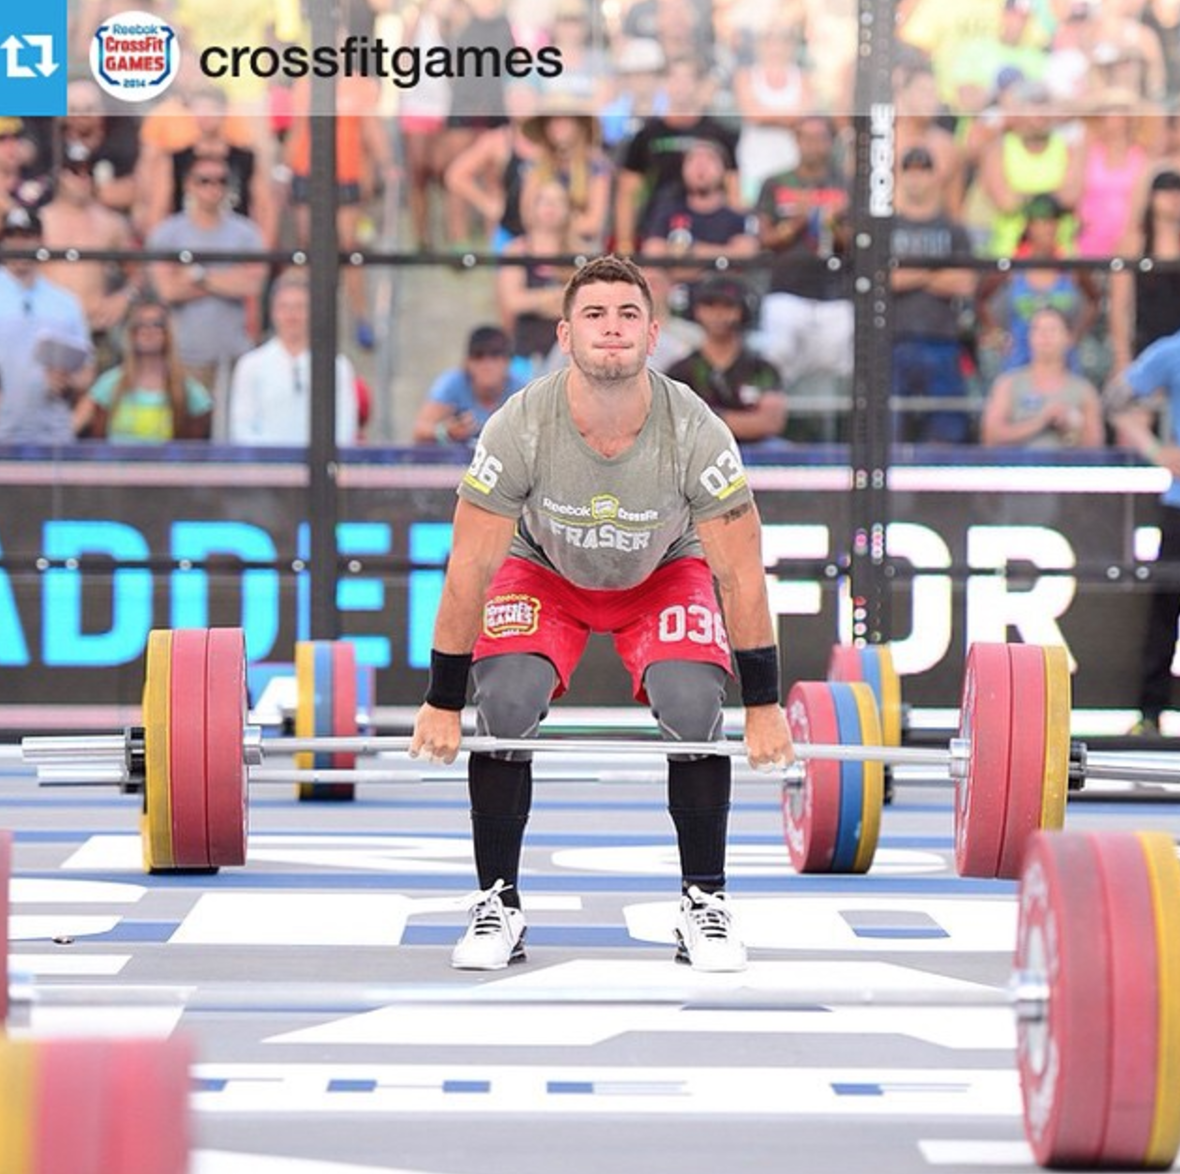
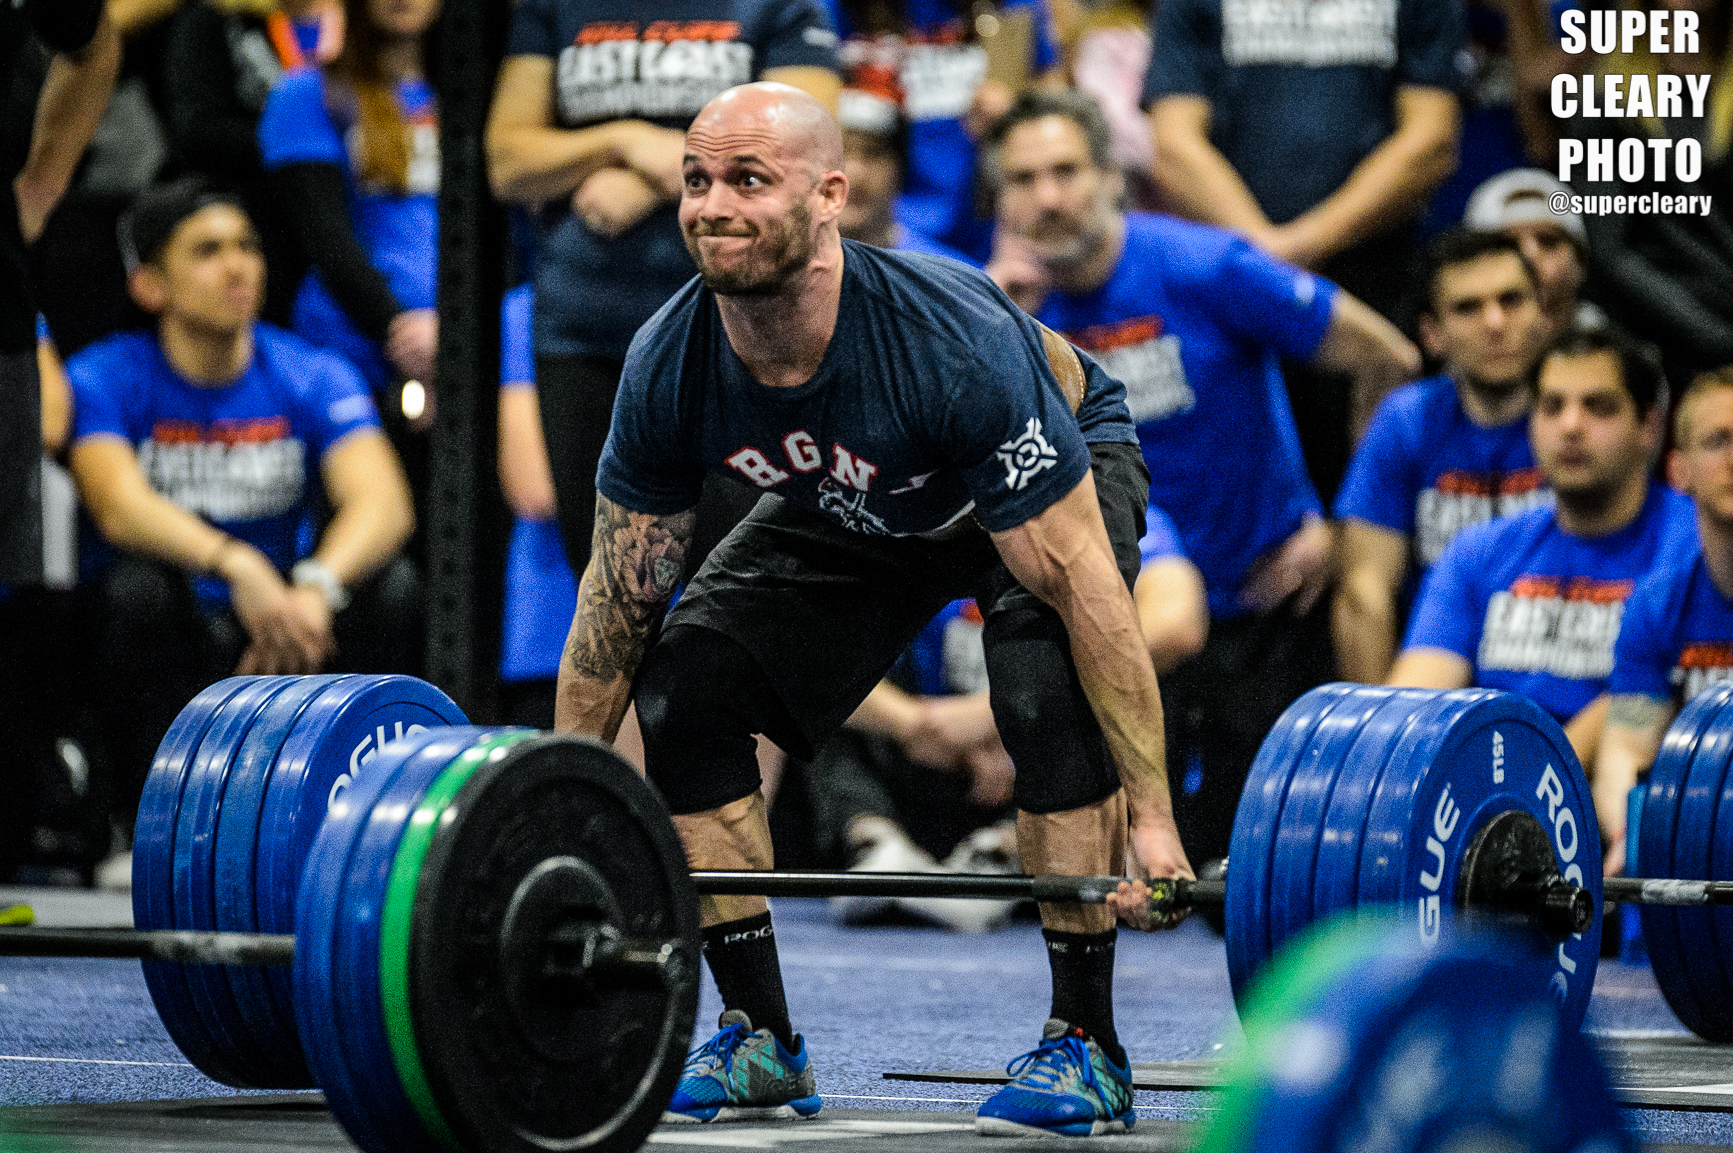
Mat Fraser, Nikon D4 Tamron 24-70, Copyright CrossFit, Inc 2016
For my second bit of nerd talk, and something I don't think I've really hit on before, what shutter setting do I use? Single, continuous low, continuous high (or whatever the canon equivalents are). I exclusively shoot in single shutter. This might sound blasphemous to sport shooters, but you don't need 12fps to shoot sports, you just need to anticipate when things are going to happen. On the Nikon D4, I have some absurd frames-per-second, but I never use it. In single shutter, I just have a quick touch and when those key critical moments are happening, might rapidly click the shutter and get between 3-5 frames in a second. But for the most part, I'm just getting a single frame here or there. I've played around with shooting in continuous (motor driving) but I find it just ends up with a lot of crap and a lot of extra frames you'll never use. I'm usually a one-man-band, so that's going to slow down my ingest, clog up my memory cards, fill my hardrives, and make the edit process take longer. In a team setting, shooting on contious high is an editors nightmare. It clogs up our network bandwith, crushes their ingest queue, and quickly puts you on their shit list as they have to cull through 1000s of frames of crap.

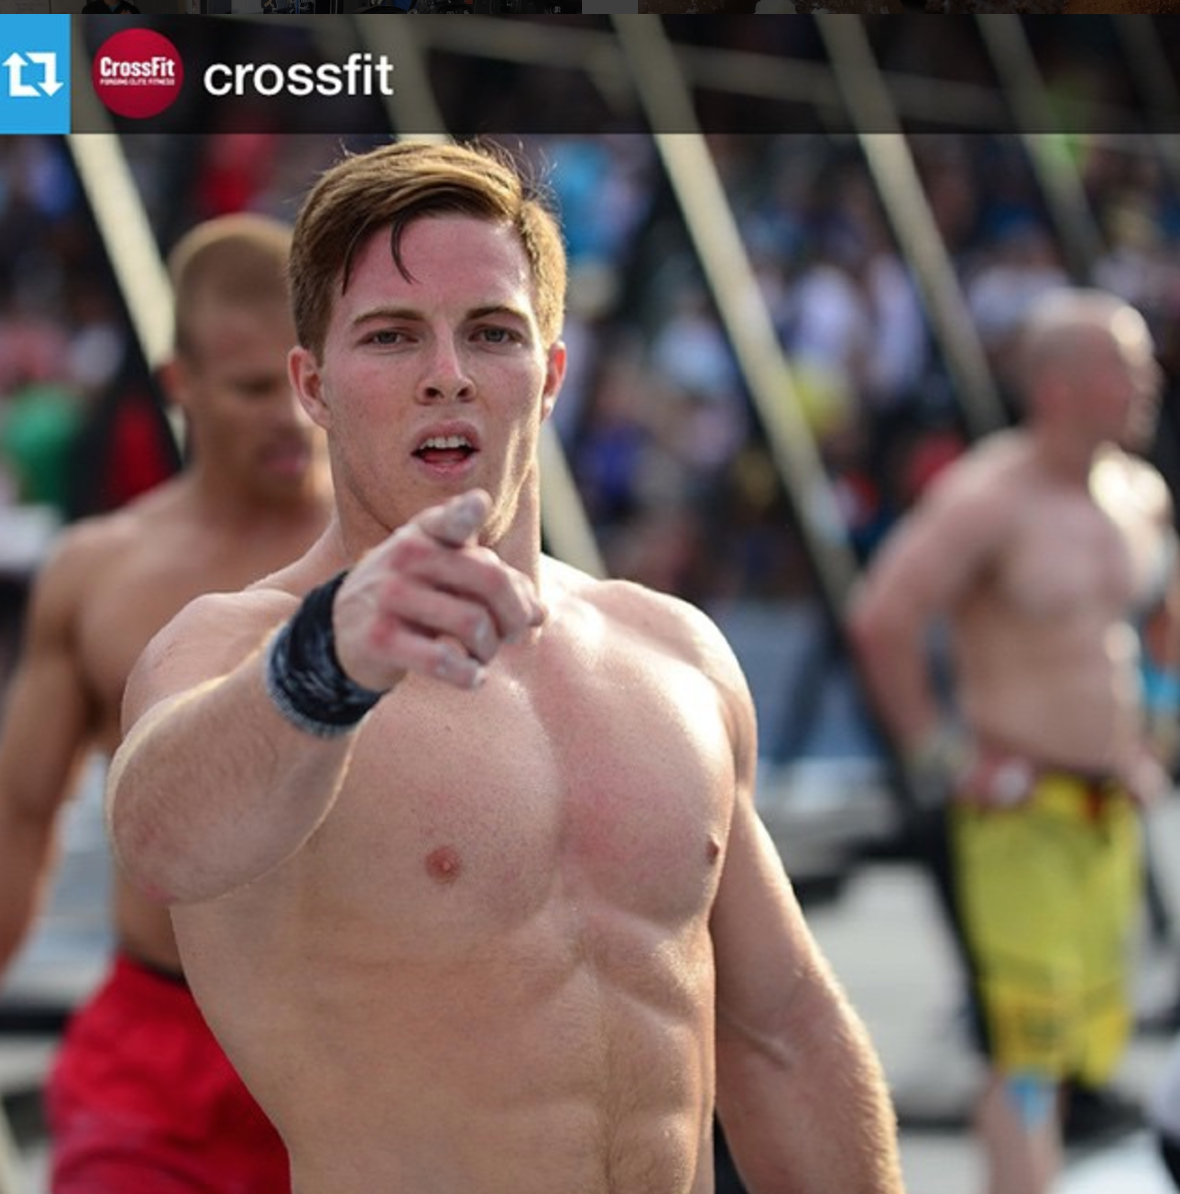
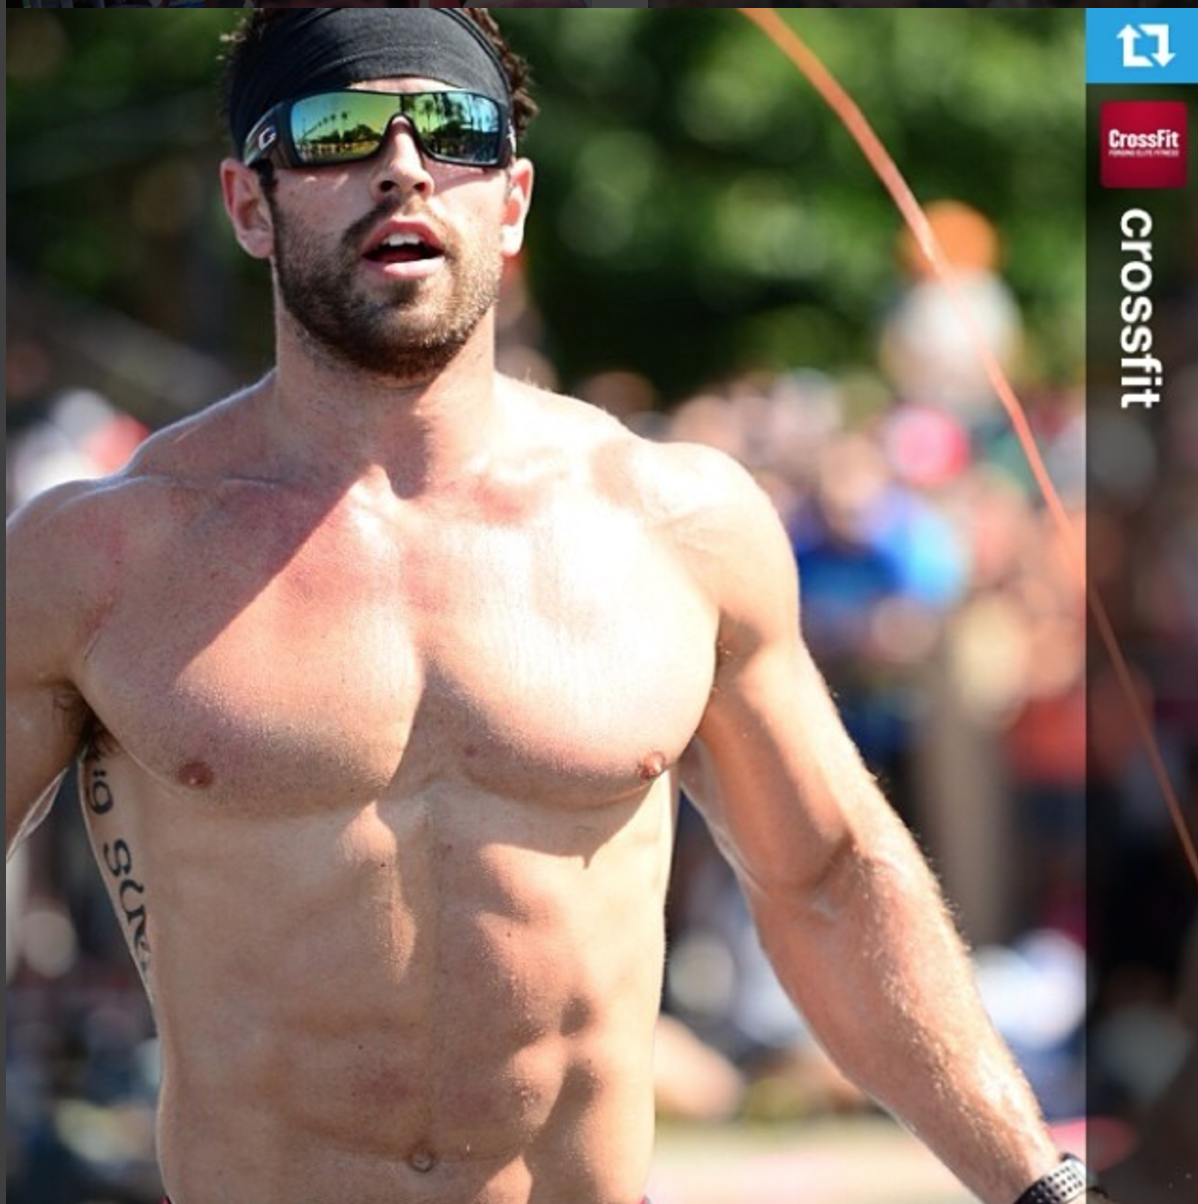
Josh Bridges, Nikon D4 Nikon 70-200, Copyright CrossFit, Inc 2016
You can hear all through the video that while I'm shooting I'm usually grabbing photos in bursts of two or three in a second. When I see that critical moment lining up, I do want to give myself some leeway for focus and timing, so I'll pop off a few frames with just a rapid click on the shutter button. I've messed around with the same style of shooting with continuous shutter on, but very very quickly find myself not taking two or three photos per moment, but more like five to eight. Over the course of an event that will add to 1000s of more photos, while my hit count might not actually go up at all.

Julie Foucher, Nikon D4 Sigma 120-300, Copyright CrossFit, Inc 2016
Shutter goes hand in hand with buffer, and I think that's worth mentioning here. Frames-per-second is one thing, but I think on a sports camera what's more important is buffer. If I can just keep shooting as fast as I need for as long as I want and the camera keeps just chugging away, I'm happy. If I start snapping and the action gets busier and all of a sudden the buffer is clogged and slowing down my shooting, I get very grumpy. With the D4 and most sports bodies, this is very rarely possible. Especially during the speed clean ladder, you can hear me starting off, getting some coverage of each of the athletes, but as the race picks up, and the athletes get closer, I'm firing more and more frames trying to hit as many athletes as possible while they are running towards me. By shooting my single shutter method, that buffer never gets clogged and from start to finish I'm able to just keep shooting. If though, I shot on continuous and was just spraying at 12fps the entire heat, by the time the athletes got close and we were really into that critical lift, my buffer would be getting very close to full and I'd have this awkward moment where the money shot is happening, but I have to wait for the camera to process. The only times I've ever filled up a buffer is in the few instances of when I've shot continuous.
I hope this video and post, while long and meandering, helps illustrate what it is actually like to be shooting from the sidelines of the CrossFit Games. The days are long and hot, and the job is physically grueling, but I wouldn't really trade it for anything else.
If you like what you've read, please share. Feel free to post some content suggestions below so I know what you're looking for in my next post. For bookings email shaun@superclearyphoto.com. And as always, follow @supercleary on instagram and SuperClearyPhoto on Facebook.