• Portfolio
    • The CrossFit Games
    • Competition
    • Athletes
    • Elite Fitness
    • OCR
  • Video
  • Education
    • 1-on-1 Mentorship
    • Portfolio Overhaul
  • Sales
  • BLOG
  • ABOUT

SuperClearyPhoto

  • Portfolio
    • The CrossFit Games
    • Competition
    • Athletes
    • Elite Fitness
    • OCR
  • Video
  • Education
    • 1-on-1 Mentorship
    • Portfolio Overhaul
  • Sales
  • BLOG
  • ABOUT
  • Menu

Six Tips to Make Traveling and Shooting Internationally Easier (PhotoFit #23)

January 25, 2017

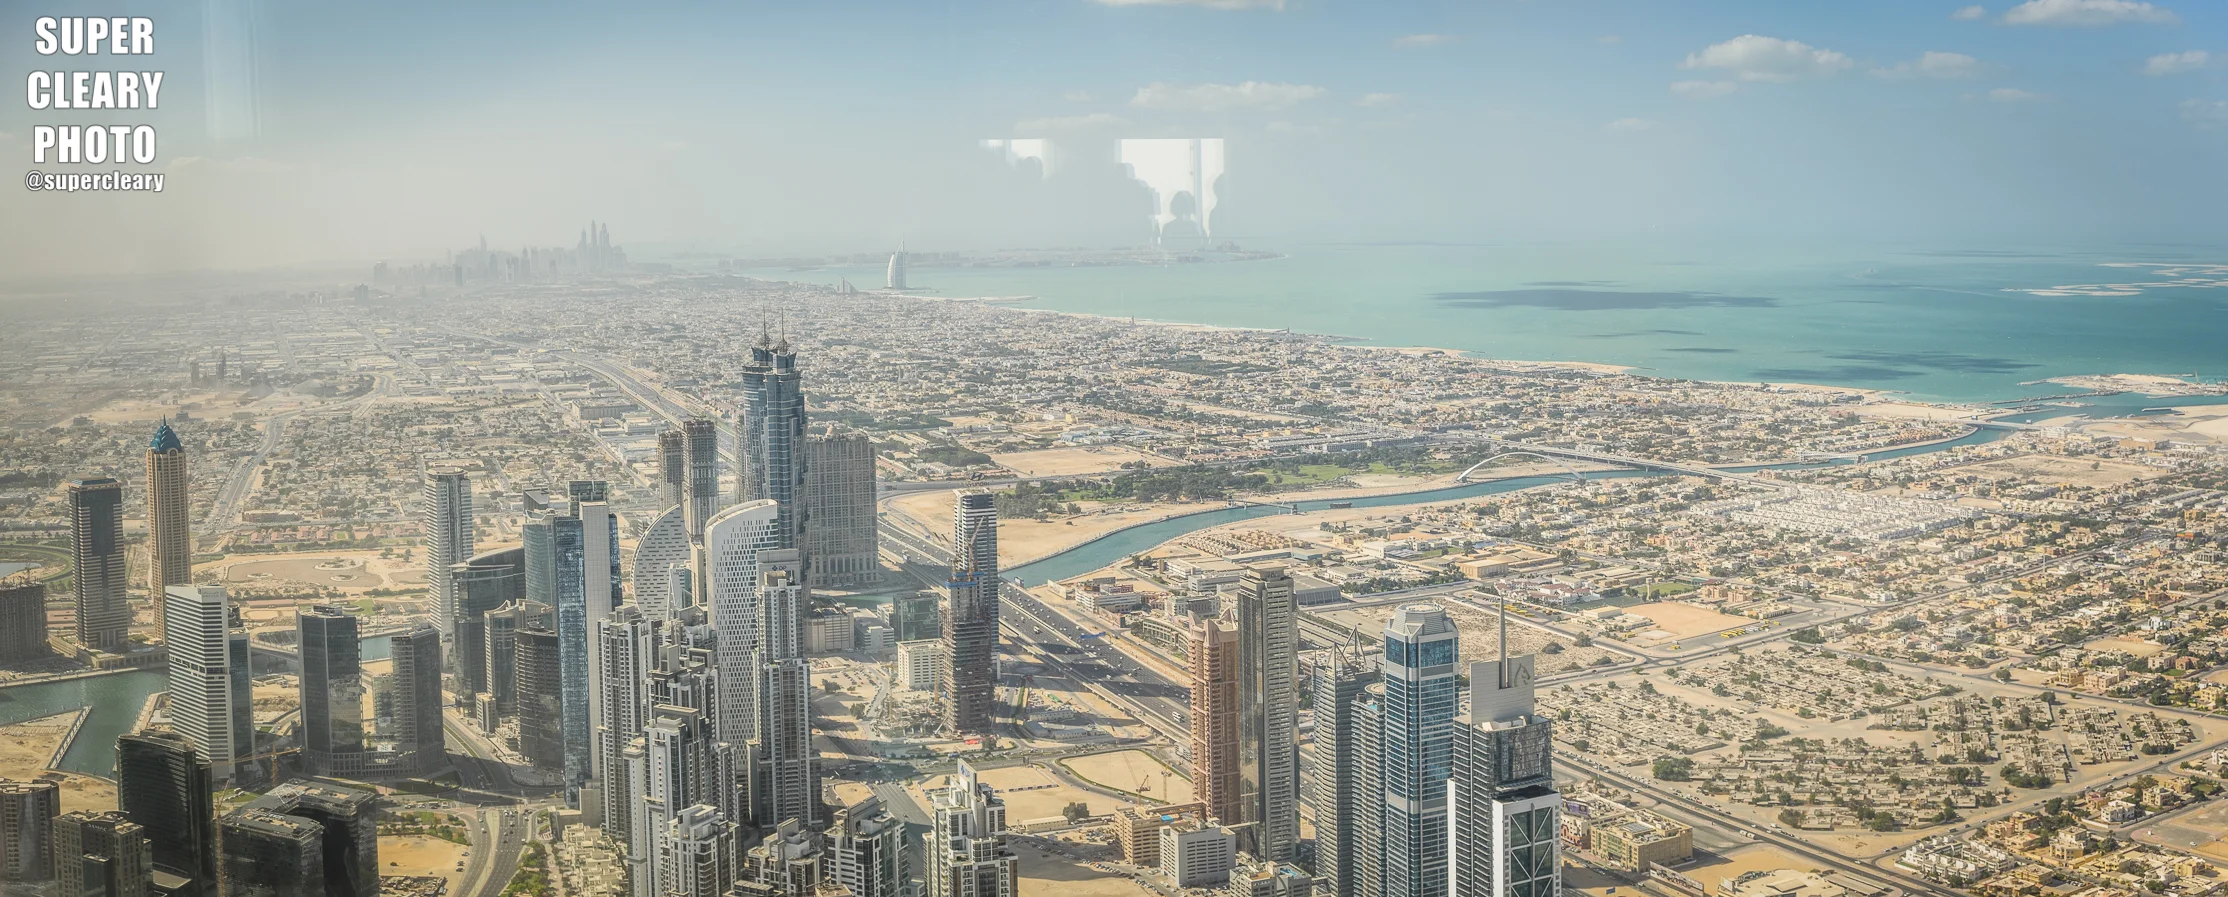
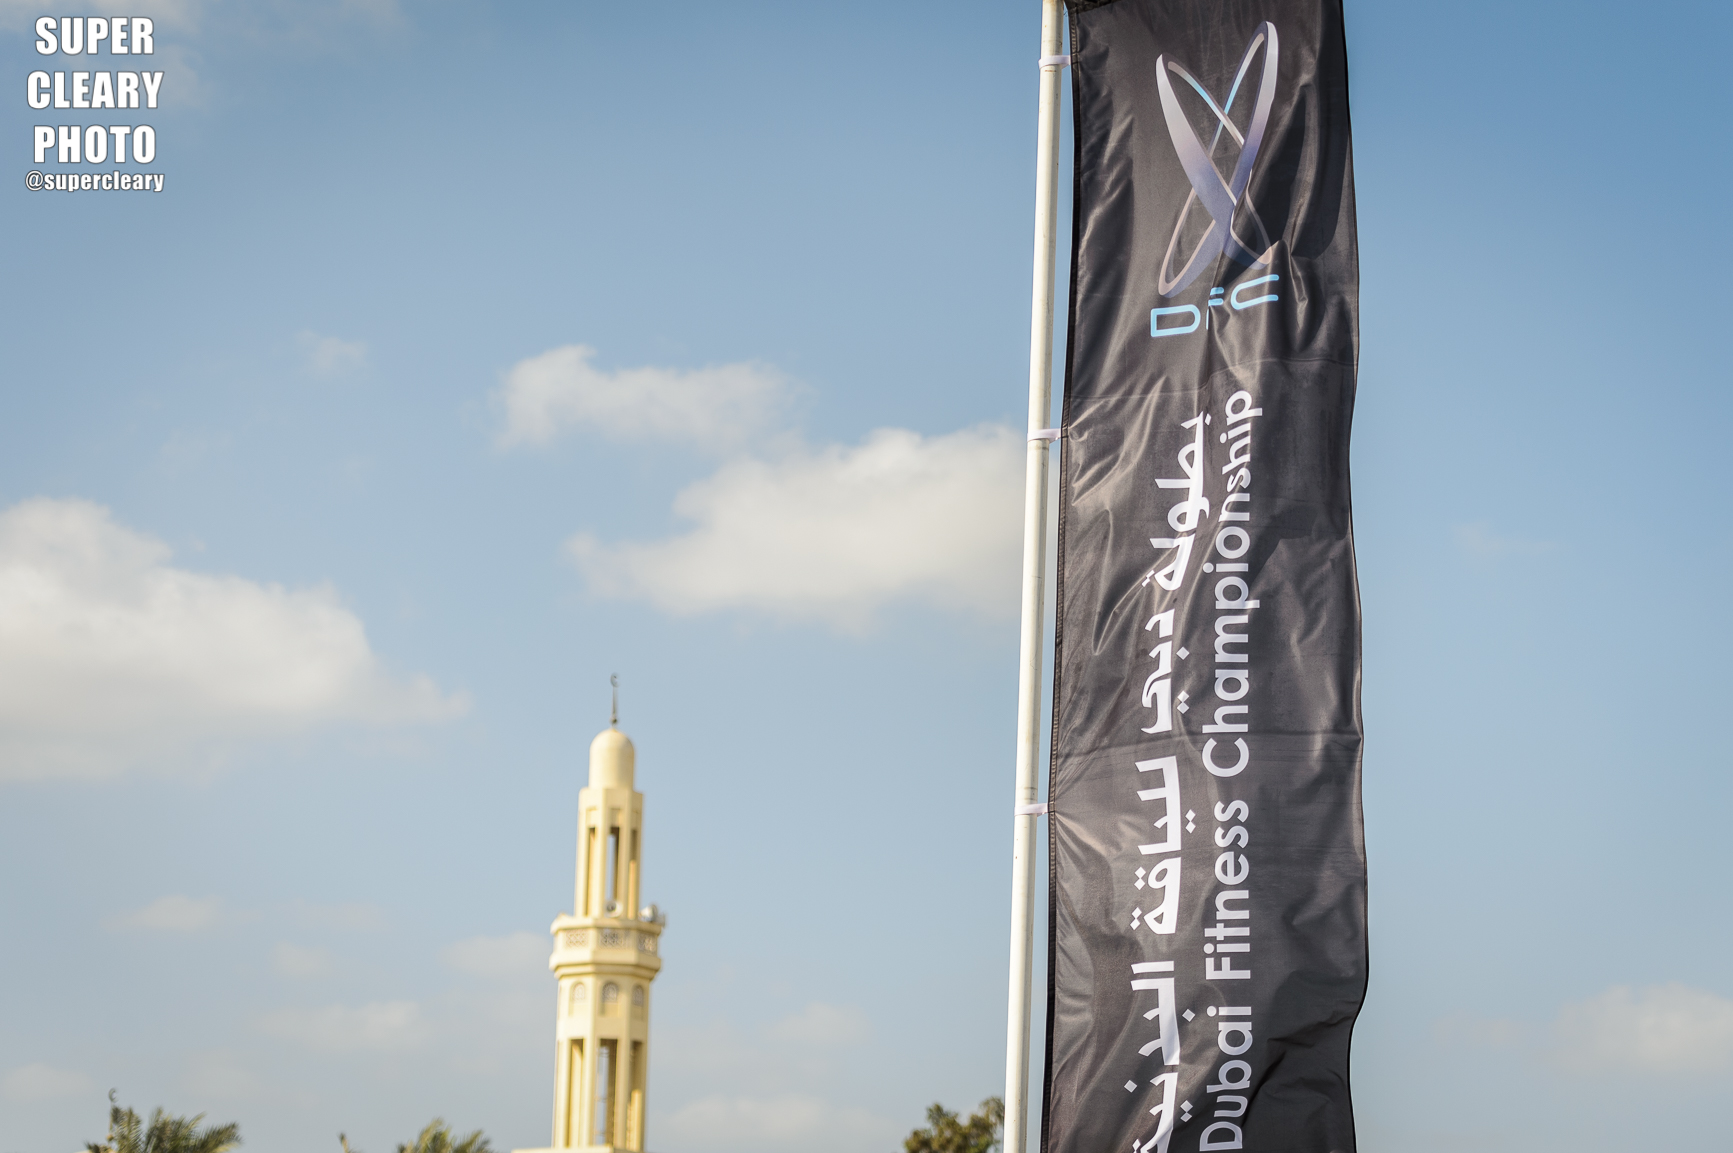
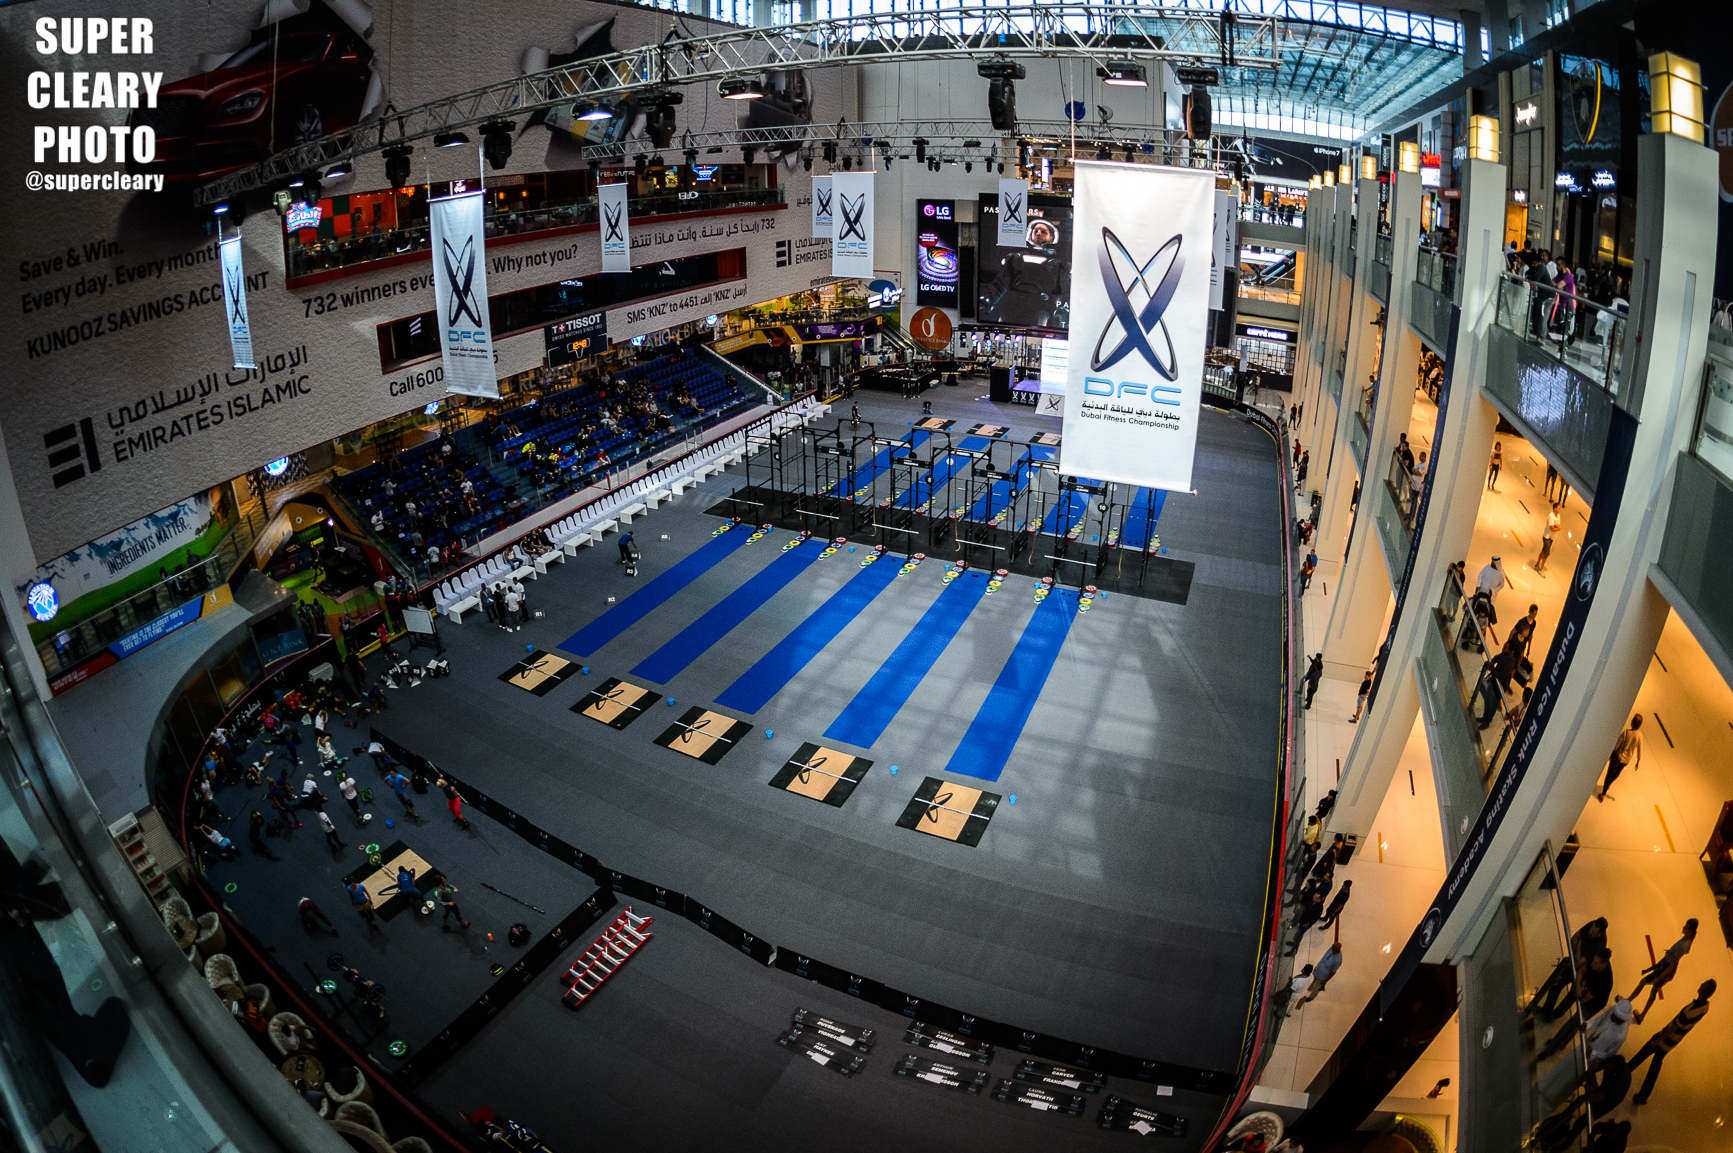
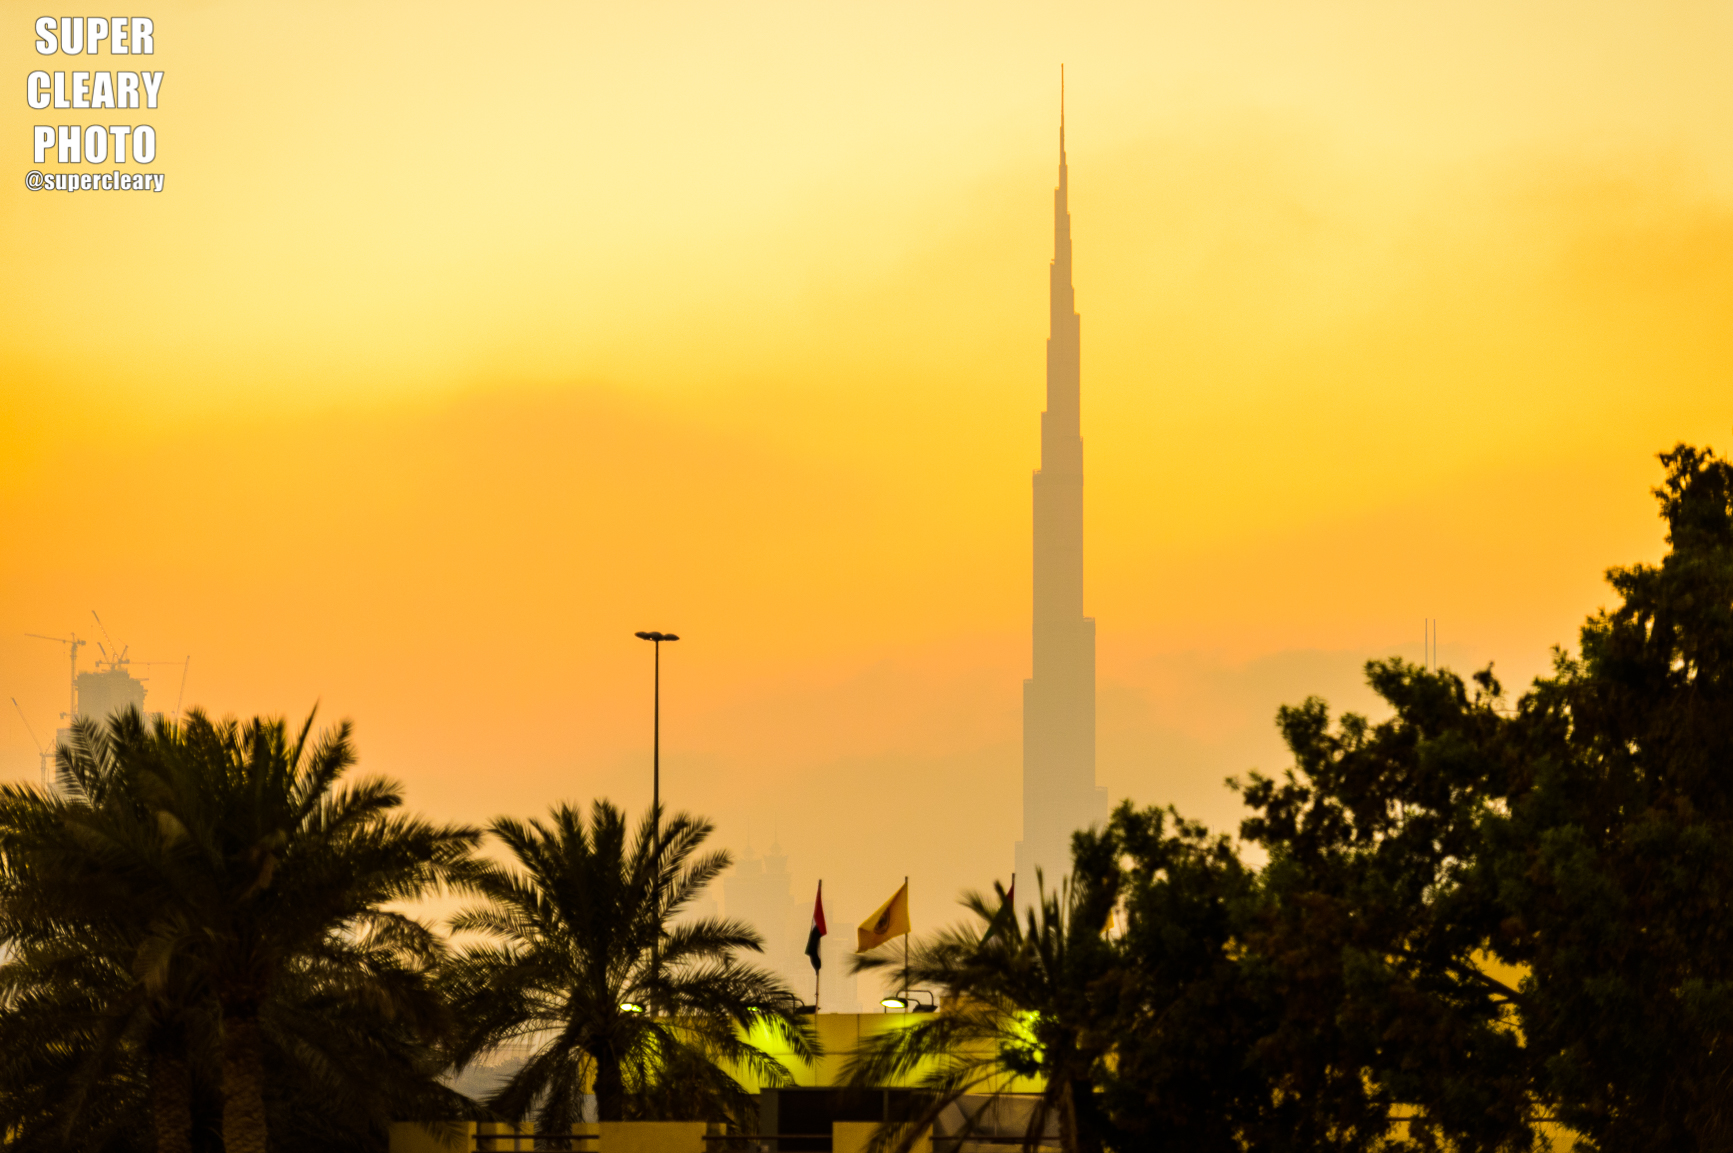
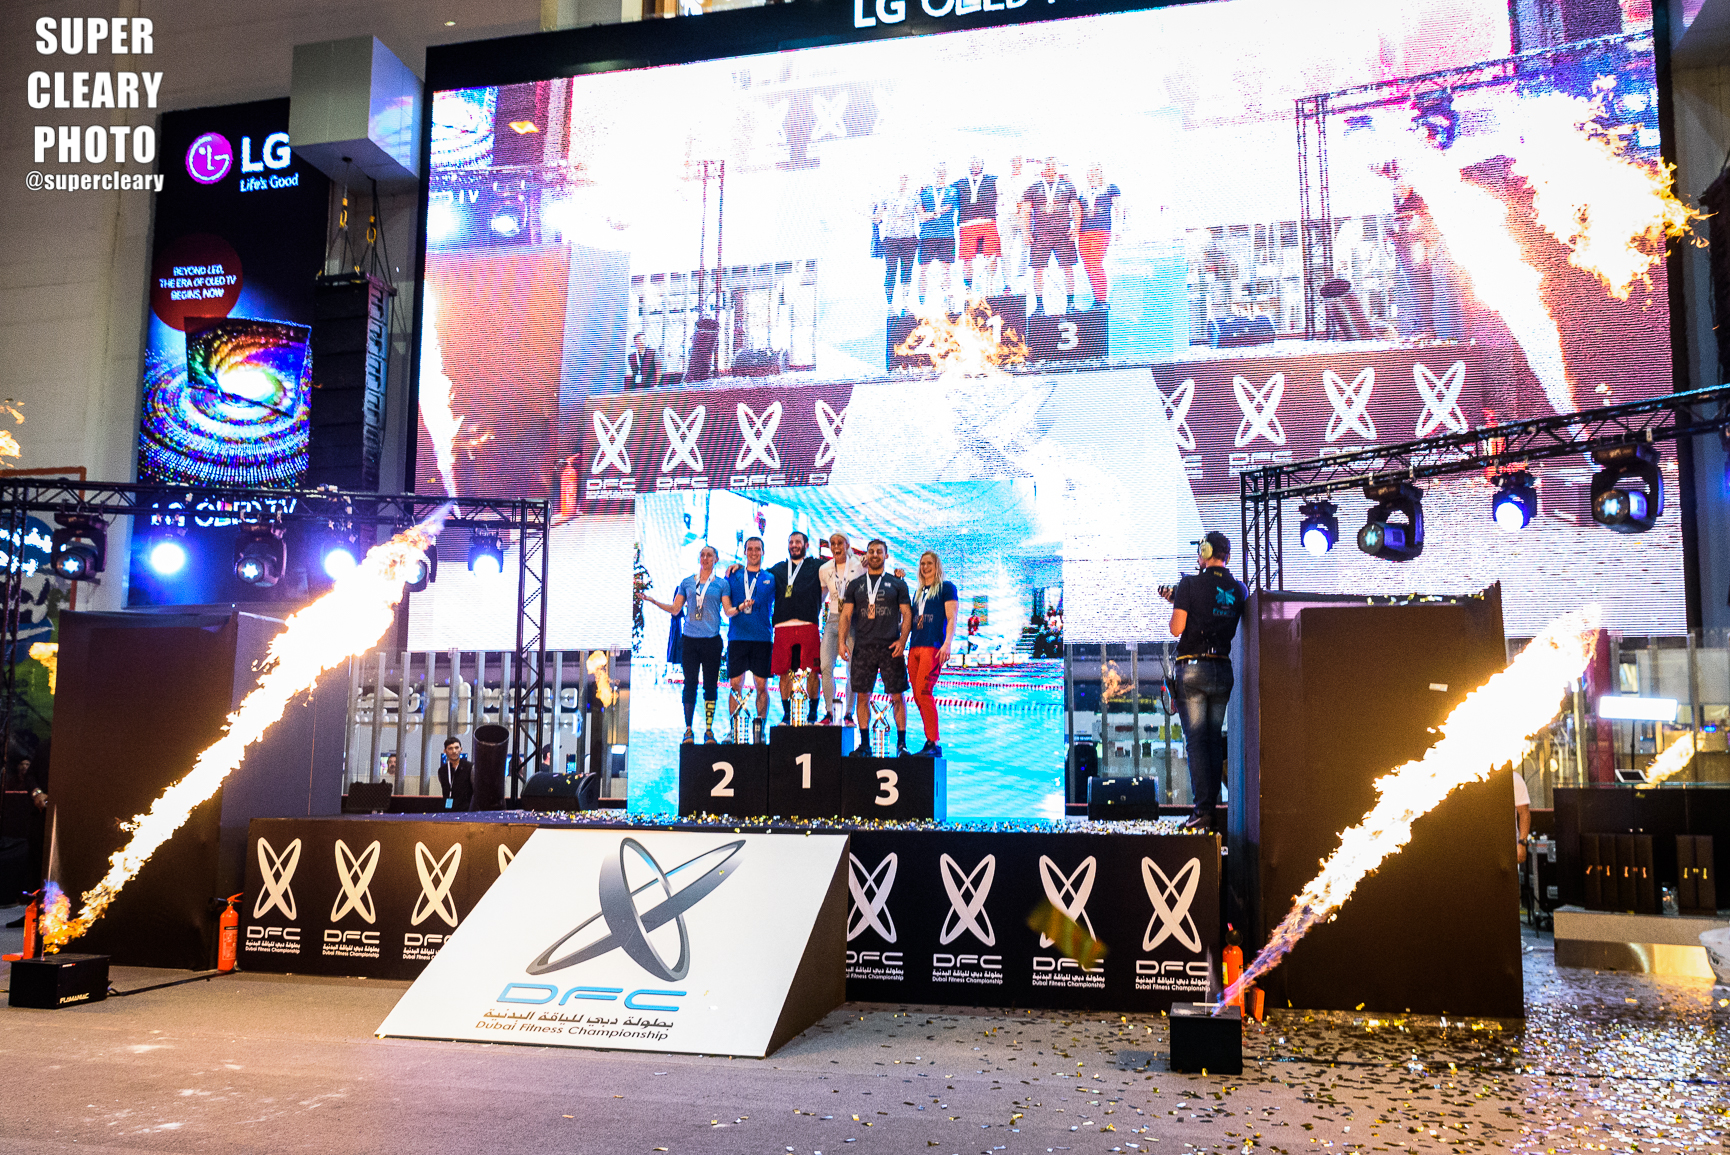
A few weeks ago I had the privilege of being invited to shoot the Dubai Fitness Championship and wanted to fill you in on the adventure that it was.  First off, my utmost thanks to His Highness Sheikh Majid Bin Mohammed Al Maktoum, without his support, the event would not be possible.  

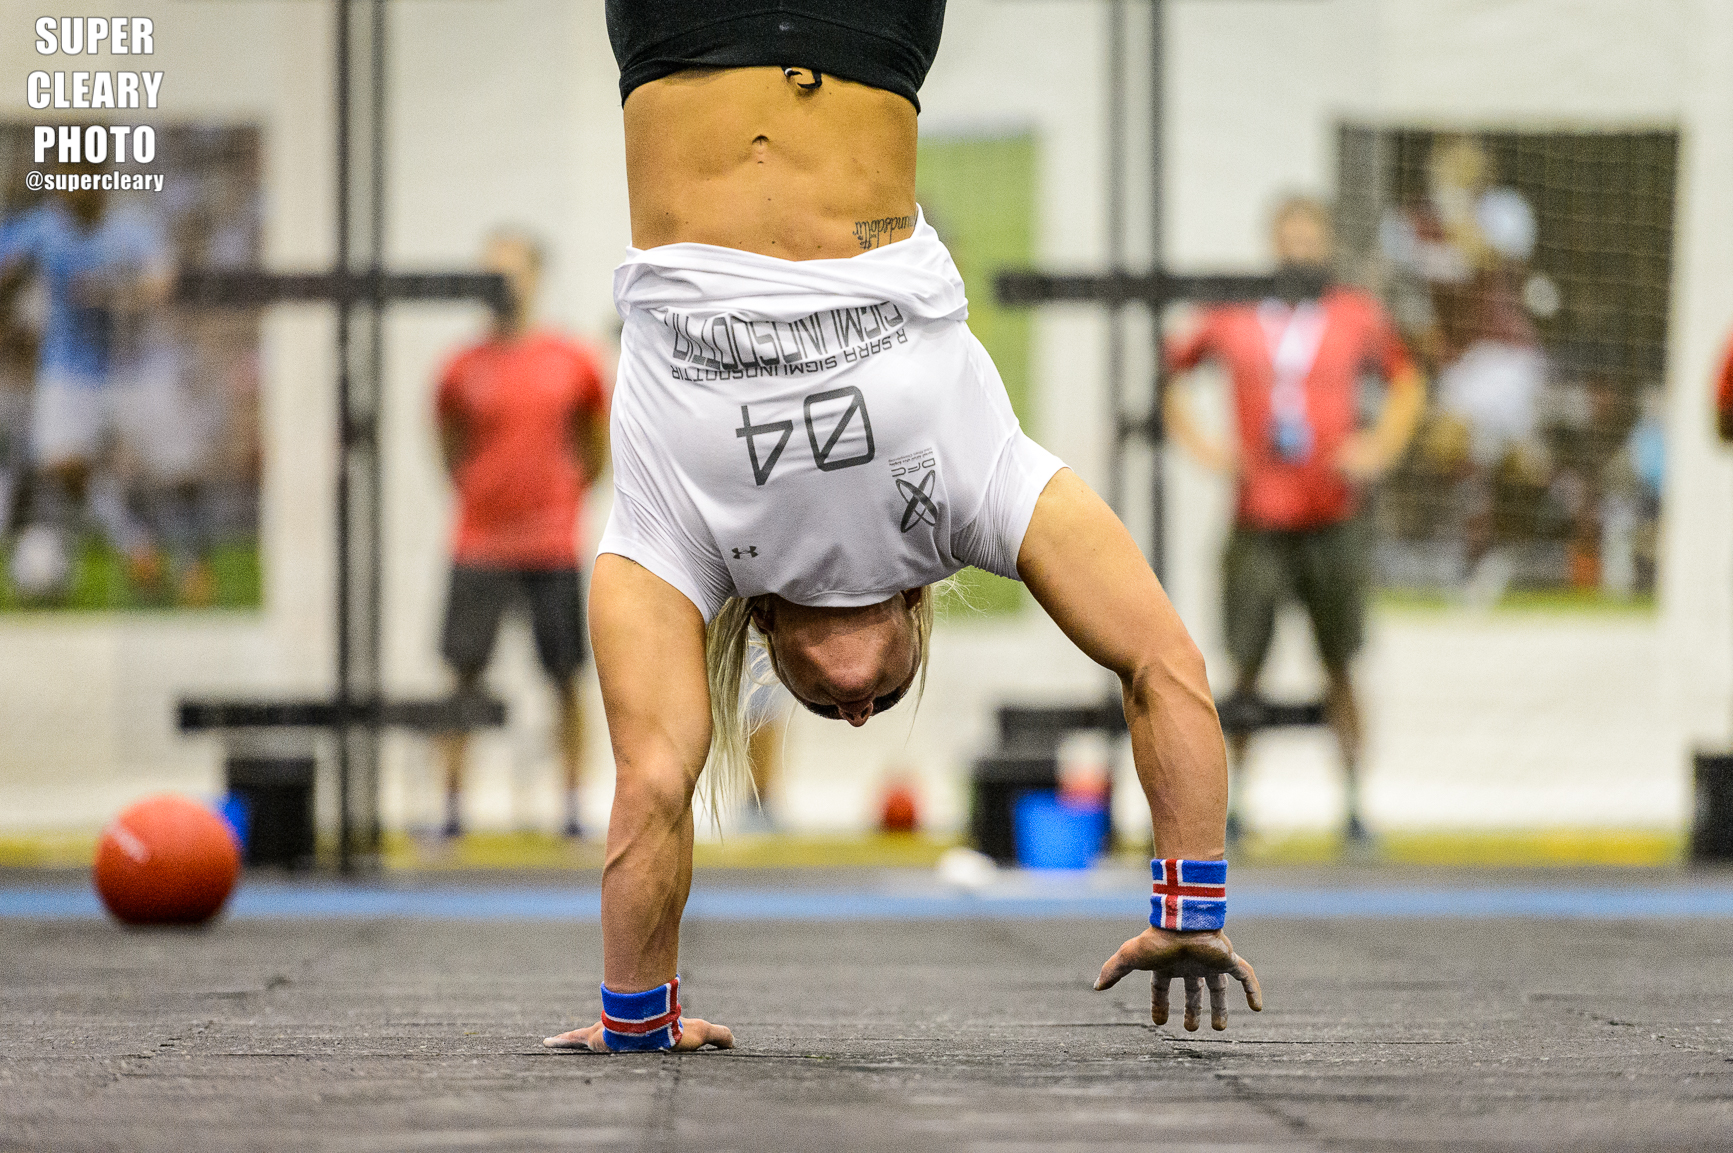
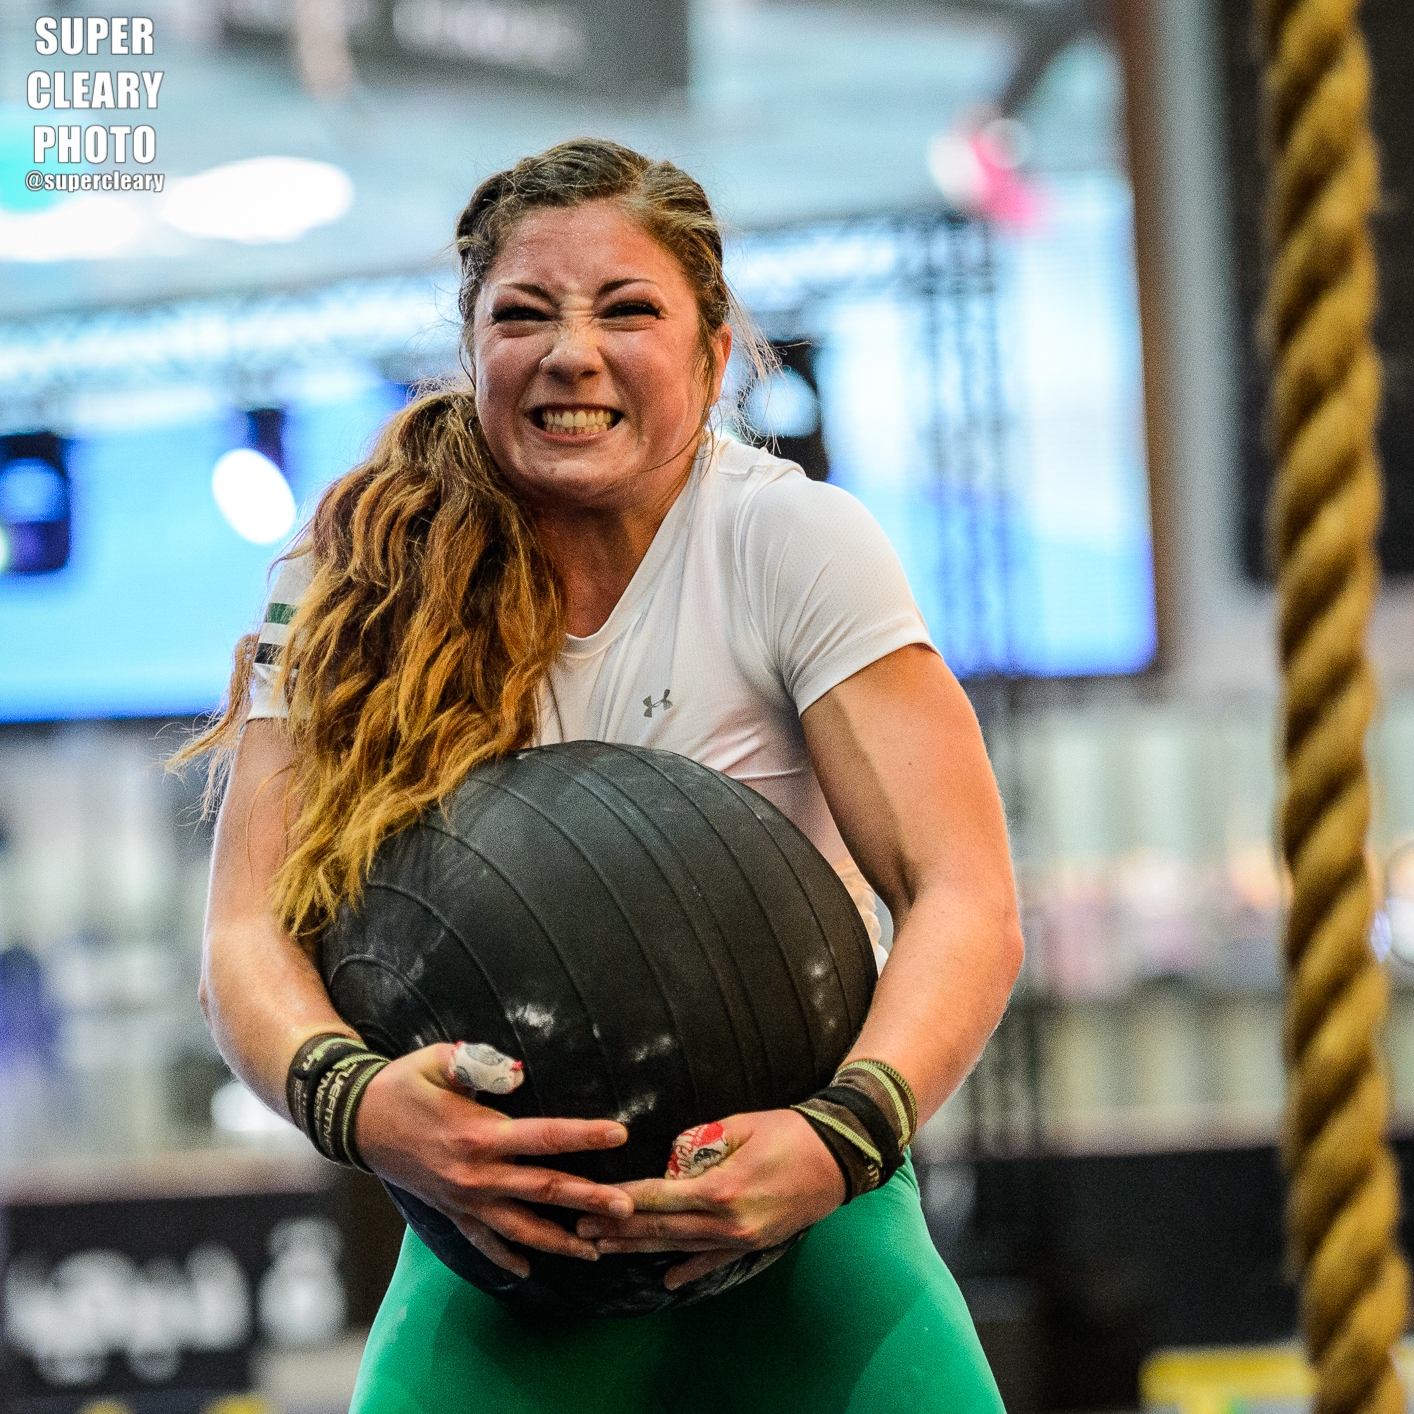
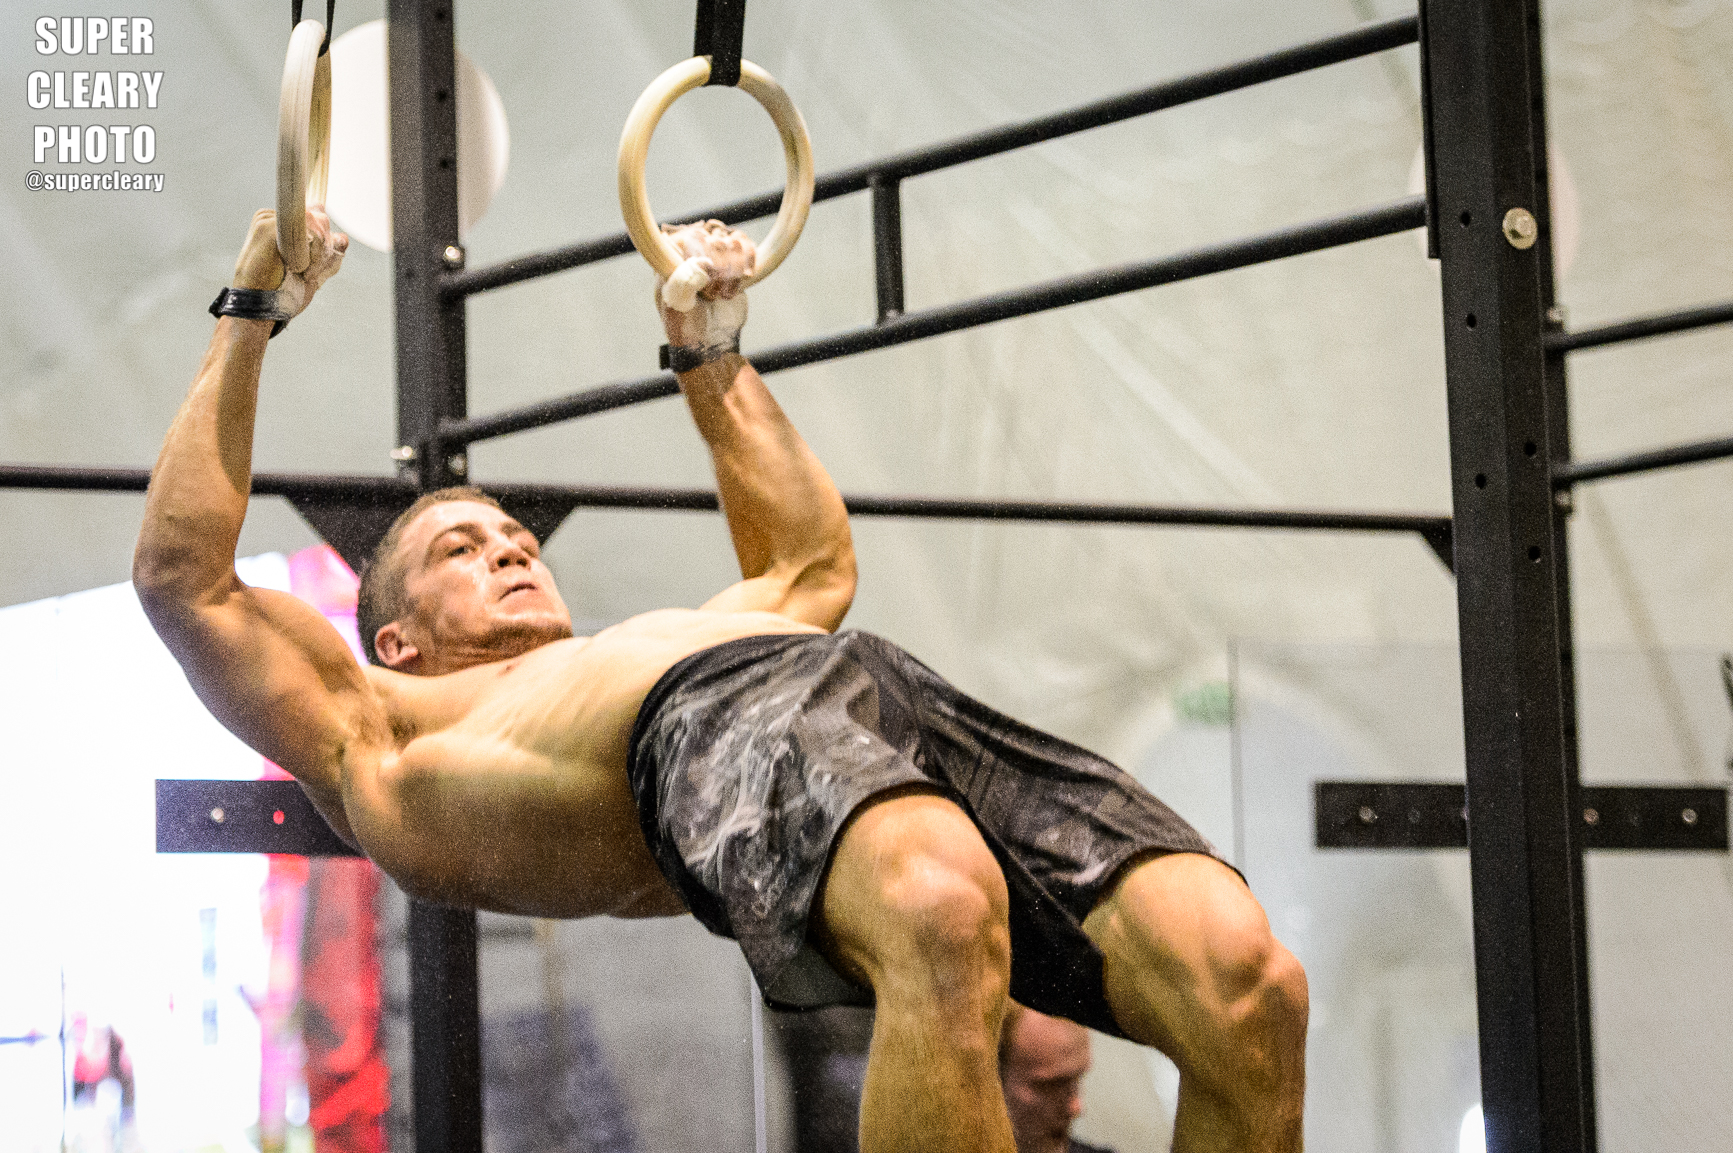
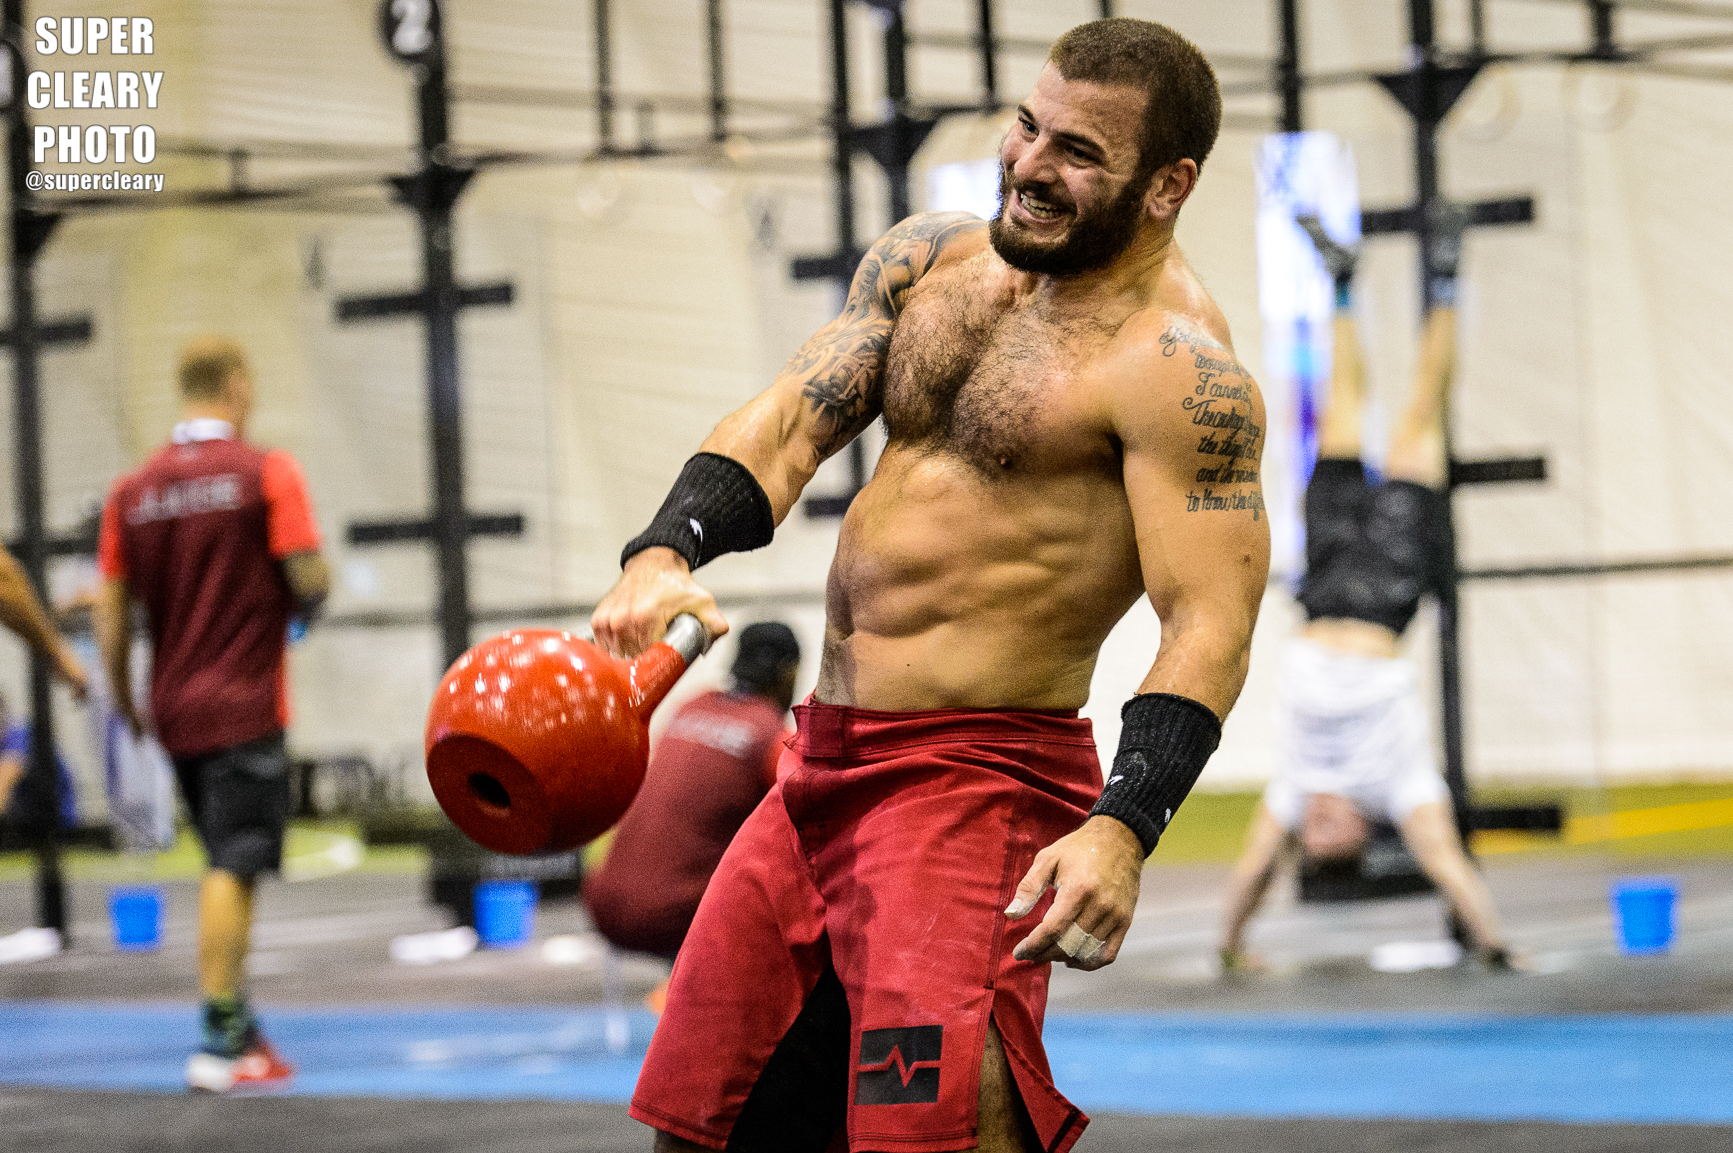
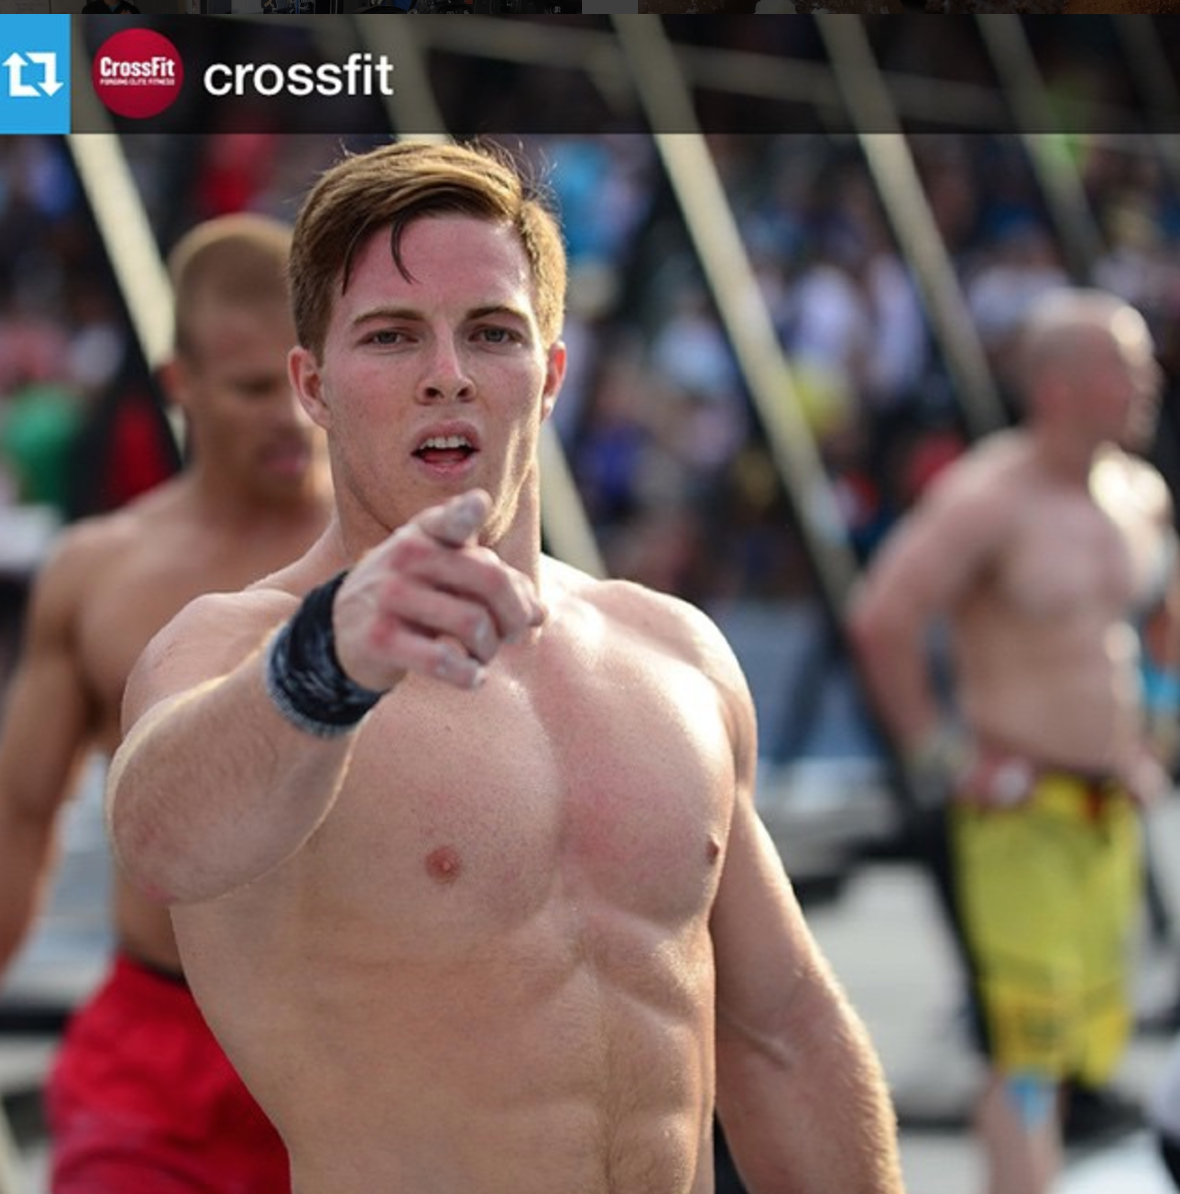
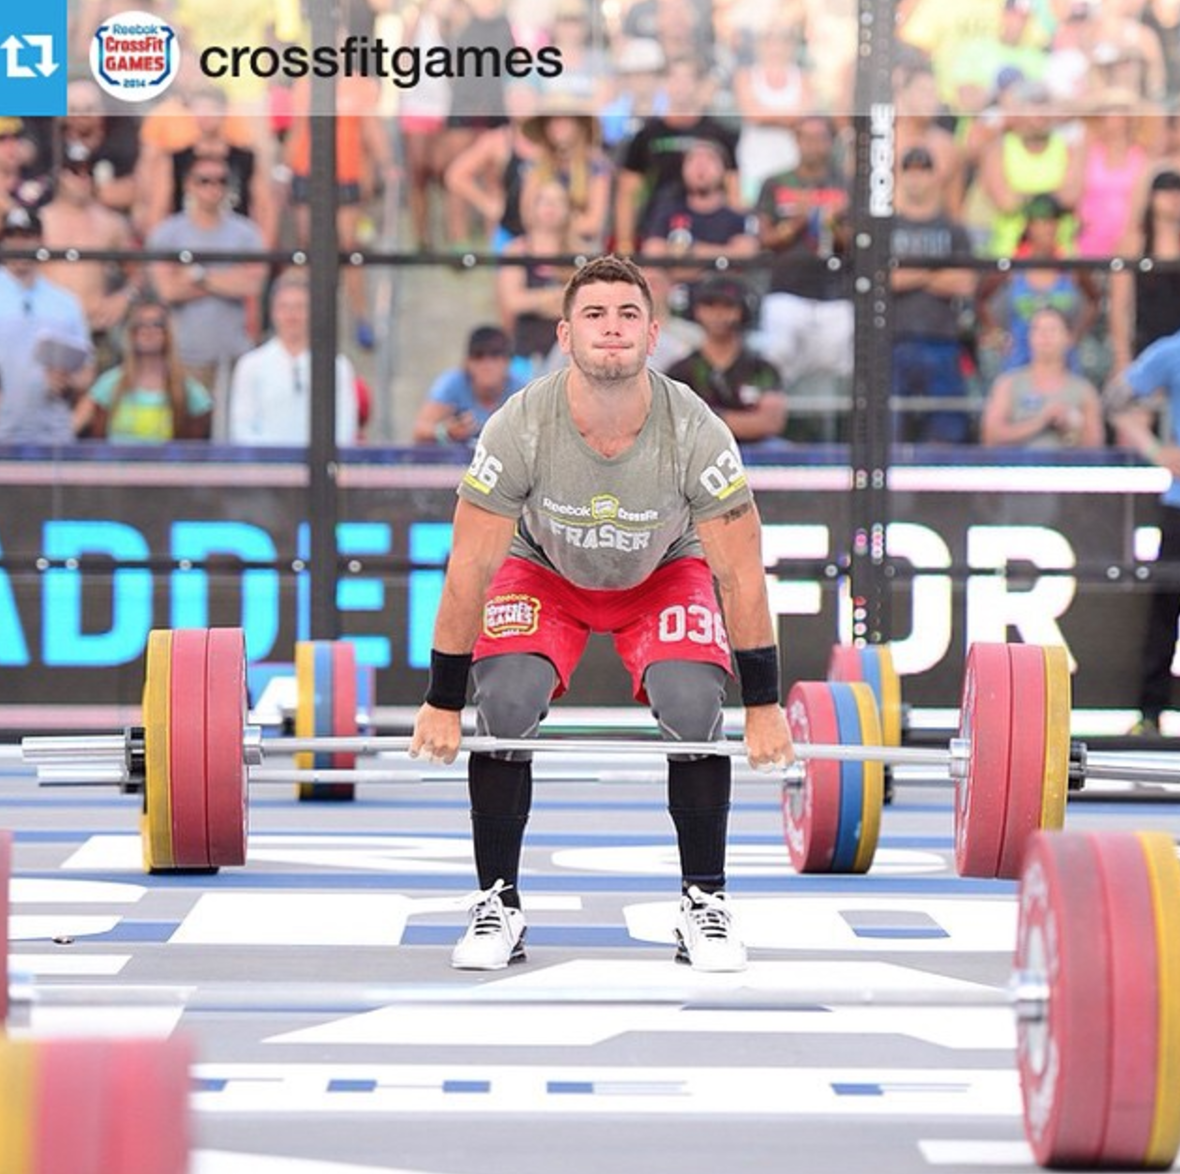
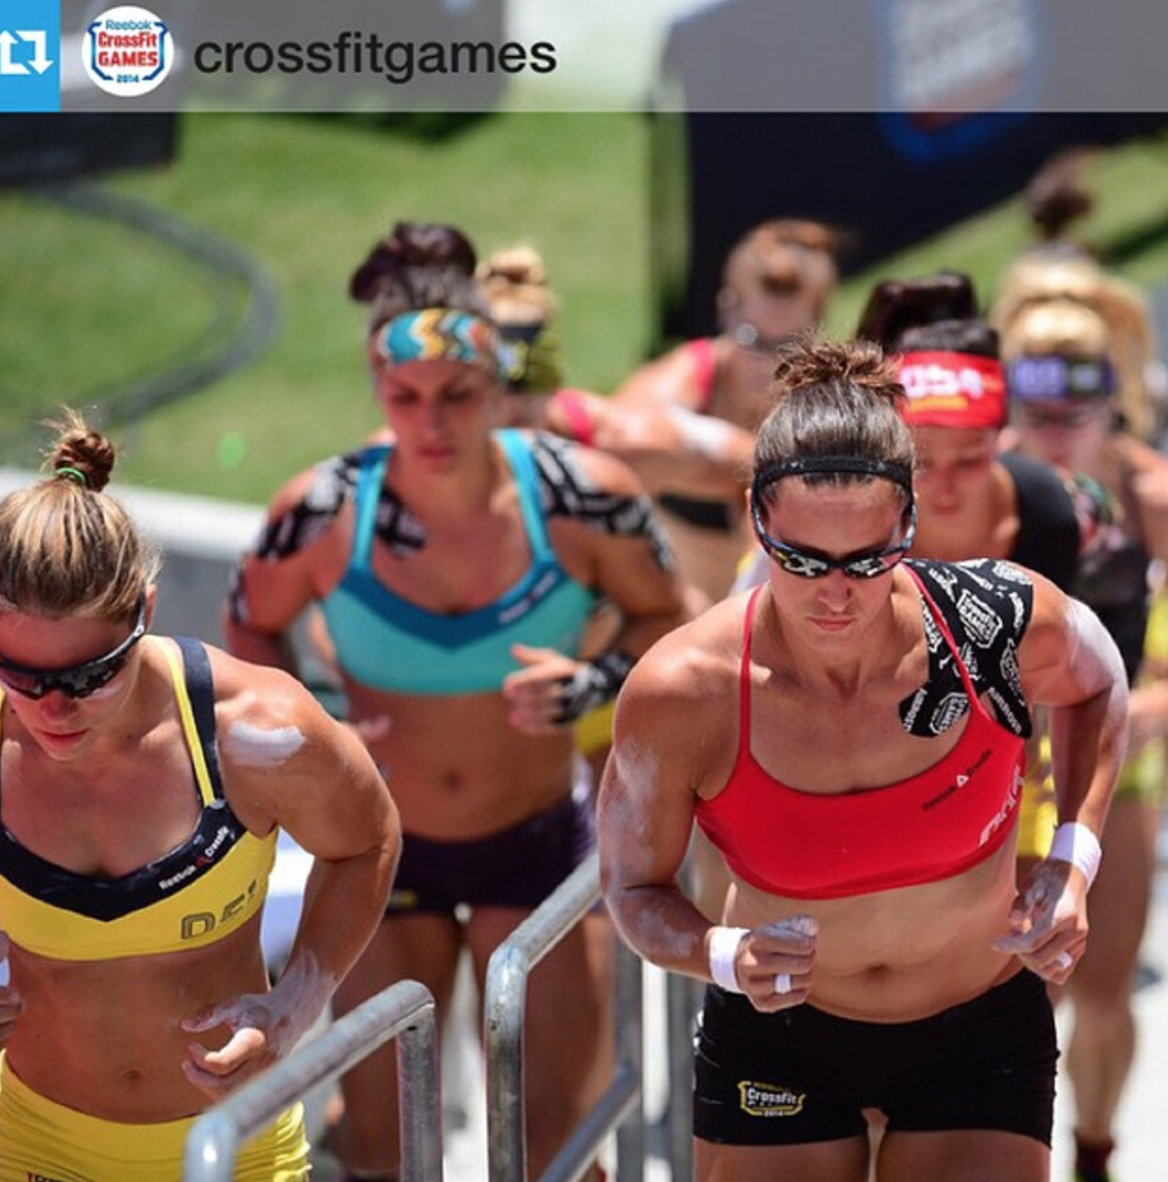
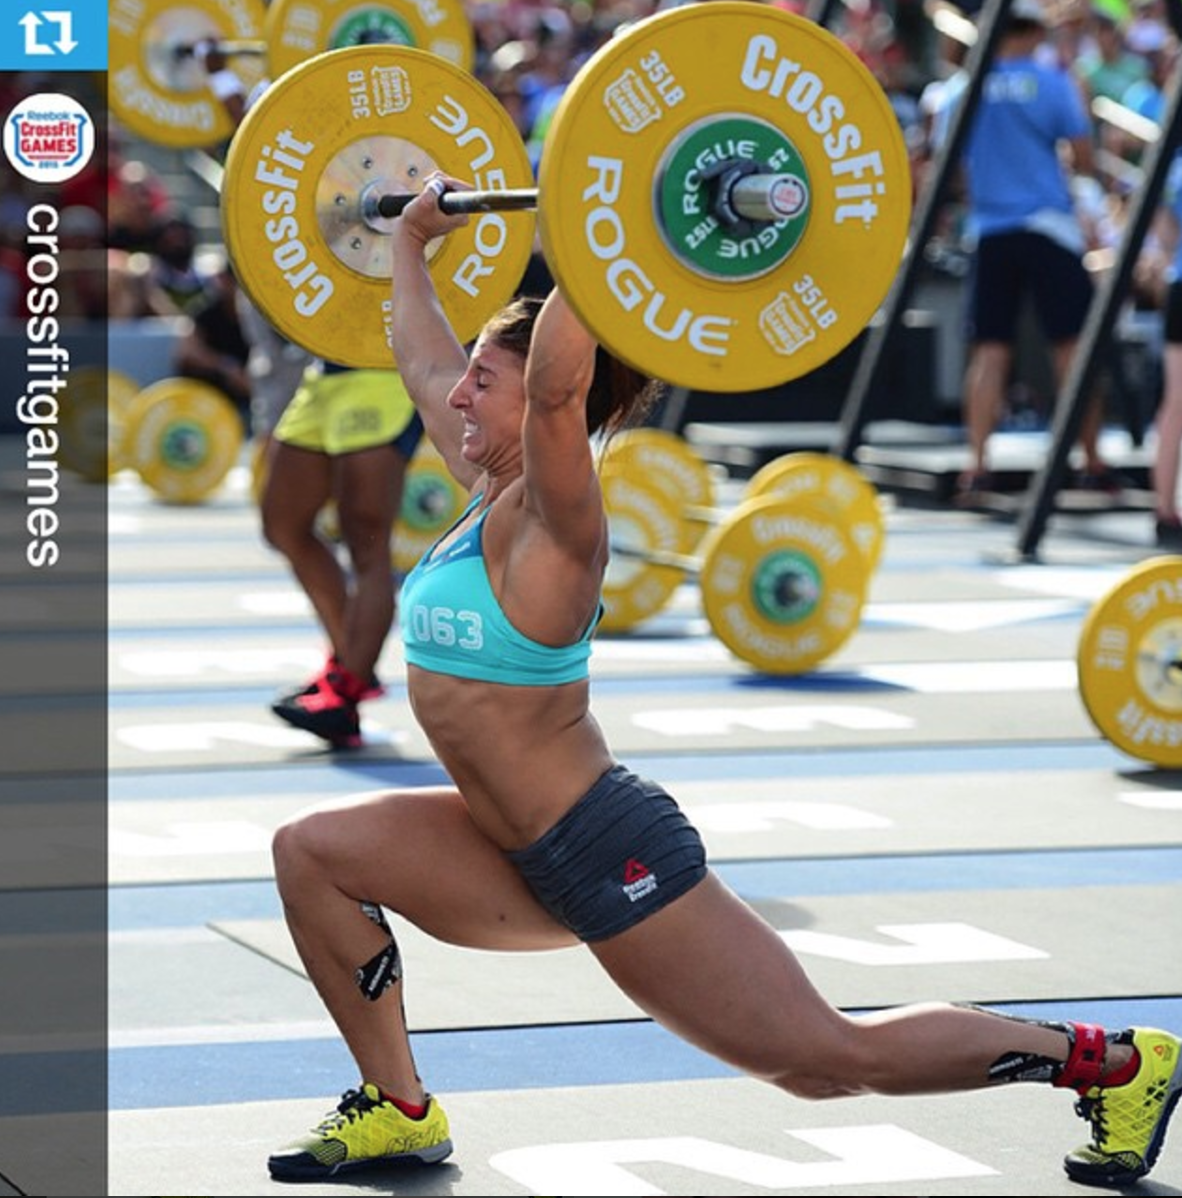
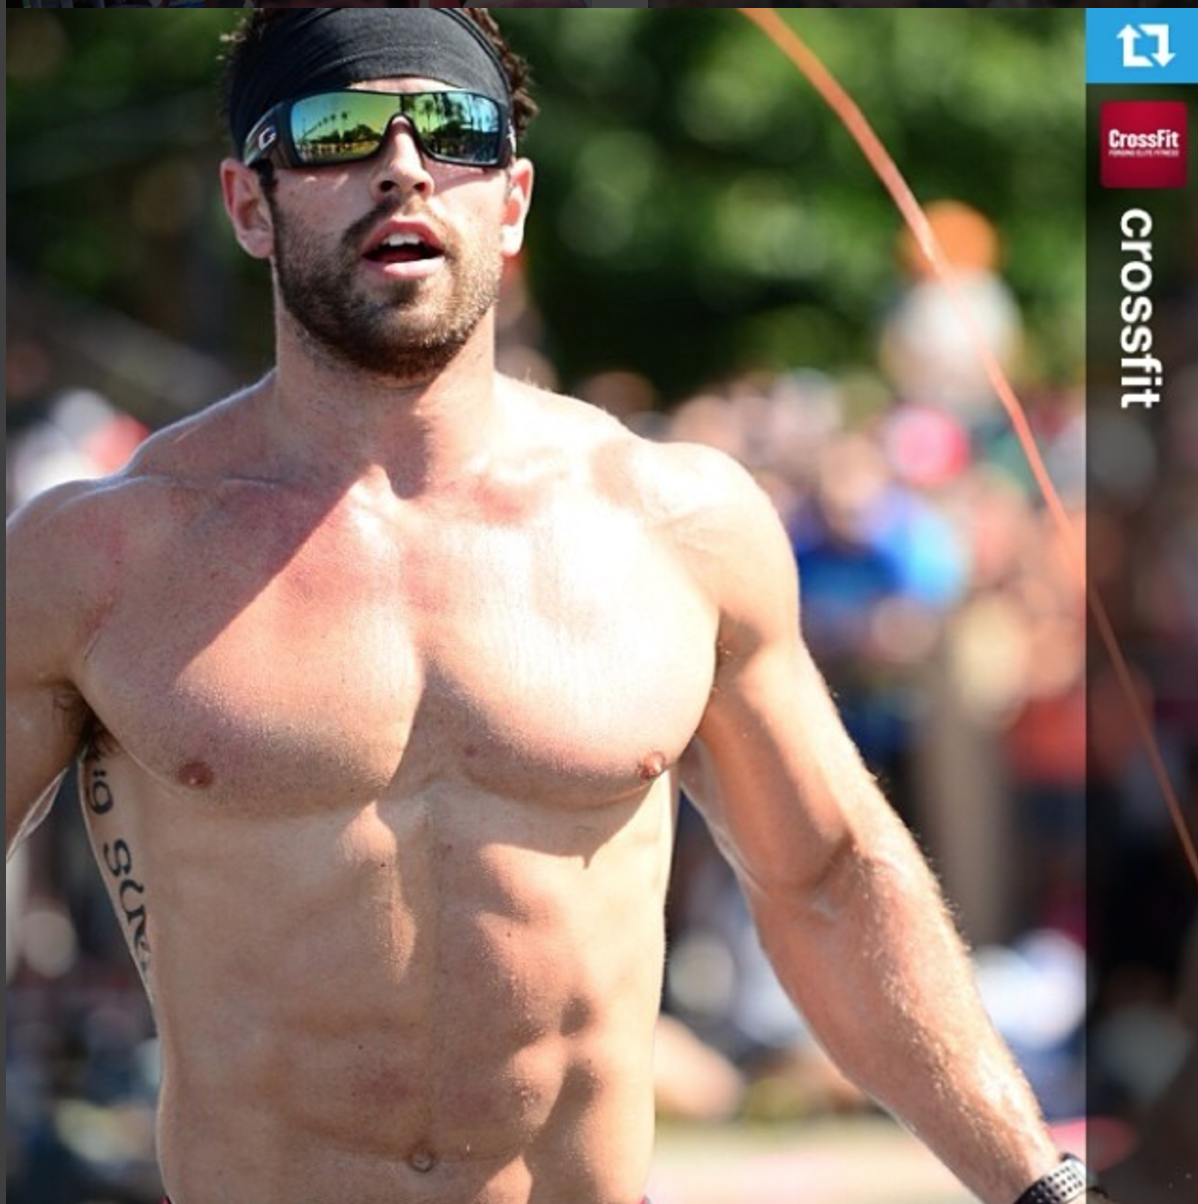
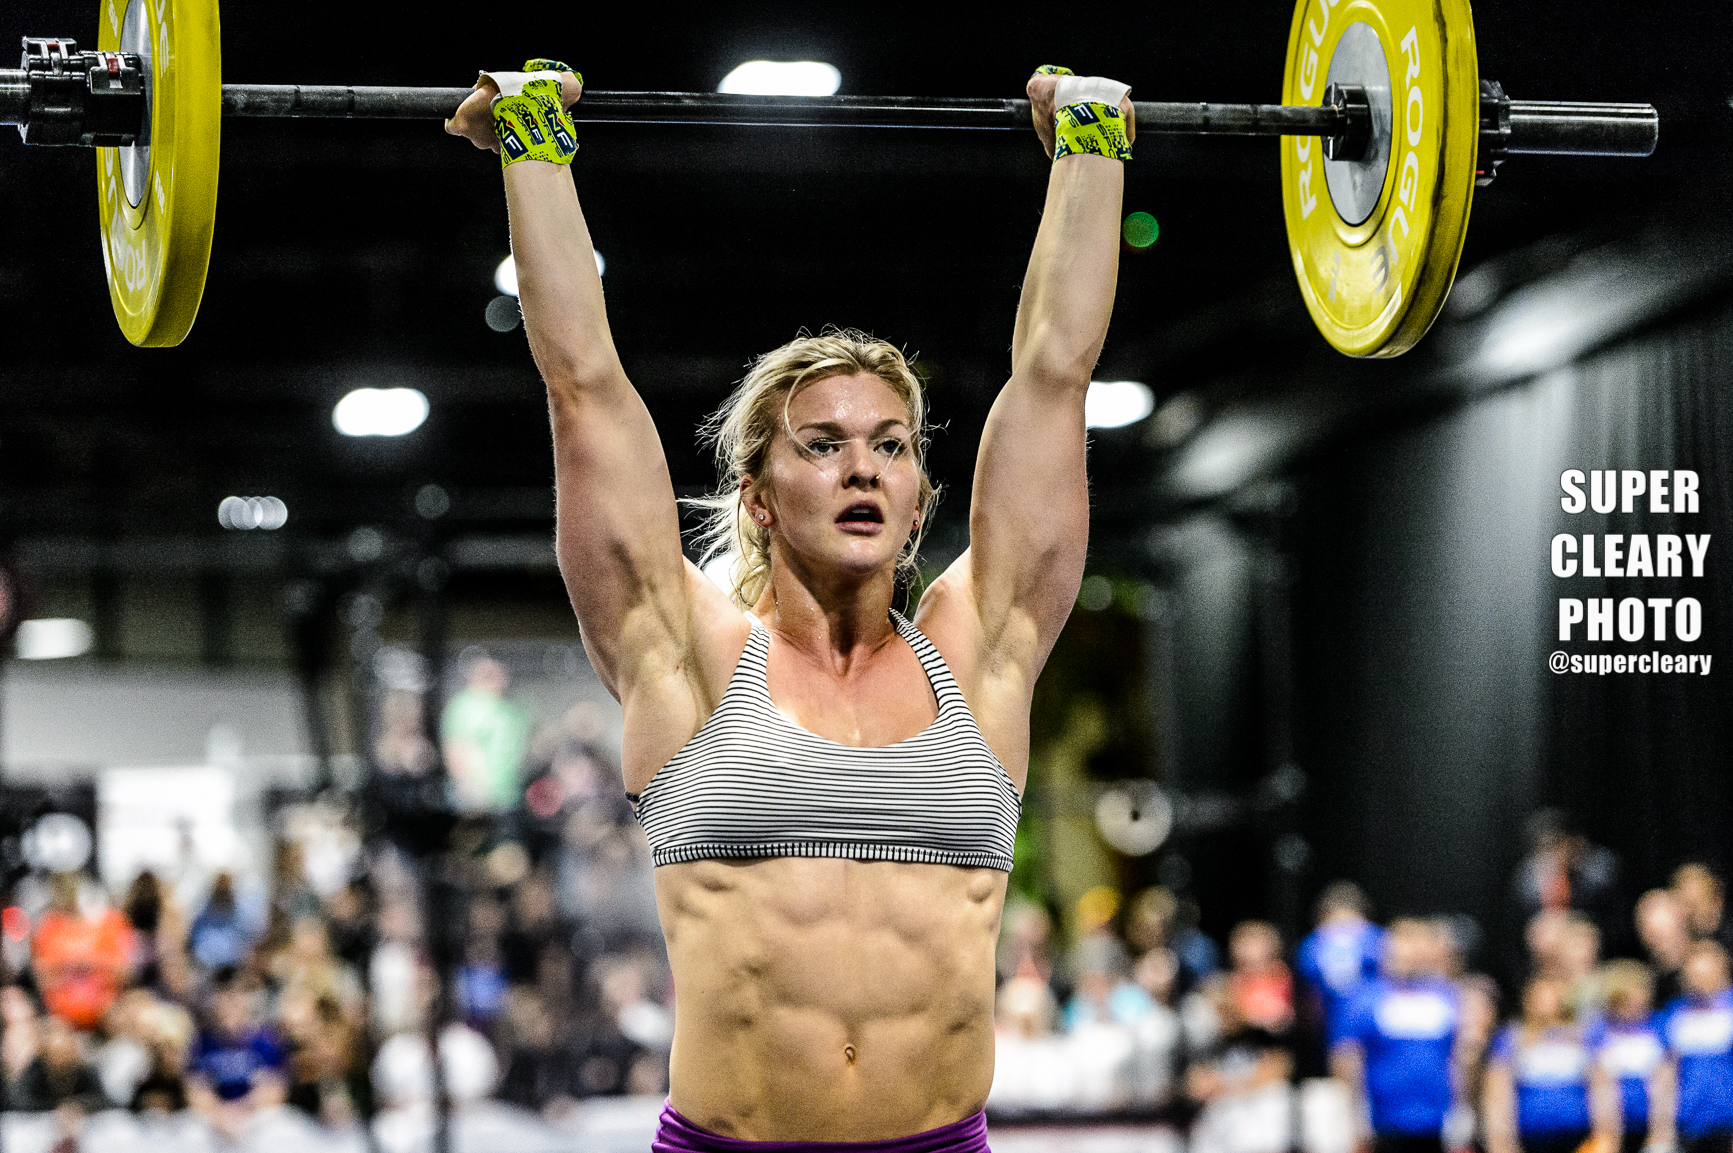
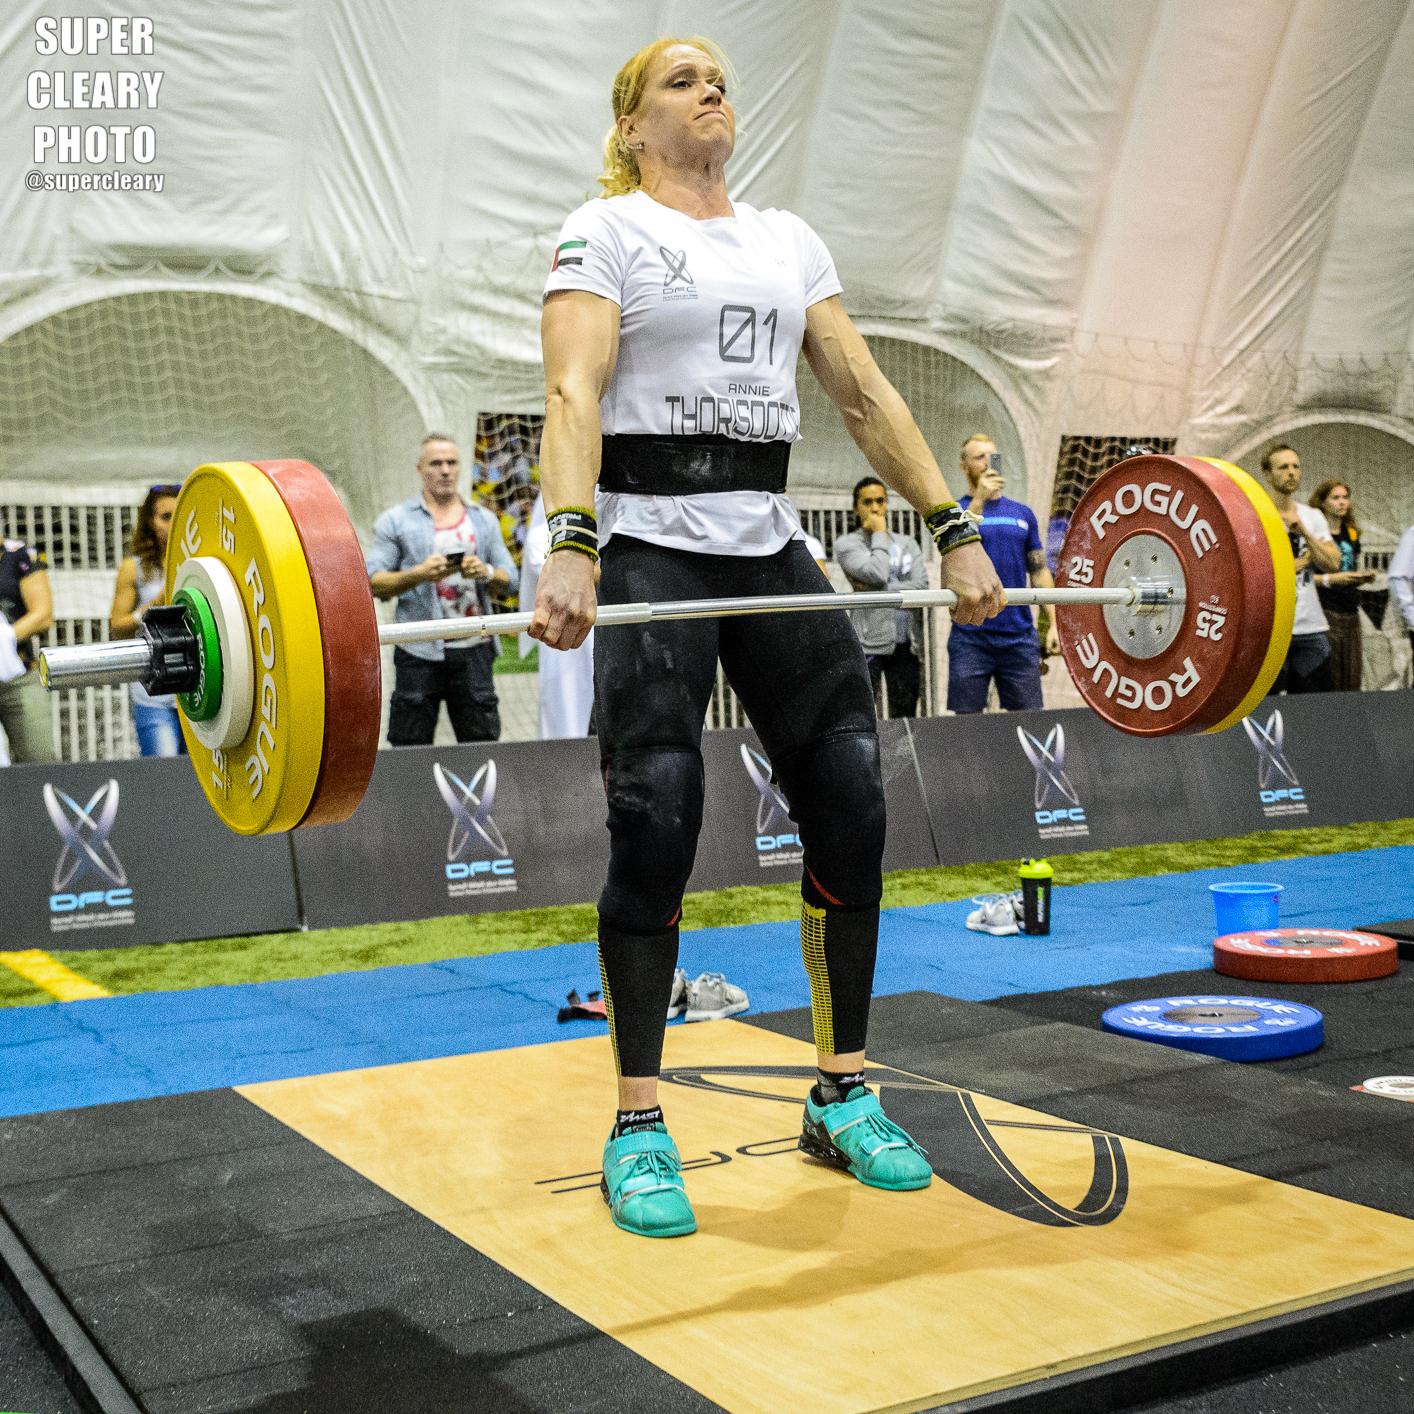
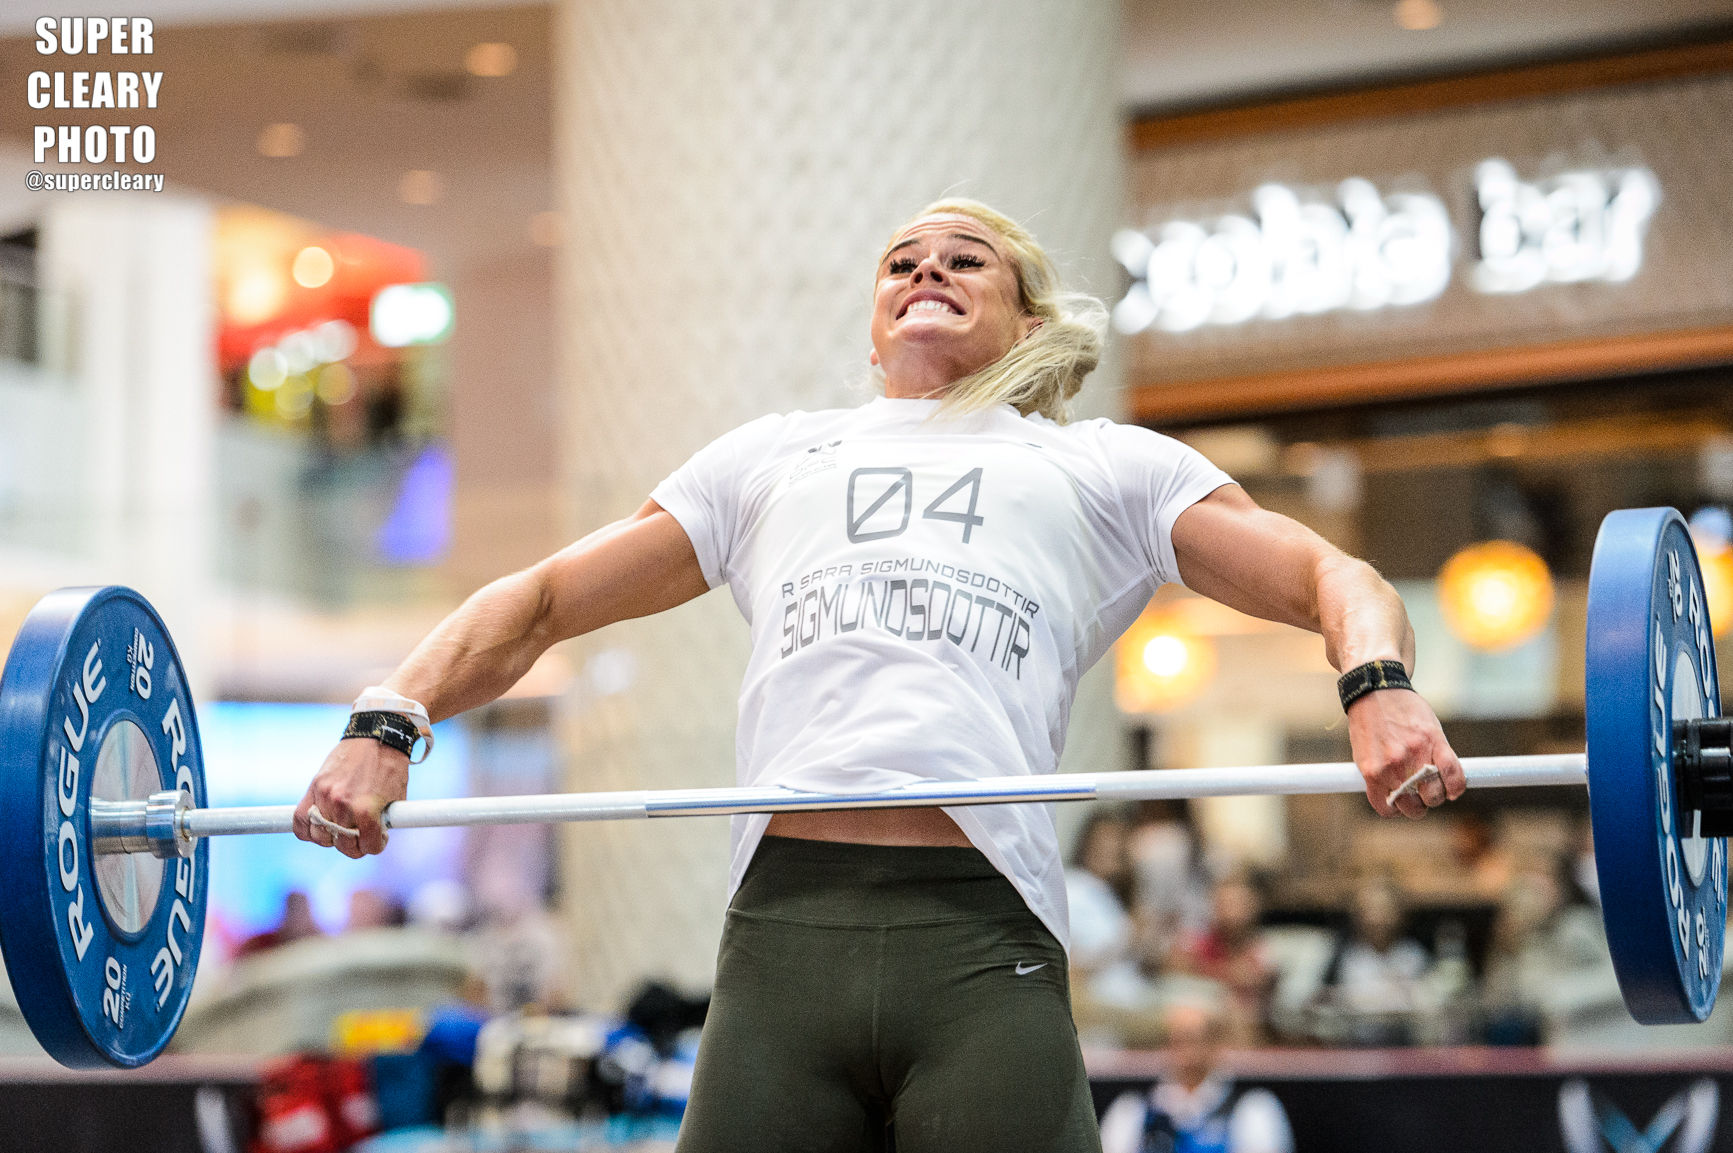
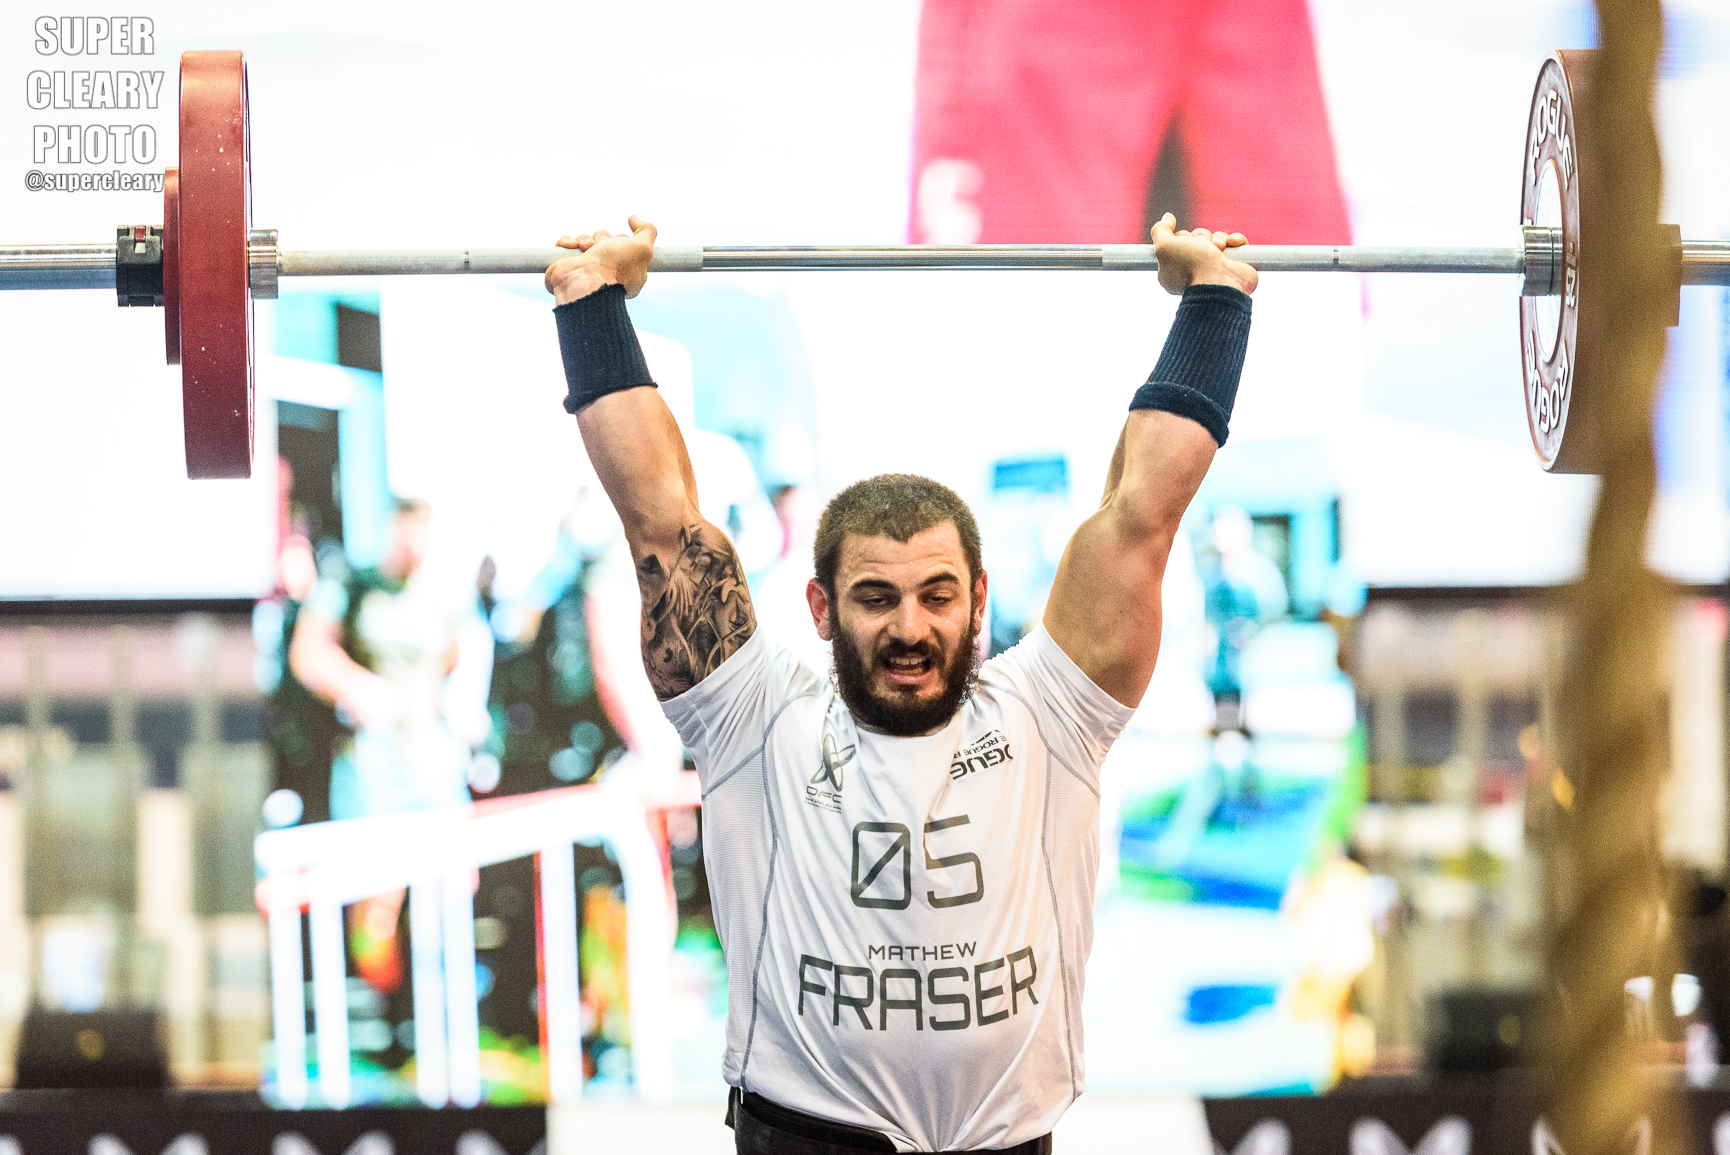
The Dubai Fitness Challenge - from here on out DFC - has gone on for the last several years, with each subsequent iteration becoming more and more of an international spectacle.  This year was the biggest yet, with reigning Fittest Man on Earth, Mat Fraser competing, as well as other previous years Games champs and podium placers like Ben Smith, Sam Briggs, Annie Thorisdottir, Sara Sigmundsdottir, BK Gudmunsoon, as well as many others.  Dubai itself has become something like a hub of CrossFit in the Middle East as well, with something like 20 affiliates in the greater-Dubai area.  

I could babble for awhile about the event itself as some sort of travel log, but I'm going to try to just sum up a few things that made my life easier traveling and shooting internationally.

1)  Legspace!

Dubai from New York is a big one.  It's 12 hours in the air direct on the way there, and 14 hours in the air on the way back.  While I've traveled a fair amount in my life, I've never come close to a long haul flight of this duration, and one I was supposed to be functional after (i.e. not drunk and on vacation).  When I travel for work, I have a gigantic NoBull Dufflepack that's loaded with my clothes, usually a tripod, and my computer, as well as a Pelican 1510 with my camera bodies and lenses.  On bigger jobs that might need lights or video gear, I'll have another Pelican case checked.  For this sort of flight, you do not want anything under your feet, so being "that guy" and putting everything in the overhead compartment is a must.  Cramped leg space for a 90 minute flight is one thing, for 14 hours, it is agony.  

2) TSA Locks

My flight out was actually full - that means 600 passengers - because of that they were gate checking larger carry-ons.  I bring this up, because no matter how much you beg and banter with airline staff, sometimes they will force you to gatecheck gear.  Make sure to have TSA locks you can throw on just in case, and make sure to take out at least one body and lens so that in case your gear is lost or stolen, you can still work when you get there.

3) Better Headphones

My real life changing epiphany pre-flight was buying a good pair of noise-canceling headphones.  Though pricey, I got the Bose Quiet Comfort 35s.  This turned out to be the greatest thing I have ever done for my own travel comfort in five years.  With these guys on, the crying baby directly behind me sounded like a distant faint noise, and that constant drone of the engines was completely gone.  It is the first time I've really ever been able to sleep on a flight (for a grand total of 2 hours).  I can't recommend these enough, and they also have a number of professional applications for shooting and editing that are equally useful.

4) Cruise through Customs

The next big hurdle shooting internationally is Customs.  In the last two month I've had two different experiences going through customs and both were educational to say the least.  In November I went through Canadian customs - a country notorious for being hard on foreign citizens working in their country.  Dubai is much more lassiez-faire towards international workers, but I still had a few hiccups.  While no two experiences are the same, a few basic rules should help you get through customs as easy as possible.  First off, don't lie.  If you're traveling international to work, just say you're there on "business."  Before you go, make sure if there are any kind of film permits or special work papers that are required for photography/videography you have them, or are able to clearly explain why you don't need them.  Make sure, you have in writing, explanations from your employers or clients what your are doing, how long you will be doing it, and where you will be shooting, and when you will be leaving.  Finally, know the value of your equipment.  If your gear is worth more than $10,000, you hit a threshold in most countries where they want you to declare that and they are going to take a closer look.  Lastly, and this might sound stupid, make sure you have actual phone numbers for your local clients in case you do get detained.  You don't want to be in holding and frantically emailing a client that isn't answering you, without any other means of contacting them.

5) Phones

Simple stuff you take for granted when traveling around the states - cell phones work everywhere.  Depending on the country you travel to, you might be SOL, or have to pay absurd fees to get a data connection.  With Verizon at least, many countires allow you to buy a travel pass ahead of time that for a few dollars a day, let you use your regular minutes and data connection.  All this has to be purchased ahead of time so make sure to check that out before you leave.

6) Power Up


Just as importantly, power up!  On a video shoot, I have no less than four or five different batteries charging at once.  Not a big deal when all your plugs work, but the second you cross the ocean, you're going to need an adaptor for everything.  I was able to find some cheap ones online that work in a number of different countries, but it's one more dongle you're going to have to pack and carry around.

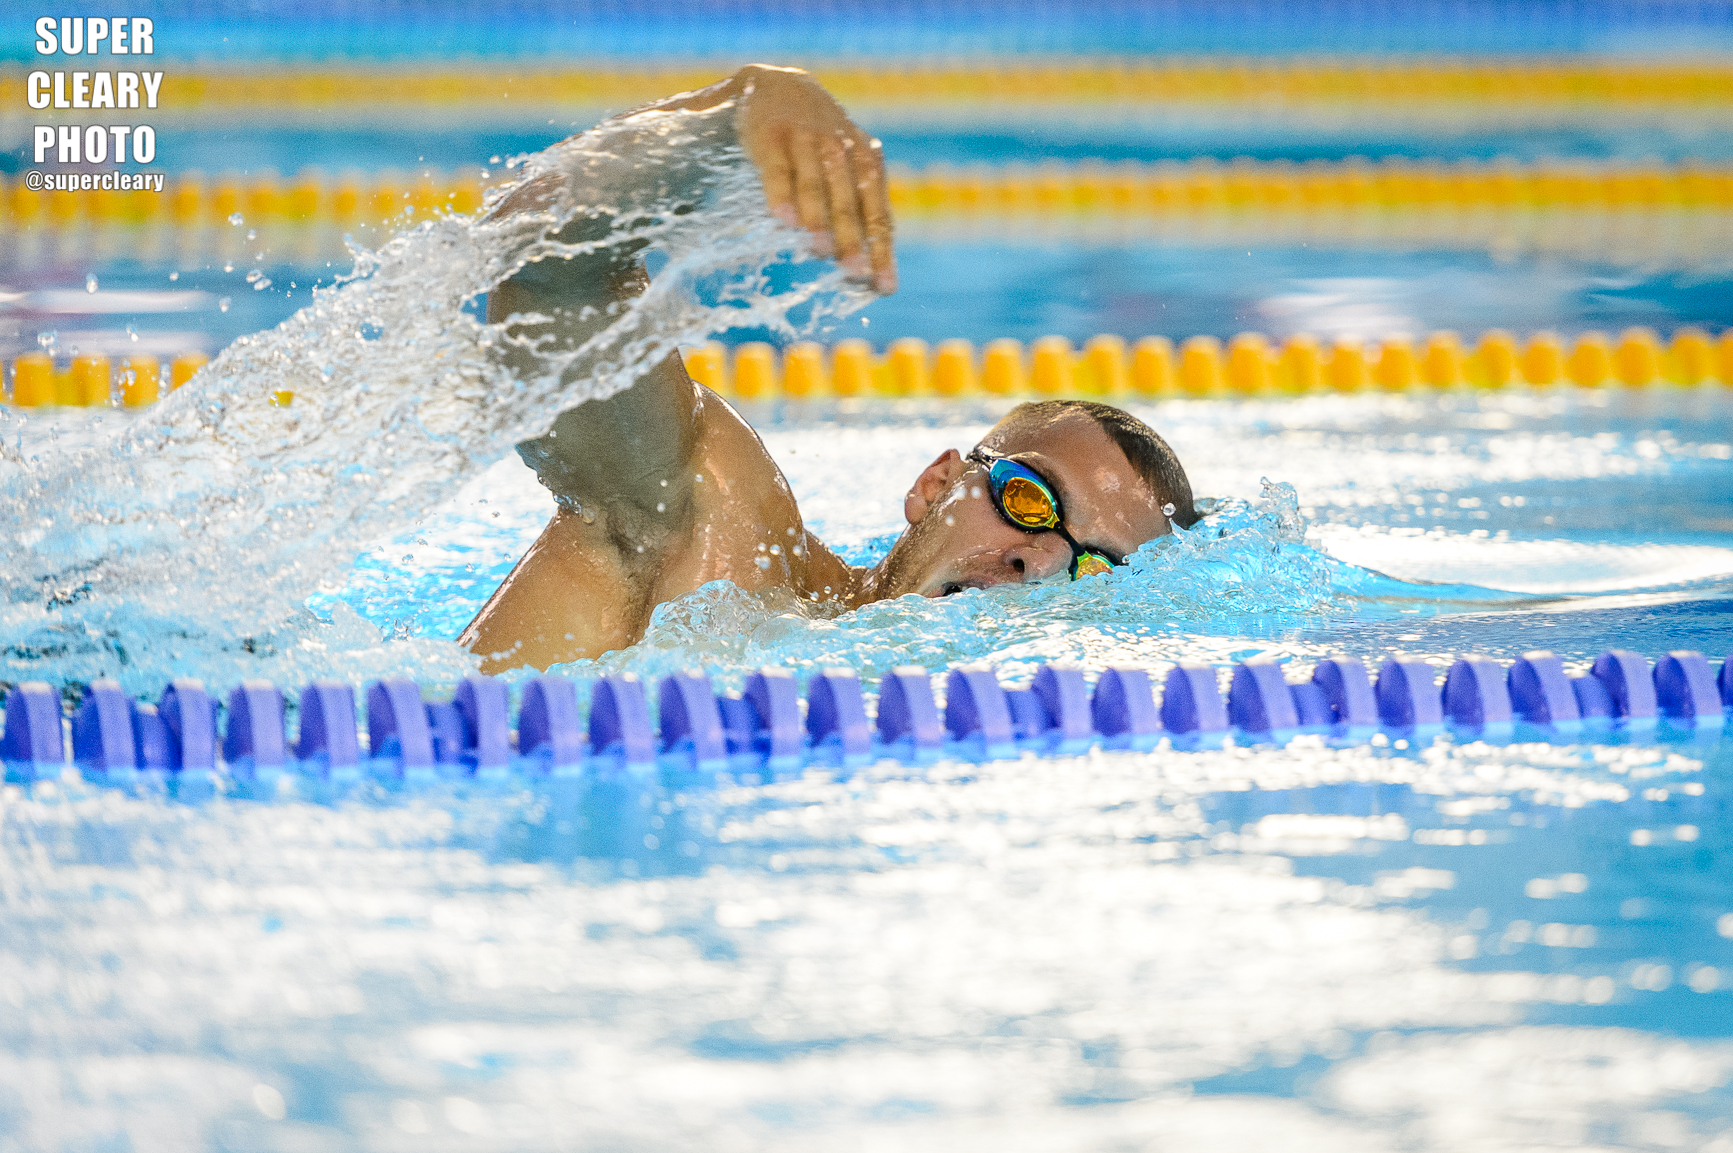
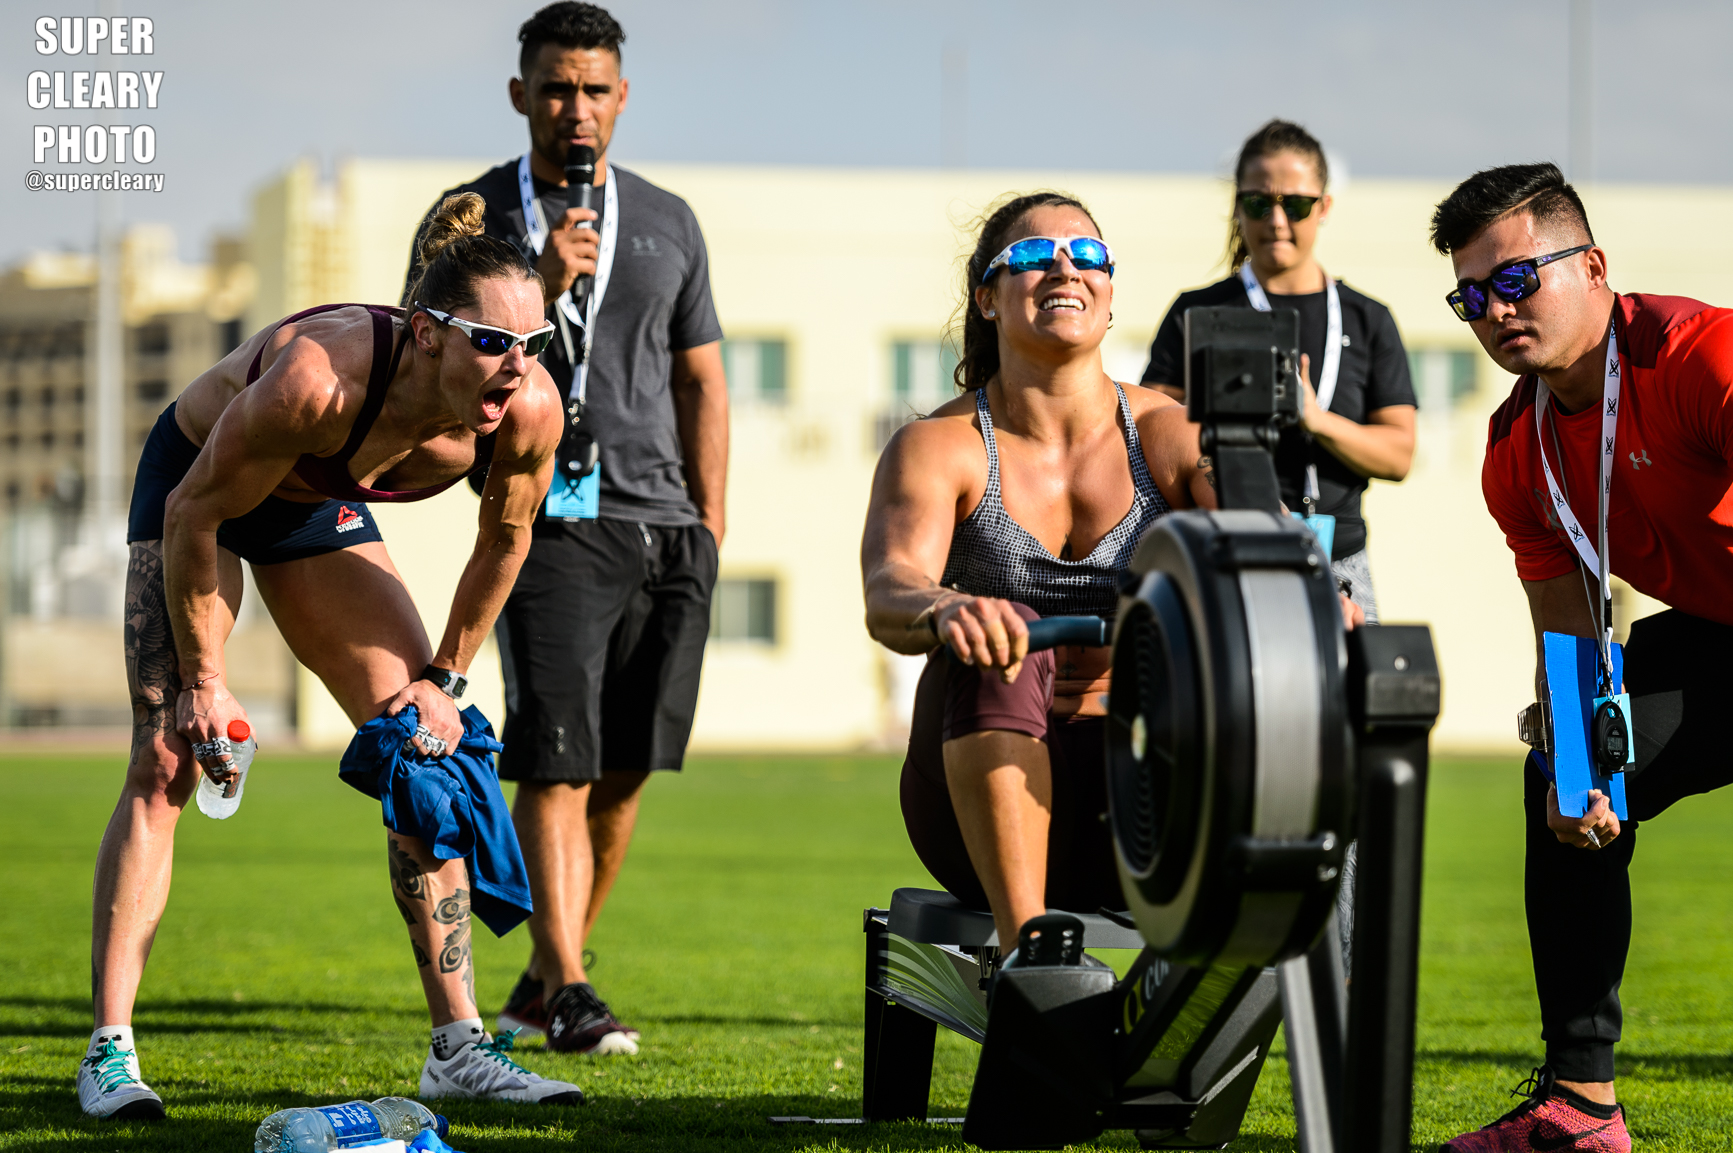
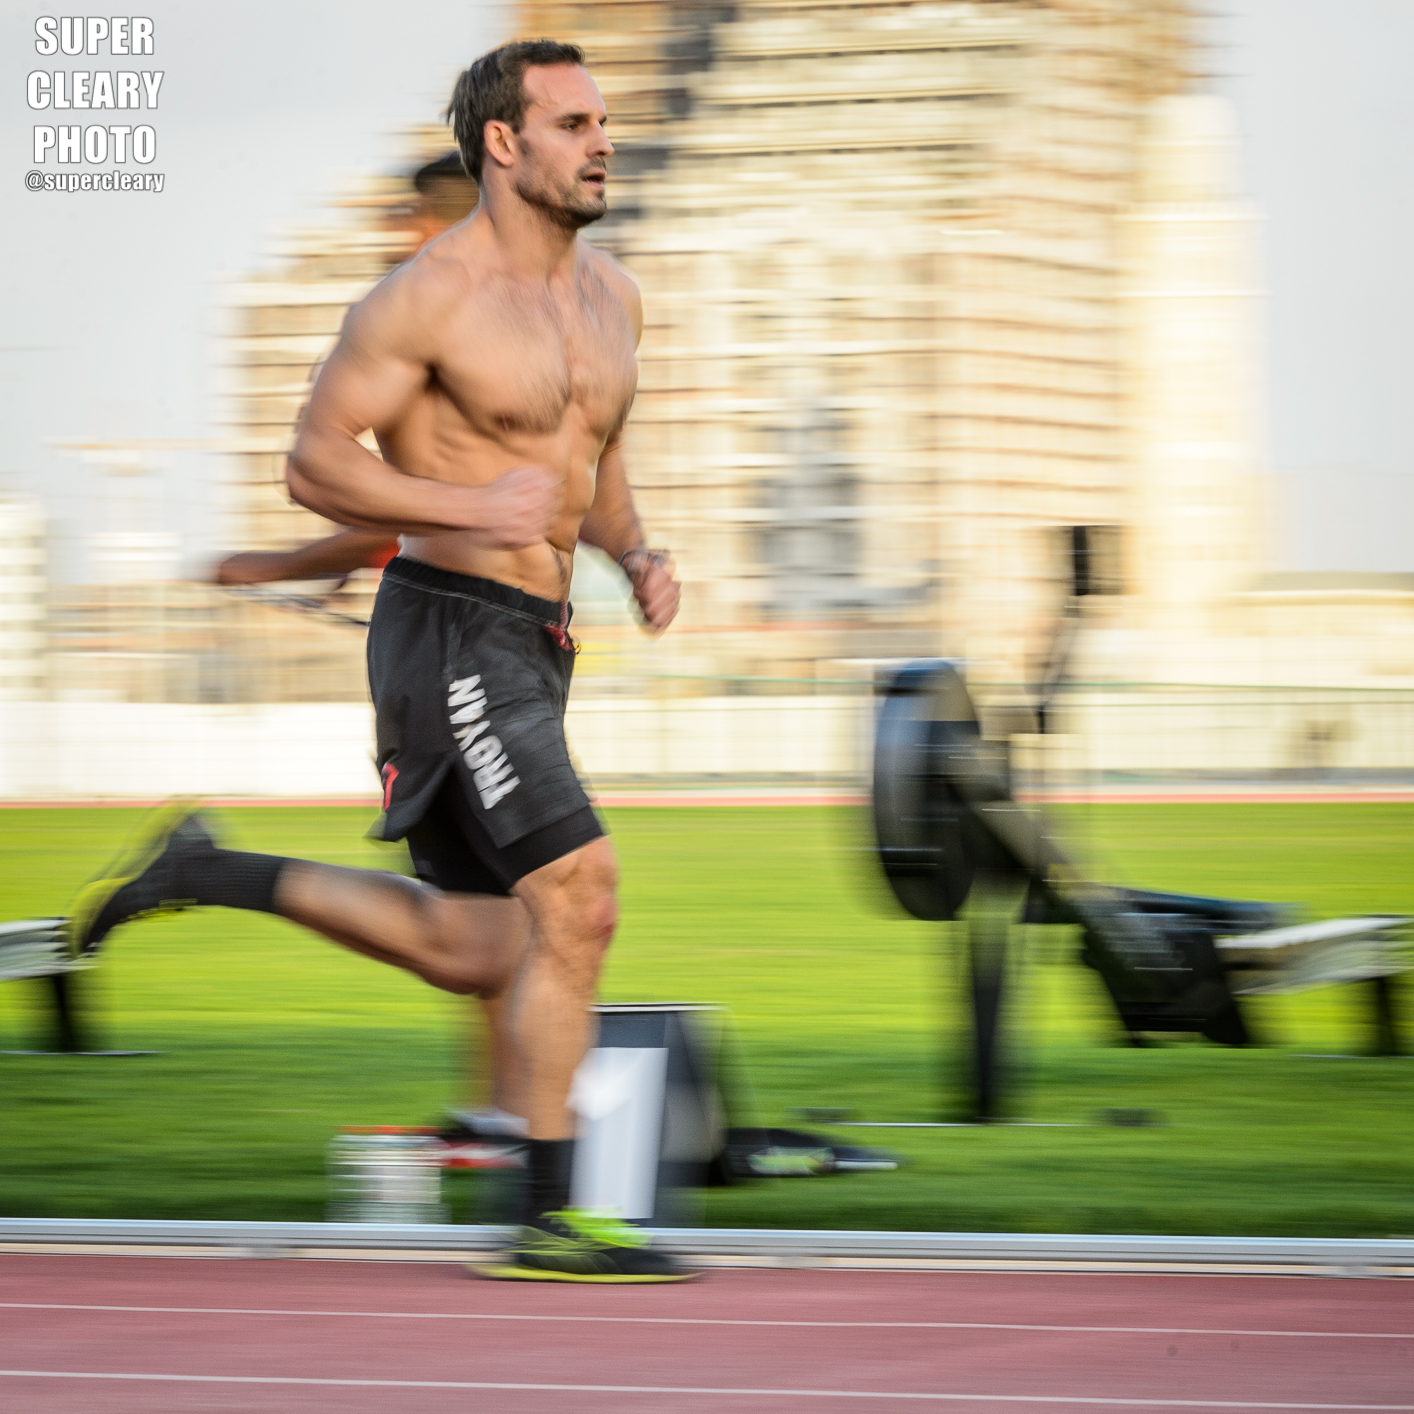
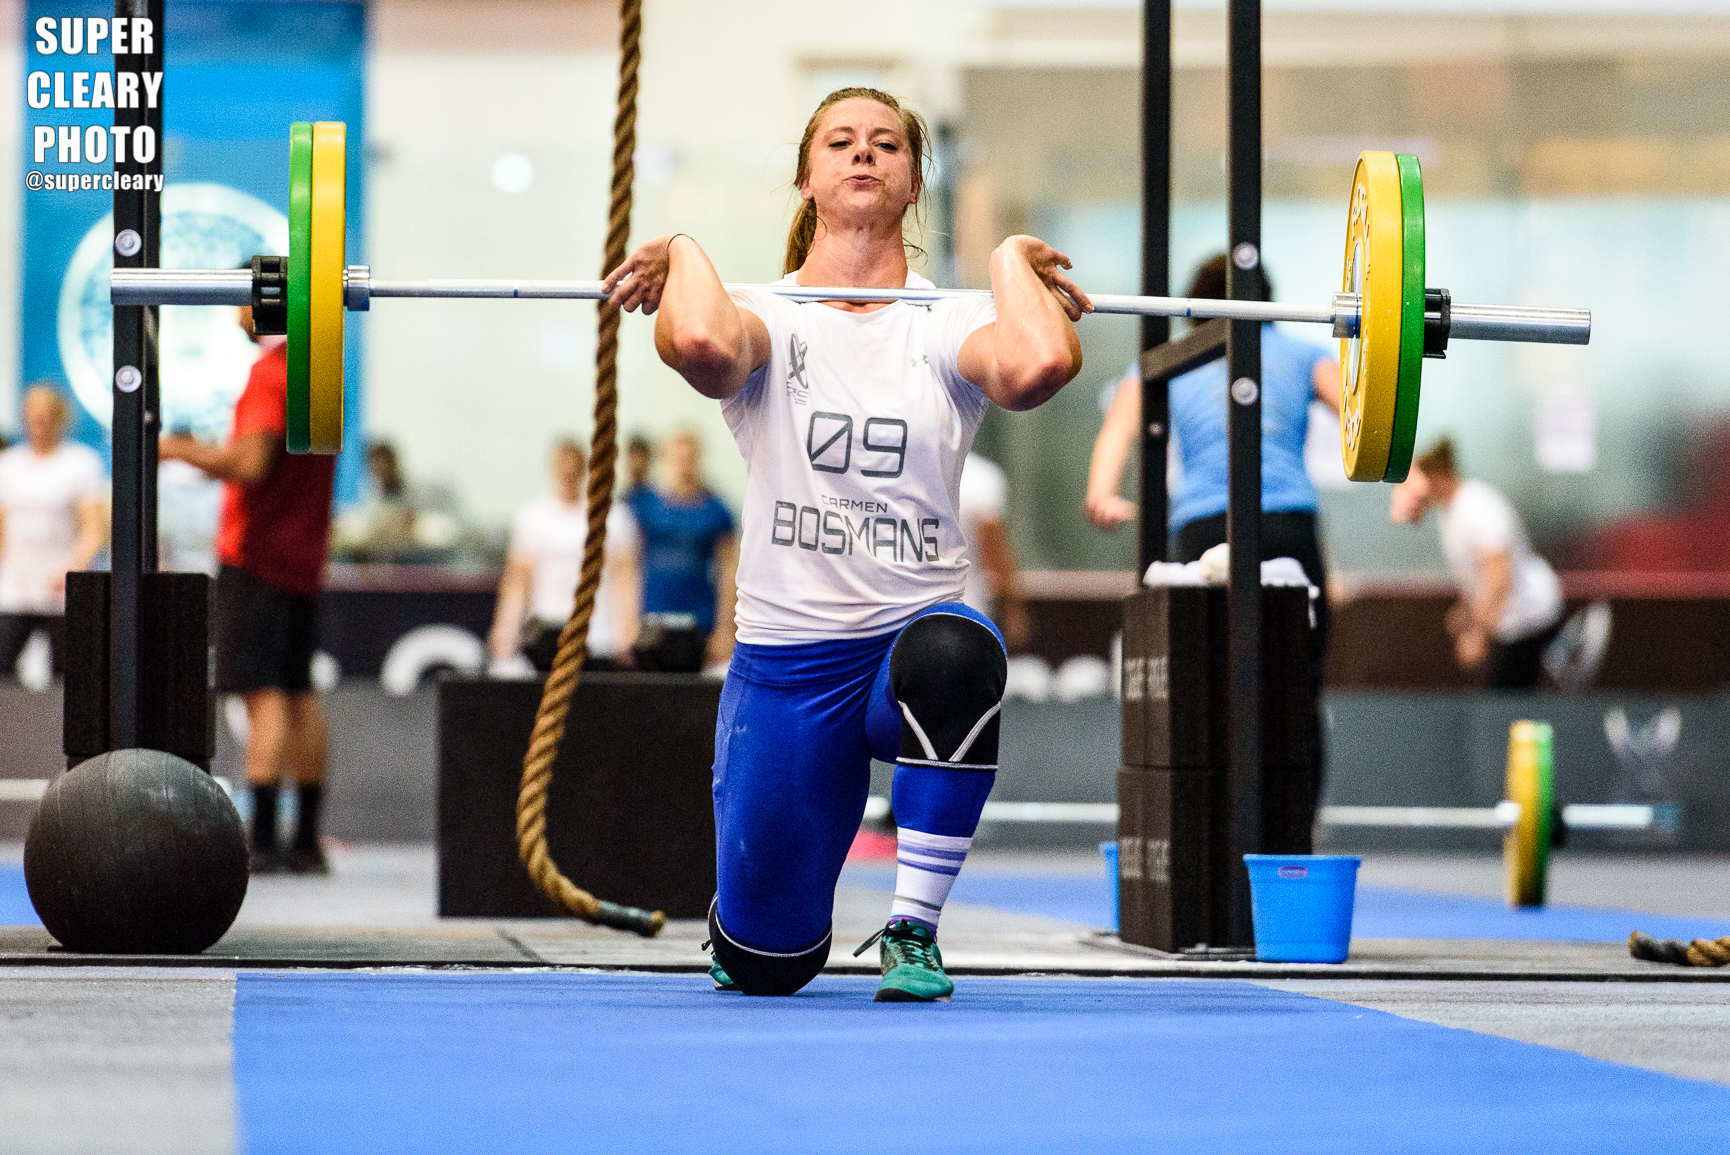
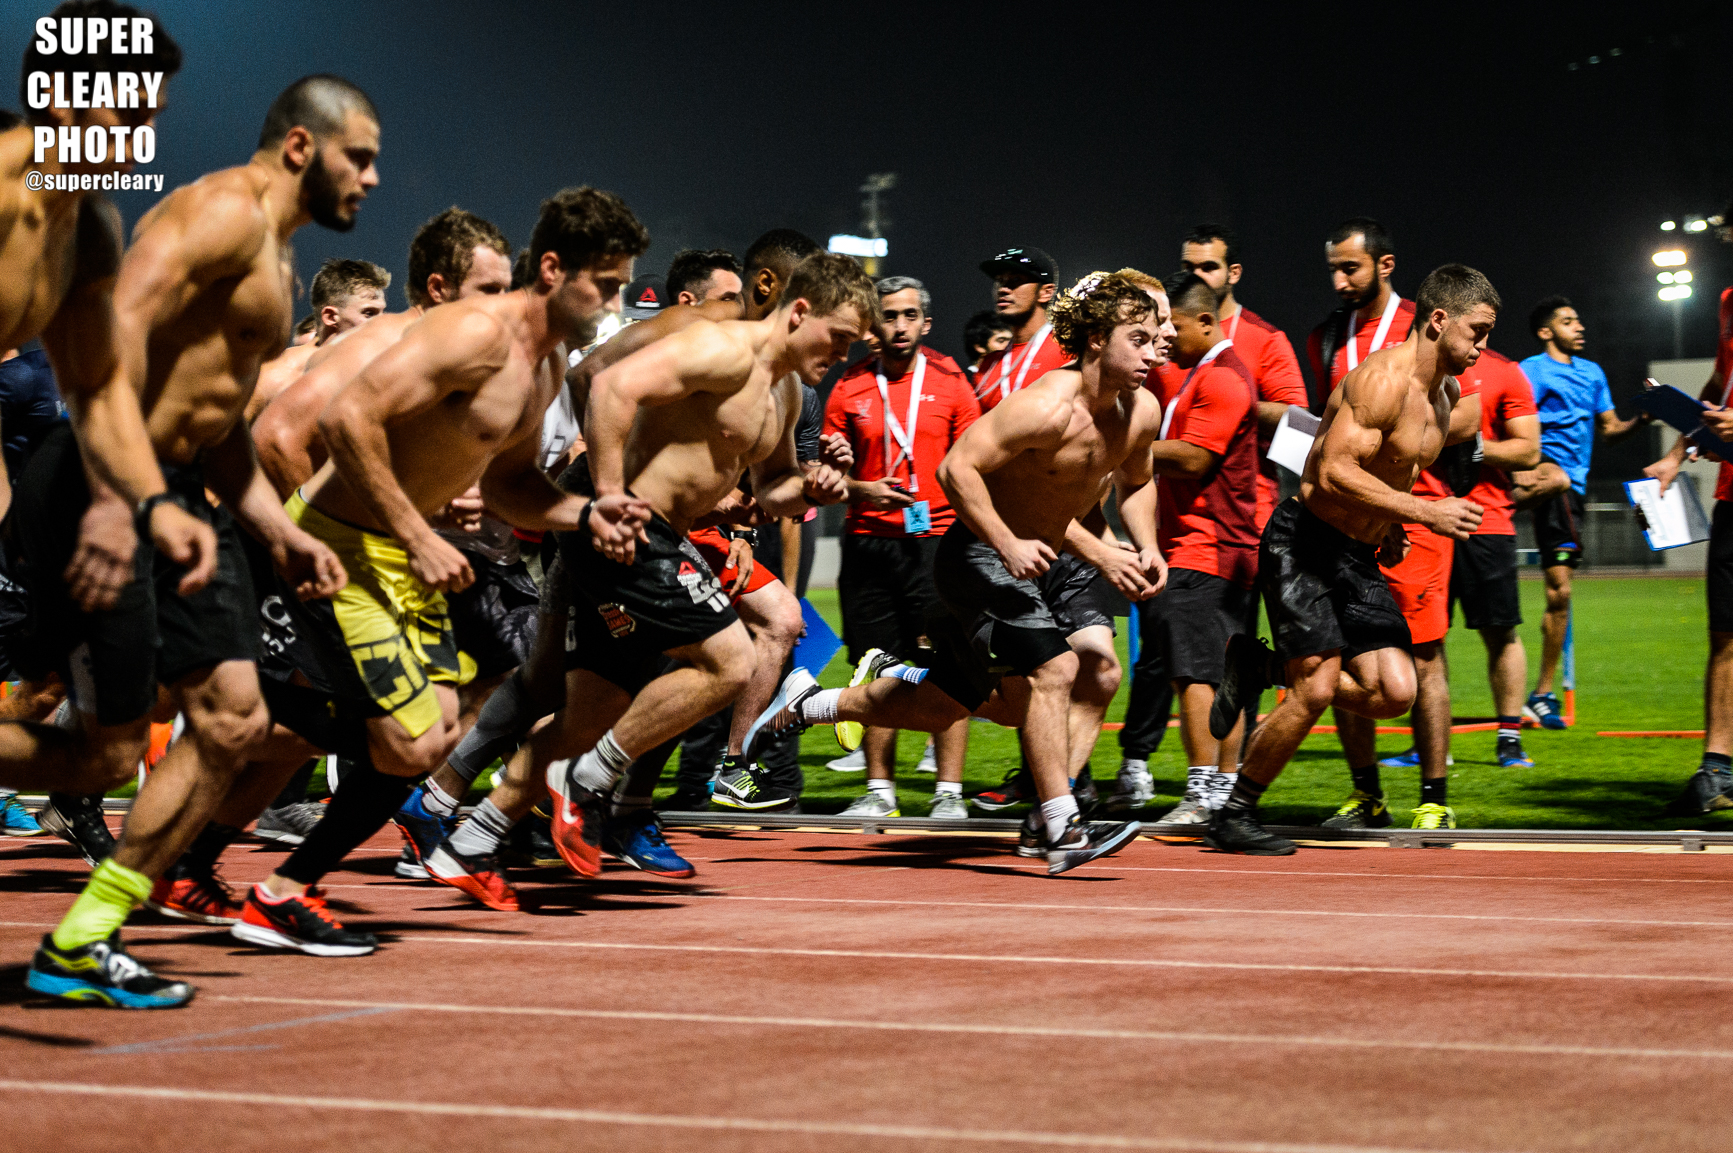
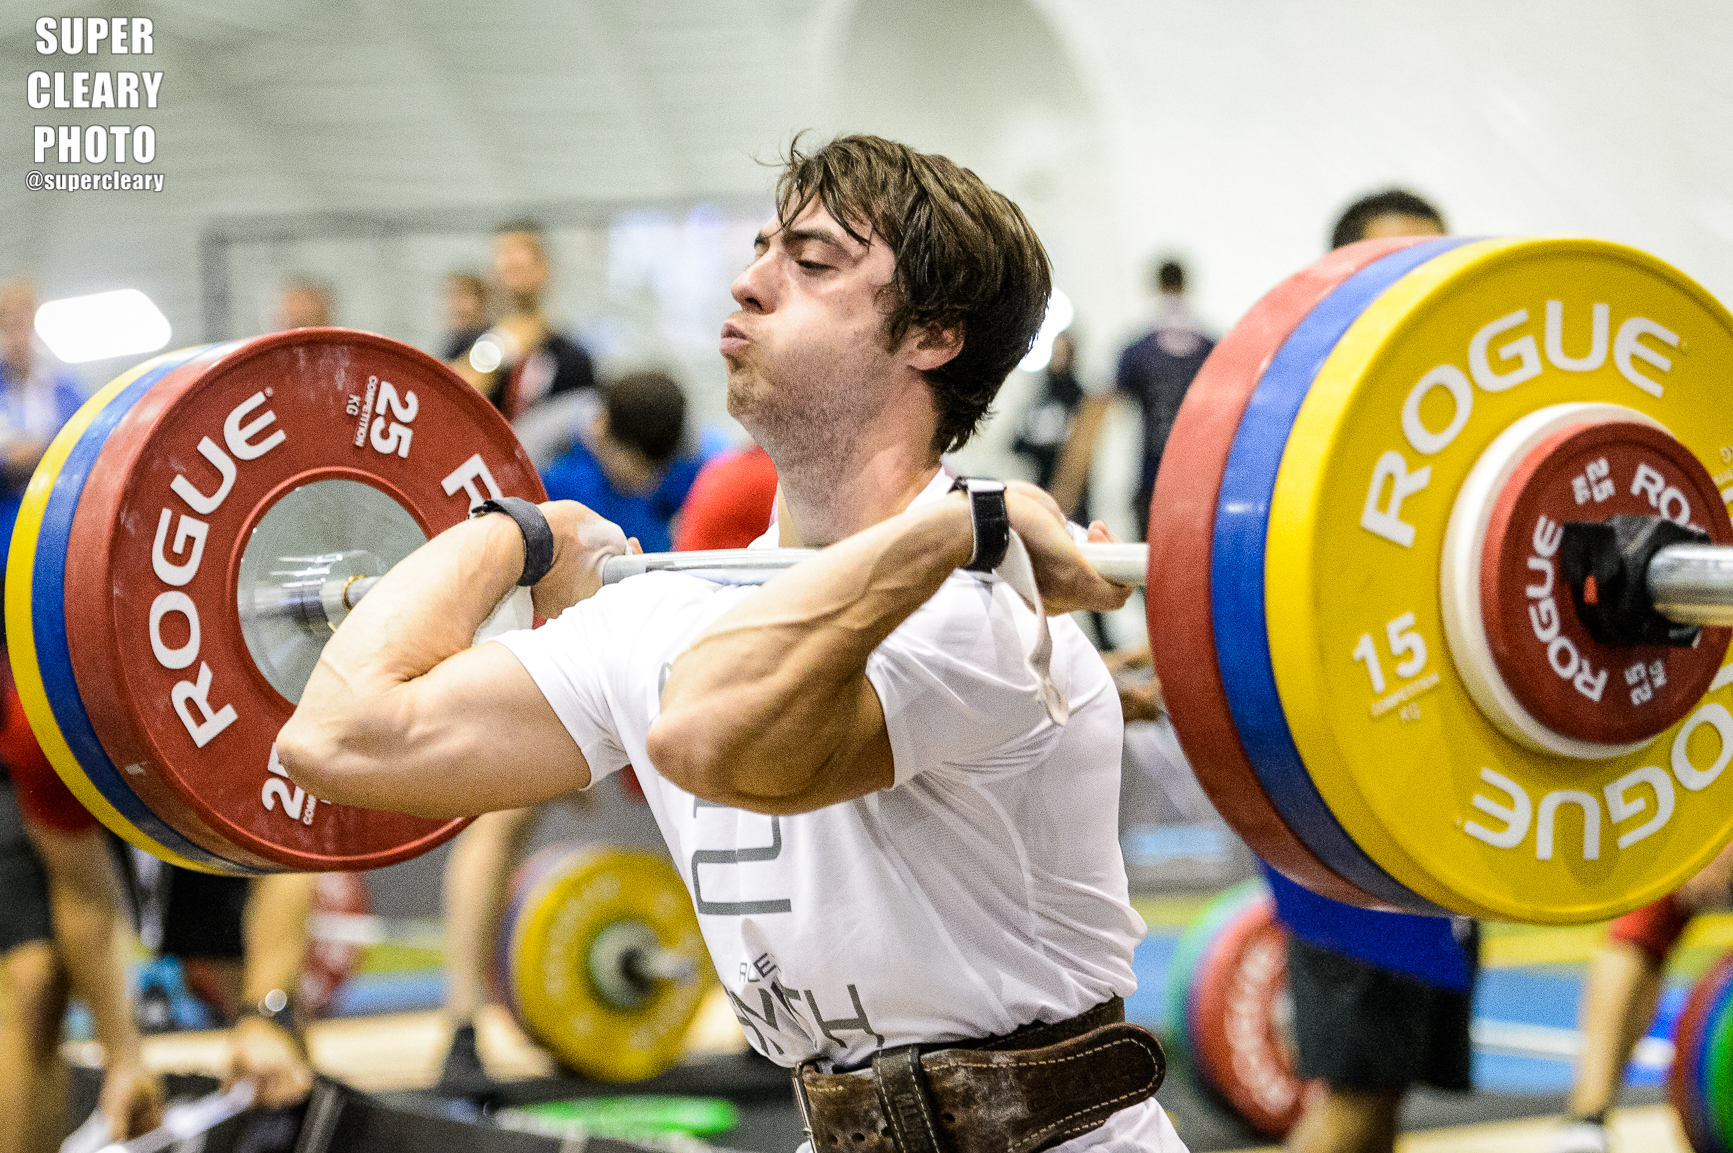
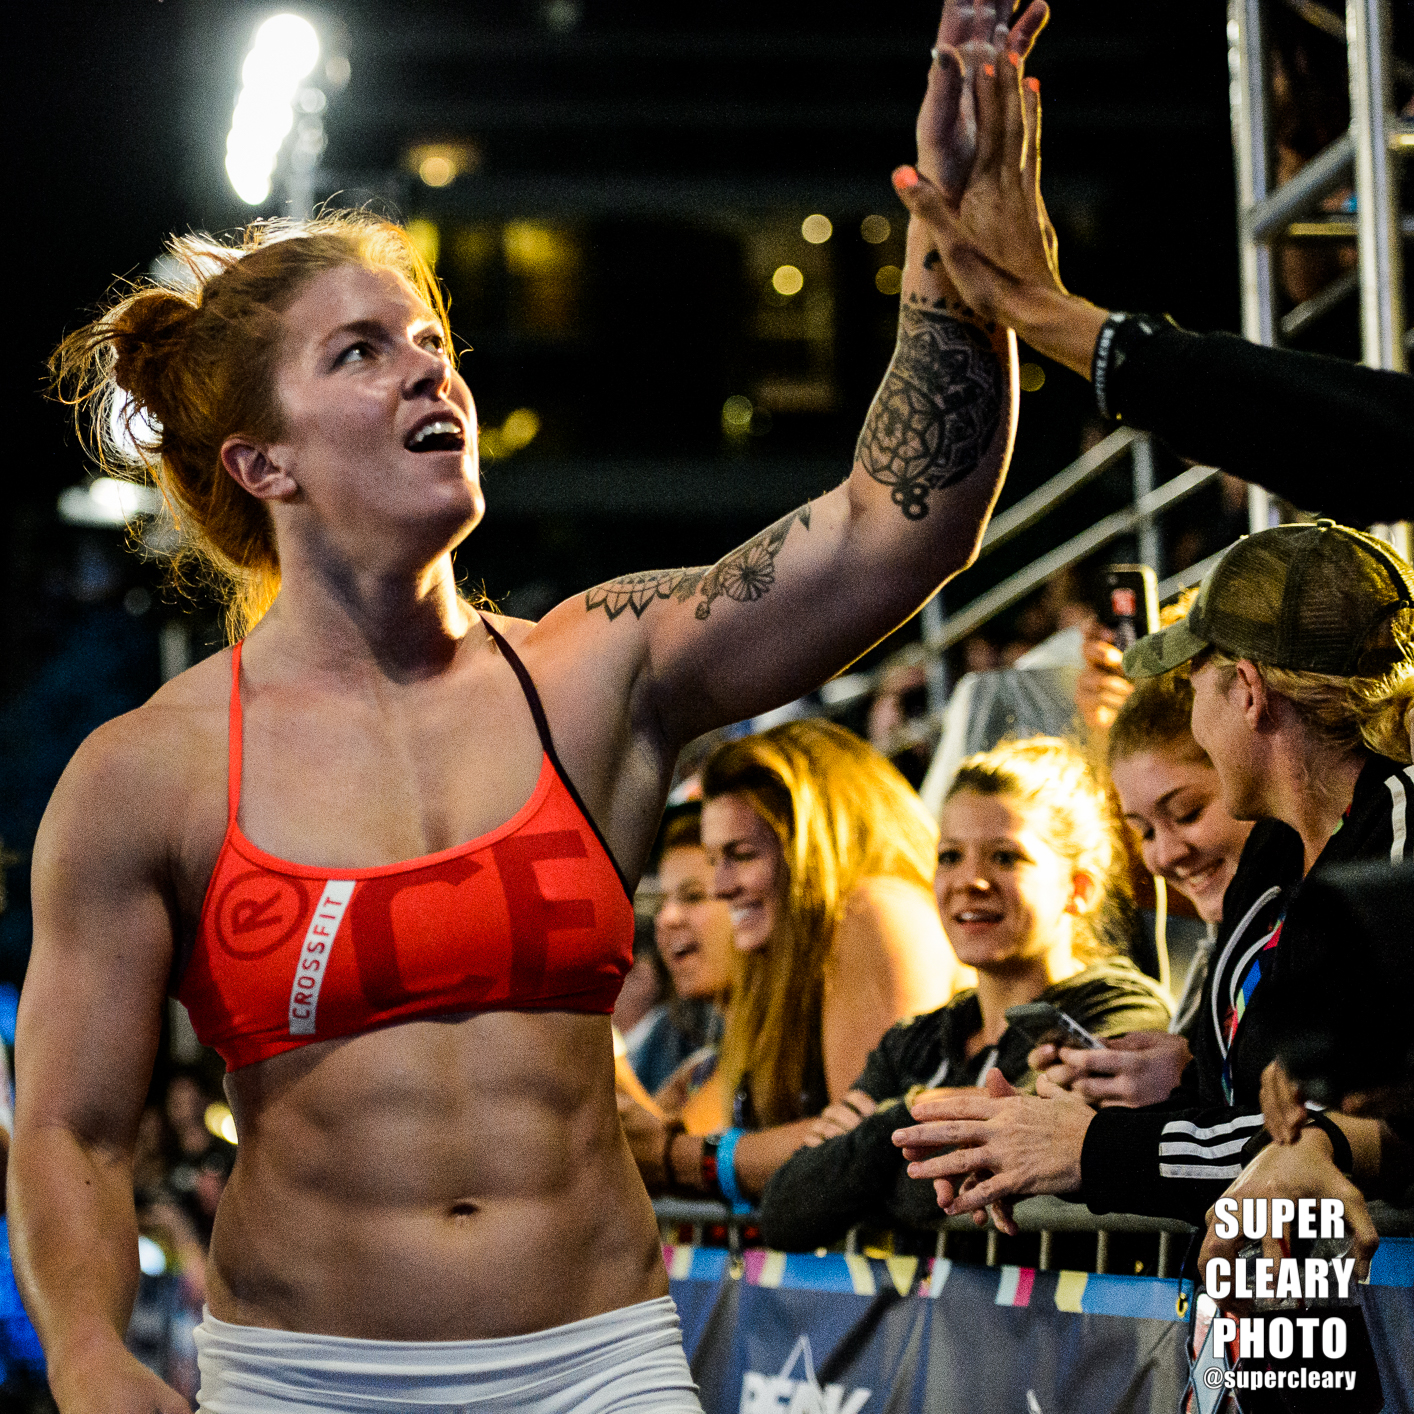
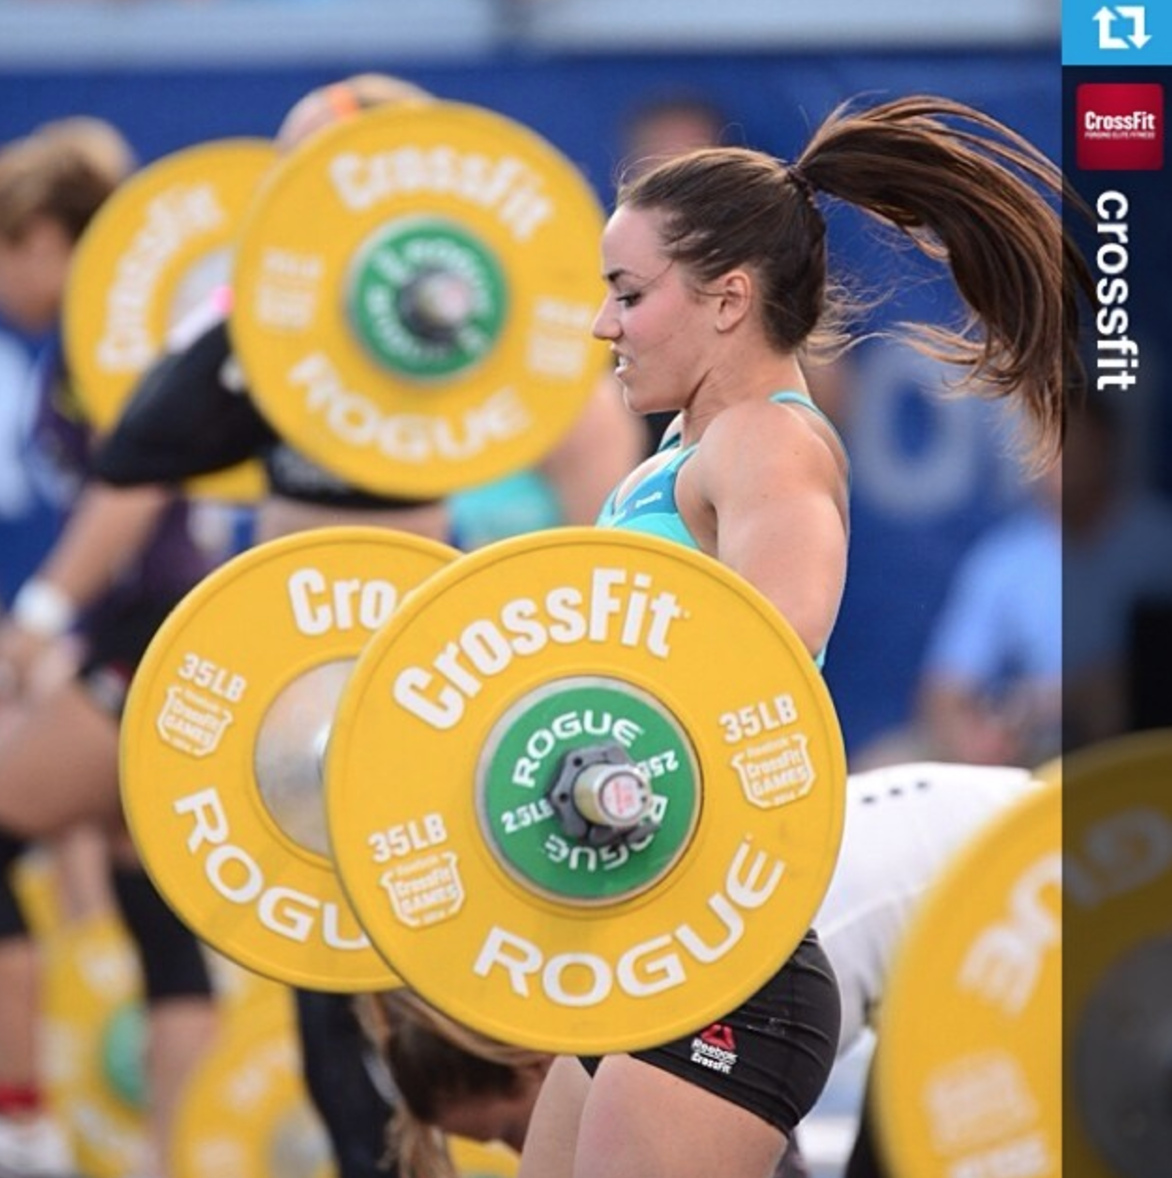
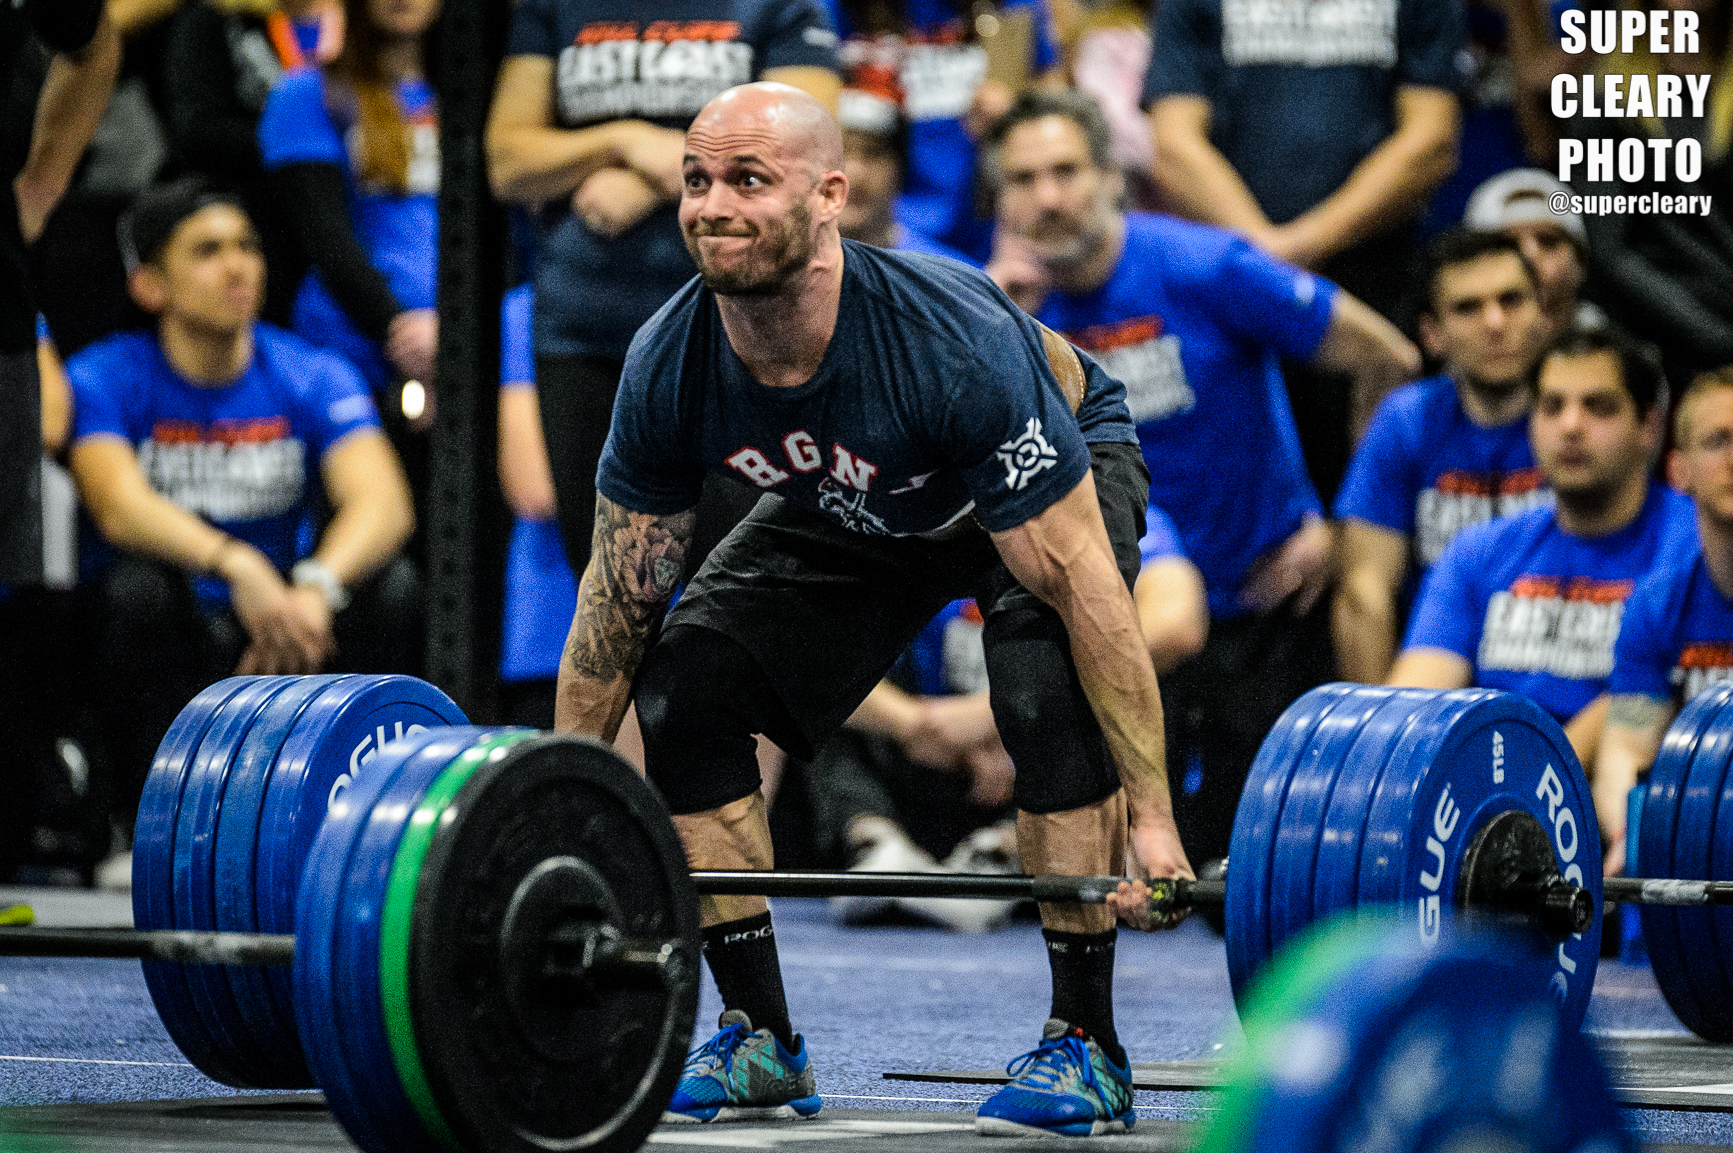
After all that, it's time to actually do the job!  Aditional photo highlights are below, I hope you'll be able to utilize a couple of these tips on your next shoot.

If you like what you've read, please share.  Feel free to post some content suggestions below so I know what you're looking for in my next post.  For bookings email shaun@superclearyphoto.com.  And as always, follow @supercleary on instagram and SuperClearyPhoto on Facebook.

2016-12-10-12113.jpg
2016-12-8-01608.jpg
2016-12-9-05375.jpg
2016-12-9-06041.jpg
2016-12-10-11650.jpg
2016-12-10-10251.jpg
2016-12-7-01506.jpg
2016-12-10-09856.jpg
2016-12-7-02190.jpg
2016-12-10-07563-Pano.jpg
2016-12-9-04772.jpg
2016-12-7-04447.jpg
2016-12-9-04438.jpg
2016-12-9-01891.jpg
2016-12-8-9355.jpg
2016-12-7-04622.jpg
2016-12-10-06462.jpg
2016-12-7-02078.jpg
Tags crossfit, supercleary, superclearyphoto, dubai, dubai fitness challenge, nikon, travel, international, photography, photofit, mat fraser, ben smith, sara sigmundsdottir
4 Comments
Brooke Ence, shot for Performance Care

Brooke Ence, shot for Performance Care

Why You're Not Getting Paid To Shoot (PhotoFit #19)

November 1, 2016

The most common question I get in my email from aspiring photographers is "how do I get paid to shoot."  This usually has the same follow-ons, 1) I've shot for free but now want to get paid, 2) I don't know what to charge, 3) I don't know what to give clients, and so on.  By no means do I have all the secrets, but I want to spell out a few of the key points in my mind to turn you from just aspiring to actually making money taking photos.

First, if you want to get paid taking photos, you need to already be a professional.  I'll go over what that means to me.

CrossFit Garden City Partner Competition - shot for CFGC

CrossFit Garden City Partner Competition - shot for CFGC

You need to have professional equipment.  No, don't run out and buy a Nikon D5 and a plethora of lens, but a basic dslr, with a basic lens will do the trick.  DSLRs are incredible now.  Even entry level DSLRs have incredible low light capabilities and can create fantastic images in the right hands, better you can get them very cheap used.  A basic crop body camera - like a used Nikon 7100 or the Canon equivalent will run you less than $600 and a 35mm 1.8 (great for the low light in a gym) is less than $200.  With a setup like that you can shoot RAW, have plenty of low light range, and can nail tact sharp photos.  With those tools you can deliver a professional product to your client that they will be happy with.

Rob Moloney - Shot for Goat Tape

Rob Moloney - Shot for Goat Tape

Next you need to have a portfolio and a social media presence, you could even get extra points and have a website.  The social media presence is easy, and everyone now has an instagram accpimt and posts photos there.  That is not a portfolio.  A portfolio is a link you can send to a client that is representative of your work.  It should be direct and short.  A portfolio should be 8-12 photos specifically of the type of work you're looking to do.  Don't send a portfolio to a gym client that includes wedding photos, or food photos.  They are trying to hire the best fitness shooter, not some person that can do a little of everything.  Your portfolio should also be perfect.  Each shot should be great, without any technical mistakes, and stand on its own.  If you're not confident in a shot, dump it.  You have every photo you've ever taken to choose from, make sure they are all winners.  More is not better here.  A client or editor isn't going to scroll through 30 images, they are going to skim a few and make a judgement.  Don't include crap.

Lastly, you could have a website.  A website might really just be your portfolio - sort of like my landing page at www.scp-fit.com.  I consider that page sort of an expanded portfolio.  It has an about me section, and a few portfolio pages that are sorely in need of an overhaul.  And a way to get in contact with me.  A website isn't a deal-breaker, but it is definitely nice to have.  I have this one hosted on Squarespace and it was very easy to put together.

Mat Fraser - Shot for East Coast Championship

Mat Fraser - Shot for East Coast Championship

So let's say having some gear, a portfolio, and a web presence is the starting point to being a professional.  Next up, getting a job.

You need to walk into your first job already knowing how your gear works and how to deliver.  Don't make a client learn the hard way that this is your first time.  The easiest way to get those bugs out of the way is to head to your gym and take photos.  Class is every hour and most people in the CrossFit space love having their photo taken.  Just clear it with the gym owner/coach/ and members and you're good to go.  Experiment, practice, and figure out how your camera works and how to get good results.

Now it just comes down to marketing.  If you want to shoot at gyms, contact local gyms!  If there are clients - whether athletes or sponsors - that you want to work for, reach out to them.  Email and social media are always easy, but phone calls work better.  Provide a link to your portfolio.  Go into this already knowing what you're going to provide.  

Beach stock shots - shot for Flex Events

Beach stock shots - shot for Flex Events

Set up some basic packages.  Here are some examples of what you could do.  2 group classes, plus coaches photos for $xxx, or 4 group classes plus coaches photos for $xxx.  Explain what your deliverables will be (100 edited photos?  200 edited photos?  Watermarks or no watermarks?, what sort of usage will the client receive?  Finally, explain what sort of turn around time you can provide.  Will they have their photos in a week or a day?  

I can't emphasis this enough.  A lot of people will just say no, or worse, not even answer you at all.  That is just how it is.  You need to cast a wide net and reach out to a lot of clients before someone will get interested in you.  From there, the haggle usually starts.  You need to know what your market is like and what your time is worth.  In your area do gyms pay $1000 for photo services?  Are they used to getting everything for free?  You need to go in with a number that will not simply insult the gym but take into account what they could actually afford.  To determine your own worth, look at the investment, first in time.  A 2 hour shoot usually include 30 mins of setup and breakdown on each end, then there is an hour of driving as well.  Let's say you're not a very speedy editor so every hour of photography you do, takes two hours of editing to process and edit your images.  Pre-shoot calls and emails are another 30mins-hour.  Delivery and follow-up are the same.  So a 2 hour shoot is actually 11 hours of work.  What do you think that time is worth per hour?  You're also walking into the shoot with a few hundred to a few thousand dollars of camera gear, as well as the computer at home, and the software you're going to use to edit.  While each client shouldn't have to pay for all of that, you could certainly assign a percentage to it to help determine your rate.  

This is often the falling off point for people who haven't landed their first client yet.  Telling someone you're worth money -- and I don't mean charging $50 for a 4 hour shoot -- but real money -- hundreds if not thousands of dollars is scary.  Sticking to your guns when a client says "can you do it for less" is tough.  That's where you just need to get some comfort in knowing what you're worth and what the lowest rate you'll shoot at is.

Emily Abbot - Shot for Wodapalooza 

Emily Abbot - Shot for Wodapalooza 

I think this is the perfect time to talk about working for free or for "exposure."  Just don't do it.  Free clients don't become pay clients.  You will forever forward be the "free guy."  Working for free also damages the local market for other photographers.  All that said, there are certainly times to work with financial compensation.  Barter is a real thing.  Plenty of working photographers have started out by getting their gym memberships in exchange for a monthly photoshoot.  That is not "working for free" you and the client are both getting something you want.  Further, there may be a particular athlete you want to work with, they might need some portfolio images, and you might want to practice with a more high profile athlete.  You're getting practice, they are getting some portfolio images.  That could be a resonable barter depending where both of you are at.  Again, it is all about valuation.  

Whenever you're working a job, make sure you have some kind of written agreement in place spelling out exactly what you are going to do and deliver, as well as what the client is required to do (pay you, when and how).  You also should have model releases for everyone that will be involved in the shoot as well as from the location owner (there are some handy apps that make this easier).  I also don't want to burst your bubble, but if you're working, you really should have a separate business insurance policy.  If someone trips on your camera bag at a gym, they can sue you, and if you don't have the proper insurance in place you can be liable for a hefty payout. 

Katrin Davidsdottir - Shot for East Coast Championship

Katrin Davidsdottir - Shot for East Coast Championship

I think this lays out the basics of "how do I get people to pay me."  To summarize, know the gear you're working with and have a portfolio.  Know what kind of clients you want to work with and what you can provide for them at what rate.  Lastly, deliver!  Do a killer job and make sure they are happy with the product you put together.

If you like what you've read, please share.  Feel free to post some content suggestions below so I know what you're looking for in my next post.  For bookings email shaun@superclearyphoto.com.  And as always, follow @supercleary on instagram and SuperClearyPhoto on Facebook.

Tags crossfit, crossfit games, brooke ence, rob moloney, katrin davidsdottir, mat fraser, photography, photofit, supercleary, superclearyphoto, nikon
2 Comments

A Photographer's POV at the CrossFit Games (PhotoFit #16)

October 19, 2016

We all have those projects that are sitting on a hard drive that we keep "meaning to get to."  During the 2014 CrossFit Games, my first season shooting at the Games, I hooked up a gopro to the top of my camera and just let it roll as I tried to get the shot.  Fast forward to now, I finally got around to going through the content and splicing together some kind of coherent edit.  Other than the silliness of seeing sort of what I see at the Games, I quickly realized there were two main takeaways watching these videos First, just how complicated it is to shoot at big events.  Trying to get the shot is a lot more than just pushing a button.  Nailing that perfect composition means lining up the athlete during their decisive moment, with the right light, without a judge or other athlete getting in the way, and putting yourself in the perfect position to do all of that.  Secondly, how I shoot in terms of shutter mode, which I'll go into more detail below the fold.

Lauren Fisher, Nikon D4, Tamron 24-70 - Copyright CrossFit, Inc 2016

Lauren Fisher, Nikon D4, Tamron 24-70 - Copyright CrossFit, Inc 2016

To briefly summarize the arc of the video above.  This all takes place at the 2014 CrossFit Games.  I kicked off the week off Hermosa Beach at 5am to capture the start of the Games as the competitors swam out and around the pier.  I started on the dingy, but quickly got switched over to a jetski (which I couldn't gopro from).  From there, the footage picks up on Friday morning with the team kickoff and the individuals taking on the triple 3.  Next up, big man, Sam Dancer crushing the 1RM deadlift workout (a workout he would again win when he competed as an individual athlete in 2016).  From there, I've got some clips of me shooting from on top of and at the base of the soccer stadium during the Muscle Up Biatholon.  What the gopro doesn't capture is the insane heat and lack of shade.  I was extra soggy during that bit.  From there, one of my favorite all time events, the 21-15-9 complex.  I'm shooting from the media pit, my favorite spot to shoot from in the Tennis Stadium, during golden hour.  The sun is setting behind the athletes and this is when the money shots happen.

Camille Leblanc-Bazinet - Nikon D4 Sigma 120-300, Copyright CrossFit, Inc 2016

Camille Leblanc-Bazinet - Nikon D4 Sigma 120-300, Copyright CrossFit, Inc 2016

It is at this point that I think it really starts coming across just how tough it is to get a clean image during a crowded event.  In the Tennis Stadium, it is simply chaos.  From the huge rig, to the equipment, judges, staff, athletes, and volunteers, there are just countless ways for your perfectly framed shot to get ruined.  I'm constantly on the move trying to get everything to line up right, and find lanes between obstructions to zero in on athletes during that critical second.  Again, to connect with last week's post, this is why I love shooting tight.  The more I zoom in the more I'm able to isolate my subject from the chaos around them.

Rich Froning, Nikon D4 Nikon 70-200, Copyright CrossFit, Inc 2016

Rich Froning, Nikon D4 Nikon 70-200, Copyright CrossFit, Inc 2016

From there, the speed clean ladder was the most insane event I've ever shot.  Having eight lanes of athletes charging through five barbells in a race against the clock and each other was nuts.  I was positioned dead center, with other photographers from the team to my left and right to cover those lanes.  You can see just how quick the athletes are moving and how fast you have to make decisions about which lane to shoot and which lifts to focus on.  I also think its important to realize that sometimes the best shot isn't the one straight in front of you.  The angles I had on Froning for example, to my left, I thought were actually more interesting in some cases than shooting athletes in the lane right in front of me.  You can also see me dump my camera towards the end of some of those takes, that's because I'm switching over to a 24-70 to grab those finishing shots.  With the speed of the event and the athletes basically jumping right on me, I stuck with the safety lens to make sure I didn't really miss anything.  To me, that wide angle zoom affords me the largest margin of error.

Lauren Fisher, Nikon D4 Nikon 70-200, Copyright CrossFit, Inc 2016

Lauren Fisher, Nikon D4 Nikon 70-200, Copyright CrossFit, Inc 2016

For the final event, I was assigned to float, so I basically had to run around the stands to try and help fill out the team's coverage in case I could find something neat the shooters in the prime positions couldn't get.  This really though felt like I was able to experience the final of the CrossFit Games among the fans - with myself being one of them - and able to do my dream job at the same time.

Mat Fraser, Nikon D4 Tamron 24-70, Copyright CrossFit, Inc 2016

Mat Fraser, Nikon D4 Tamron 24-70, Copyright CrossFit, Inc 2016

For my second bit of nerd talk, and something I don't think I've really hit on before, what shutter setting do I use?  Single, continuous low, continuous high (or whatever the canon equivalents are).  I exclusively shoot in single shutter.  This might sound blasphemous to sport shooters, but you don't need 12fps to shoot sports, you just need to anticipate when things are going to happen.  On the Nikon D4, I have some absurd frames-per-second, but I never use it.  In single shutter, I just have a quick touch and when those key critical moments are happening, might rapidly click the shutter and get between 3-5 frames in a second.  But for the most part, I'm just getting a single frame here or there.  I've played around with shooting in continuous (motor driving) but I find it just ends up with a lot of crap and a lot of extra frames you'll never use.  I'm usually a one-man-band, so that's going to slow down my ingest, clog up my memory cards, fill my hardrives, and make the edit process take longer.  In a team setting, shooting on contious high is an editors nightmare.  It clogs up our network bandwith, crushes their ingest queue, and quickly puts you on their shit list as they have to cull through 1000s of frames of crap.  

Josh Bridges, Nikon D4 Nikon 70-200, Copyright CrossFit, Inc 2016

Josh Bridges, Nikon D4 Nikon 70-200, Copyright CrossFit, Inc 2016

You can hear all through the video that while I'm shooting I'm usually grabbing photos in bursts of two or three in a second.  When I see that critical moment lining up, I do want to give myself some leeway for focus and timing, so I'll pop off a few frames with just a rapid click on the shutter button.  I've messed around with the same style of shooting with continuous shutter on, but very very quickly find myself not taking two or three photos per moment, but more like five to eight.  Over the course of an event that will add to 1000s of more photos, while my hit count might not actually go up at all.

Julie Foucher, Nikon D4 Sigma 120-300, Copyright CrossFit, Inc 2016

Julie Foucher, Nikon D4 Sigma 120-300, Copyright CrossFit, Inc 2016

Shutter goes hand in hand with buffer, and I think that's worth mentioning here.  Frames-per-second is one thing, but I think on a sports camera what's more important is buffer.  If I can just keep shooting as fast as I need for as long as I want and the camera keeps just chugging away, I'm happy.  If I start snapping and the action gets busier and all of a sudden the buffer is clogged and slowing down my shooting, I get very grumpy.  With the D4 and most sports bodies, this is very rarely possible.  Especially during the speed clean ladder, you can hear me starting off, getting some coverage of each of the athletes, but as the race picks up, and the athletes get closer, I'm firing more and more frames trying to hit as many athletes as possible while they are running towards me.  By shooting my single shutter method, that buffer never gets clogged and from start to finish I'm able to just keep shooting.  If though, I shot on continuous and was just spraying at 12fps the entire heat, by the time the athletes got close and we were really into that critical lift, my buffer would be getting very close to full and I'd have this awkward moment where the money shot is happening, but I have to wait for the camera to process.  The only times I've ever filled up a buffer is in the few instances of when I've shot continuous.

I hope this video and post, while long and meandering, helps illustrate what it is actually like to be shooting from the sidelines of the CrossFit Games.  The days are long and hot, and the job is physically grueling, but I wouldn't really trade it for anything else.

If you like what you've read, please share.  Feel free to post some content suggestions below so I know what you're looking for in my next post.  For bookings email shaun@superclearyphoto.com.  And as always, follow @supercleary on instagram and SuperClearyPhoto on Facebook.


Screen Shot 2016-10-18 at 9.46.54 PM.png
Screen Shot 2016-10-18 at 9.47.24 PM.png
Screen Shot 2016-10-18 at 9.47.51 PM.png
Screen Shot 2016-10-18 at 9.48.44 PM.png
Screen Shot 2016-10-18 at 9.48.55 PM.png
Screen Shot 2016-10-18 at 9.49.12 PM.png
Screen Shot 2016-10-18 at 9.49.31 PM.png
Screen Shot 2016-10-18 at 9.52.41 PM.png
Screen Shot 2016-10-18 at 9.53.31 PM.png
Tags crossfit, pov, photographer, supercleary, photofit, crossfit games 2014, nikon, superclearyphoto, rich froning, mat fraser, camille leblanc-bazinet, julie foucher, gopro
Comment
Photo Credit Kieran Kesner, 2016 CrossFit Games

Photo Credit Kieran Kesner, 2016 CrossFit Games

Getting Unique Shots in a Crowd - Shooting the CrossFit Games Part 2 (PhotoFit #15)

October 14, 2016

In my first post about shooting the CrossFit Games I focused on the challenges of shooting with long lenses in the gigantic Soccer Stadium.  In part two, I'll cover the complexities of shooting from fixed shooting positions and trying to create unique images that help you stand out from a crowd of other photographers.

For the third year in a row I've had the pleasure of working for CrossFit Inc. as part of their photography team.  In working within that team, positions and roles are assigned.  Once the action moves to the Tennis Stadium, assignments fall into two categories: assigned seats, and floater positions.  With assigned seats, you're literally handed a seat ticket and have to stay locked in that position.  These seats usually make for an incredible view of the action.  First and foremost, I've always been a fan of the sport itself, so getting a front row seat is never something to complain about.  As a floater - you're either shooting in the media lane or wandering around the stadium looking for good sight lines - I'll cover this more in the next post.

Katrin Davidsdottir at the 2016 CrossFit Games - Sigma 120-300 - Copyright CrossFit Inc, 2016, all rights reserved

Katrin Davidsdottir at the 2016 CrossFit Games - Sigma 120-300 - Copyright CrossFit Inc, 2016, all rights reserved

The downsides of these seats from a photography perspective is that if I found myself in a seat where the action wasn't particularly close to you, or doesn't advance towards you, I sometimes found myself at a loss for how to capture great images.  The Games aren't unique in this, all major sports have assigned positions for photographers, and it's on the photographer to make the best out of those positions.

If I was in a less than optimal position for a specific WOD, I fell back on the importance of trusting in the team I was working with.  Because other shooters from the team are assigned across the rest of the stadium, I count on the fact that they are in position to get the perfect shot, and it then becomes my job to see how creative you can get in unique positions.

Katrin Davidsdottir - 2015 CrossFit Games - Sigma 120-300 - Copyright CrossFit Inc, 2016, all rights reserved

Katrin Davidsdottir - 2015 CrossFit Games - Sigma 120-300 - Copyright CrossFit Inc, 2016, all rights reserved

Lens selection varies wildly once you're in the Tennis Stadium, and I think that's a great way to become creative and stand out.  For the most part, I actually went back to my Regionals go-to, the Sigma 120-300 2.8.  I really love working with that lens, and only at the extremes was that 300 not enough reach in the Tennis Stadium.  For a few events this year, and when the action was panning across my seat in the south side, I busted out the 200-400 and tried to really get in super tight to athletes.  I always love working with the extra reach these monster lenses afford, but as the action gets closer, they get more and more restrictive.  

As a fun combo during the Ring Handstand Push-up event, I was stationed in the south seats (the finish line) and shot down the lane with the 200-400.  On my second body, I had a 70-200, and as the athletes closed for their last reps and sprint to the finish, I switched to that, to still get nice and tight, but offer a great degree more flexibility, and ease of use.

Camille Leblanc-Bazinet at the 2016 CrossFit Games - 200-400 f/4 - Copyright CrossFit Inc, 2016, all rights reserved

Camille Leblanc-Bazinet at the 2016 CrossFit Games - 200-400 f/4 - Copyright CrossFit Inc, 2016, all rights reserved

The Tennis Stadium is an incredibly unique shooting environment with the action so close, and the conditions so easy to shoot in.   When you look to your left and right there are dozens of cameras - some professional, some just part of the spectators', but you'll also notice most people are using very similar lenses.  Something I always try and think about when shooting in this sort of environment is trying to get shots other people aren't. With some base level knowledge, and because high-end equipment's price has come down so dramatically, it really doesn't take all that much to get a good result when the lighting is awesome like it is in the Tennis Stadium.  Even with a semi-entry level camera like a Nikon d5500 or a Canon 70d and a 24-120 f/4,($1000) you're going to be able to get sharp action photos with low ISO settings, and you're not even going to know it wasn't shot on a Nikon D5 with a 70-200 ($8000)

Cole Sager during the 2015 CrossFit Games - Nikon 70-200 - Copyright CrossFit Inc, 2016, all rights reserved

Cole Sager during the 2015 CrossFit Games - Nikon 70-200 - Copyright CrossFit Inc, 2016, all rights reserved

Because of that, I'm always thinking of how to mix up shots a bit so they don't just look identical to what everyone else shooting from similar positions are probably taking.  The "easy shot" is a classic head to toe of an athlete exercising with the whole athlete in frame.  Wide shots are much easier to take, and much easier to get tact-sharp focus on.  What I try to do once I get some safeties - the boring classic shots that help fill out coverage - is try to shoot very tight.  If I shoot super tight, my editors won't have to crop in post, and the image itself will have that amazing background compression and bokeh.  This is how you can get some really unique images while shooting from the exact same position as every other shooter. 

If I'm using a 70-200, I'm going to try to shoot closer to 200 and really get tight on the athletes.  If I'm on the 120-300 I try to go tighter than 200 (otherwise what's the point).  Yes, I miss a lot because of this.  Yes, I get a lot of weird crops and amputations that aren't useable.  But, when everything lines up right, the focus hits, and the crop is good, I'm able to get a really unique image that I don't think a lot of other people are going for.  

For some technical details, when I'm trying to shoot really tight during fast action, I'm going to use continuous autofocus (sorry this will all be Nikon language), and actually limit it to only 9 points.  On the D5 there are something like 51 focus points you can use, but I actually like to limit it.  As the action moves and the camera hunts for focus, if you limit the active points, you can actually track faster.  Of course, I'm using back button focusing the whole time -- read about that here if you're unfamiliar.  Something else to help get focus, I might actual close down my aperture just a bit.  With a 2.8 lens, I might actually shoot at 3.2 or 3.5.  There will be a very minor difference in the out of focus areas (especially because I'm shooting with a lot of zoom to help get compression), but I'm able to get a little more of the athlete in focus especially if they shift forward or back.  And because I'm getting a little less light, I'll just bump up the ISO more, which won't really be noticeable on pro bodies like the Nikon D4-5 / Canon 1dx mk1/2.  

Jacob Heppner - 2016 CrossFit Games - Sigma 120-300 - Copyright CrossFit Inc, 2016, all rights reserved

Jacob Heppner - 2016 CrossFit Games - Sigma 120-300 - Copyright CrossFit Inc, 2016, all rights reserved

For example, in 2016, I was shooting from the West finish line where athletes advanced during double DT.  I'll zoom all the way into the athlete's head and put my focus point on the eye.  From there, I'll hold down the back button, and grab frames during those decisive moments of peak exertion.  I will also try to frame up the shot in camera, but to get this in focus, I may select a focus point off to the left, right, top, or bottom so that focus point lines up best with the athlete's head and I'm able to fill the frame as much as possible. Another option is to use that middle focus point to get the subject in focus and then recompose the shoot.  You have to be careful doing this though, because if the athlete moves forward or back during the time you're recomposing, the shot will be out of focus.  The shot above of Jacob Heppner was snapped with the Sigma 120-300, at more than 200mm.  He was relatively close to me and it was an adventure to get everything framed up right and in focus.  Below is another shot, still useable, but includes a bit of a crop on Mat Fraser's hand which I'm not happy about.

Mat Fraser - 2016 CrossFit Games - Sigma 120-300 - Copyright CrossFit Inc, 2016, all rights reserved

Mat Fraser - 2016 CrossFit Games - Sigma 120-300 - Copyright CrossFit Inc, 2016, all rights reserved

The best part of the last two images - in my opinion is the out of focus areas.  They are just buttery mush.  It helps separate out the athlete and create what I think are really great images.  By zooming in so hard and leaving so little to need to be cropped, the background fades out into just colors.

Another type of shot I've grabbed the last three years from the same finish line is the "finish" shot.  After an athlete's done, I'll keep the lens zoomed in on them and keep clicking hoping for a great reaction.  Yes, shooting with a 24-70 is going to be much easier to make sure I don't miss anything or crop the shot in a weird way, but shooting with a 70-200 when you nail it is so worth it.  Here are a couple examples.  The first is shot very close with a 70-200 and the other is with the 120-300 handheld.  Yes, I try that shot a lot, and I have a ton of misses, but that zoomed in image, to me, is so much stronger than a boring wide shot.

Scott Panchik's finish double DT at the 2016 CrossFit Games - Nikon 70-200 - Copyright CrossFit Inc, 2016, all rights reserved

Scott Panchik's finish double DT at the 2016 CrossFit Games - Nikon 70-200 - Copyright CrossFit Inc, 2016, all rights reserved

CLB at the 2015 CrossFit Games - Sigma 120-300 - Copyright CrossFit Inc, 2016, all rights reserved

CLB at the 2015 CrossFit Games - Sigma 120-300 - Copyright CrossFit Inc, 2016, all rights reserved

For some takeaways - I'd always recommend trying to shoot much tighter than you normally would.  Wide shots, while useful, are really easy to get and easy to duplicate.  To get your images to stand out in a stack of other images from the same event, try taking the harder shots - zoomed tight and into the action.  You're going to miss a whole bunch, but the hits are much better.  In my next piece of the Games, I'll talk about shooting from float positions in the Tennis Stadium and working to get the best shots in those scenarios.

If you like what you've read, please share.  Feel free to post some content suggestions below so I know what you're looking for in my next post.  For bookings email shaun@superclearyphoto.com.  And as always, follow @supercleary on instagram and SuperClearyPhoto on Facebook.


Tags crossfit, photofit, nikon, sigma, crossfit games, mat frase, mat fraser, camille leblanc-bazinet, katrin davidsdottir, jacob heppner, kari pearce, cole sager, scott panchik, photography, superclearyphoto
Comment

The real stars of the weekend #berrylegit: Nikon D4, Nikon 60mm Macro, F3.0, 1/100th, ISO 1250

KCECC 2015 - Shooting Indoor Events (PhotoFit #8)

March 6, 2015

Read the previous #photofit columns here

I had the great privilege of shooting for Kill Cliff at Ben Bergeron's East Coast Championship last month (actually two months now).  This event is the new high watermark to serve as a showcase for elite athletes.  It's not a 3-day slaughter fest.  It's not the CrossFit Games.  It almost feels more like CrossFit camp where high level athletes are brought under the same roof for a quick competition where the stakes and pressure are much lower than they are used to dealing with.  The end result?  An amazing event that allows the fans to watch the highest-level athletes do their thing.

All weekend I was teamed up with my good friend Chris Nolan (@metconphotos) so we split the event coverage as Kill Cliff had more than a dozen sponsored athletes on the floor.  I'll use this post as a jumping off point to discuss getting the perfect exposure at indoor competitions.

Lindsey Valenzuela Nikon D4, Nikon 70-200 2.8, f2.8, 1/500th, ISO 6400

Lindsey Valenzuela Nikon D4, Nikon 70-200 2.8, f2.8, 1/500th, ISO 6400

During indoor events, arriving at a good exposure, quickly, is critical.  You want to be able to focus on the event and the action, and not constantly readjusting your settings.  Let's put together a run-down for how to go about setting an exposure fast, and accurately.

For indoor events, I will always shoot in full manual.  I will set my own shutter, aperture, and iso.  I'll keep white balance on auto.  For indoor events, I'm normally struggling to get enough light to get a good exposure.  As a baseline, I always want a shutter speed of 1/320 minimum, but would prefer 1/500.  So what's the process I go through to lock in my settings?

Ragnheiður Sara Sigmundsdottir - Nikon D4, Sigma 120-300, 1/1000th, f2.8, ISO5000

Ragnheiður Sara Sigmundsdottir - Nikon D4, Sigma 120-300, 1/1000th, f2.8, ISO5000

1.  Survey the room:  The first step is as simple as looking around and seeing what the room you're shooting in is made up of.  Are there windows?  That is the most critical element, because that will mean the best light will always come from that direction, and that light may increase or dim over the course of the day.  If there are windows, I'm always going to want to be mindful of shooting with those windows to my back and asking athletes to face towards the light to get the best possible results.  

If there are no windows, metering actually becomes much easier because the light does not change over the day.  Again, I want to survey and see where the lights are in the gym, how many there are, if they are all the same, and if their color is all the same.  You need to identify whether there are "dark spots" where the ceiling lights aren't even, if bulbs are out, or if there's a fairly even coverage of light.

Mat Fraser cleaning 375lbs (he missed the jerk) Nikon D4, NIkon 70-200, 1/1000th, f2.8, ISO 5000

Mat Fraser cleaning 375lbs (he missed the jerk) Nikon D4, NIkon 70-200, 1/1000th, f2.8, ISO 5000

2.  Take test shots in different positions:  Once I see what sort of light I'm dealing with, I'll guess a baseline exposure -- indoors I'll start at 1/500th, f2.8, ISO 3200.  I'll grab someone in a few different spots across the room and see how that exposure looks.  I'll use ISO first to adjust.  Obviously, if the image is too dark, I'll push up my ISO.  My usual workhorse is the Nikon D4, I won't think twice about moving to 6400 or 8000, but I'd really prefer not to shoot between 10,000-12,800.  There is a noticeable noise and dullness to the image that is introduced.  If I move my exposure up to ISO 6400/8000 and am still not seeing much of an improvement, I'll consider slowing my shutter a bit to maybe 1/320th.  What am I looking for when I say a "good exposure?" I want to see the subjects face lit to the point their eyes are clear.  I want some balance between the subject and the background, but I'm not overly concerned with how bright the background is.

Lauren Fisher: Nikon D4, Nikon 70-200, 1/500th, ISO 8000

Lauren Fisher: Nikon D4, Nikon 70-200, 1/500th, ISO 8000

3.  Using the in-camera meter:  (for this method, set your meter system to center-weighted).  Instead of just sort of "guessing" the base exposure or how to fine tune your settings, I can use the in-camera meter (those hashmarks inside the viewfinder that are usually blinking to the right or left of center.  Using a center weighted meter, the camera will tell me whether whatever the focus point is on is over or under exposed.  

4.    Test and chimp.  How are my shots coming out?  Thankfully, we don't have to go to the darkroom.  Cameras have this magical screen attached that we can refer to.  While I don't want to remain glued to my screen, I do want to use this as a tool to make sure that the baseline setting I've decided on are still delivering consistent results.  A major helper I'll use is highlights alert.  Inside your camera's playback/display settings you can enable "highlight alerts" which will create blinking area in any part of the image is that is blown out and won't be able to be saved in post.  Having that blinking alert on the screen is extremely helpful because I can know without extensively examining the screen that I need to dial back my exposure, just by seeing it blinking.

Rich Froning - Nikon D4, Sigma 120-300, 1/500th, F2.8, ISO 8000

Rich Froning - Nikon D4, Sigma 120-300, 1/500th, F2.8, ISO 8000

5.  Shoot! Now, use those settings you've locked into the camera and shoot the event.  Remember what you learned when you surveyed the room -- are there dark spots?  Are there bright spots?  Instead of now having to worry about remetering and all that, I'll just know as I move into the darker part of the room to start compensating with ISO or shutter.

In practice:

The floor of the ECC was in the Seaport World Trade Center in Boston -- a large convention hall with even ceiling lights front to back, no windows.  All the lights were the same color and brightness.  Great, because that means wherever I'm shooting the exposure should be the same.

For the first event, I went out with my D4 and Sigma 120-300 2.8 (my favorite bigger event lens).  I started off the same way, f2.8, 1/500th, iso 3200.  After a shot, I could see that was much too dark so I went up to iso 6400.  I shot about a heat's worth, looked at the results during the break and then pushed up the ISO just a little more to 8000.  This gave me a solid exposure, while still maintaining a fast shutter speed that helps keeps details sharp.

Brooke Ence - Nikon D4, Nikon 70-200, 1/500th, F2.8, ISO 8000

Brooke Ence - Nikon D4, Nikon 70-200, 1/500th, F2.8, ISO 8000

Of course, good ol' Ben Bergeron likes to switch things up.  At the end of the speed clean and jerk workout, the remaining athletes came out to work up to a 1rm clean and jerk.  The lights came down, and just a spot hit the platform.  So, same procedure.  I shot a few frames over at the platform, even the background now went to black, I actually was able to dramatically drop my ISO from 8000 to about 3200.  Again, after the first few athletes lifted, I went through the same procedure, tinkering with my ISO to get the shot just right without blowing out the highlights.

Over the course of the weekend, the only real dark spot I found was when shooting by the rig.  Over there, I just made sure to slow down the shutter a bit to give me a little extra light, and then made sure to crank it back up when I returned to the middle of the floor.

So quick review.  Indoor events have their pros:  usually consistent lighting so you can lock in settings and then focus on the job.  The downside, usually the lighting is very poor and you'll need to pull out all the stops to get a sufficient shutter speed.  Go through the steps I've outlined above -- survey the room, take test images, dial it in with your meter, and then get shooting.  Make sure often review your results and adjust accordingly.

If you like what you've read, please share.  Feel free to post some content suggestions below so I know what you're looking for in my next post.  For bookings email shaun@superclearyphoto.com.  And as always, follow @supercleary on instagram and SuperClearyPhoto on Facebook.

Chris Spealler hitting a 405lb deadlift - Nikon D4, Sigma 120-300, ISO 8000

Chris Spealler hitting a 405lb deadlift - Nikon D4, Sigma 120-300, ISO 8000

Tags photofit, crossfit, photography, how to, kill cliff, progenex, rich froning, lauren fisher, brooke ence, chris spealler, mat fraser, supercleary, superclearyphoto
2 Comments
Great product shoot this week for @musclebutterusa 
#productphotography #sociallydistanced #easysubject
Great product shoot this week for @musclebutterusa 
#productphotography #sociallydistanced #easysubject
Great product shoot this week for @musclebutterusa 
#productphotography #sociallydistanced #easysubject
EVF Battle of the Fittest VII | Only 48 hours left to get your @evfperformance photos! Head to SuperClearyPhoto.com. #crossfit #fitness #motivation #training #inspiration
A whole lot of fitness last weekend @evfperformance — make sure to get your photos at SuperClearyPhoto.com 40% off for only a few more days. 
#crossfit #evfperformance #fitness #training #motivation
A whole lot of fitness last weekend @evfperformance — make sure to get your photos at SuperClearyPhoto.com 40% off for only a few more days. 
#crossfit #evfperformance #fitness #training #motivation
A whole lot of fitness last weekend @evfperformance — make sure to get your photos at SuperClearyPhoto.com 40% off for only a few more days. 
#crossfit #evfperformance #fitness #training #motivation
@evfperformance Battle of the Fittest 2020 | all photos at SuperClearyPhoto.com
#crossfit #fitness #motivation #inspiration